We got the bracket out of the car. Bob your mem serves you well - we do not have the latest design.
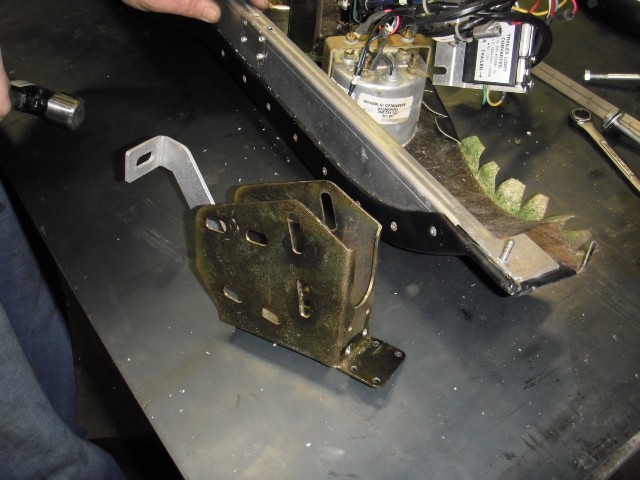
We cut to the line and extended the slots
Stock - before cut lowered as far as we could.
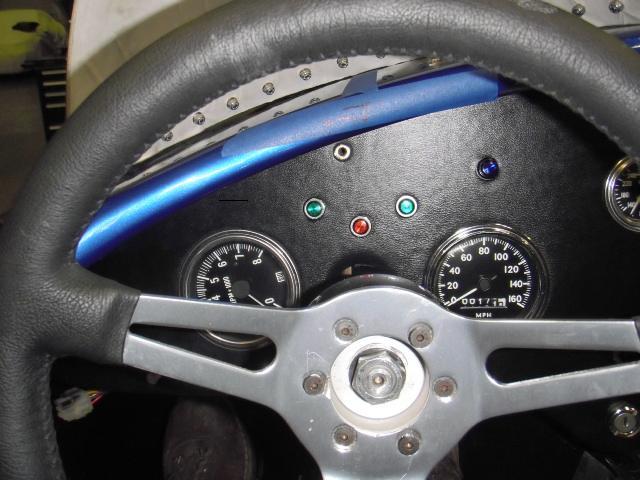
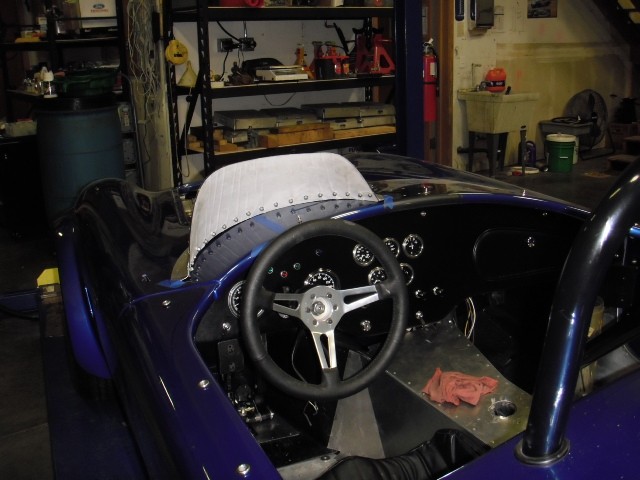
Side note - Please take a look at the gauges. I like the street dash and want to keep it because I will leave enough controls to keep it streetable but we are building more in the club racer space than trying to replicate a Shelby works car. , but the street is kind of a secondary effort. I am seriously considering moving the indicators to the dropped section of dash and using toggles. I would place the appropriate indicator over the appropriate toggle in the dropped section. The blinkers would also operate with a toggle and a single green indicator just to let one know they were flashing.
The reason I want to do this is 1
1) the indicators have nothing to do with driving fast
2) I could use that real estate to raise the speed and tach though I would reverse their positions. As I look at the picture I think I will just stuff the tach in that area and leave the speed where it is.
If one were to to try this how would they go about modifying to raise the gages i.e re-glass & re-cut - or ?
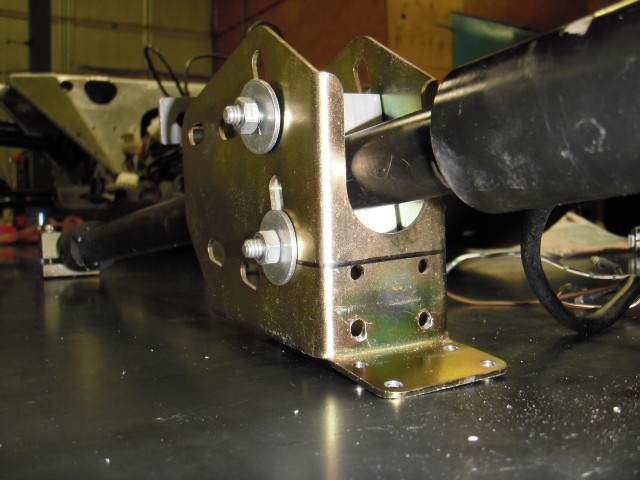
After cut - we still have all the upwards travel but as I said before we are going to hard mount to bottom of cowl support once we have the height established so it won't be quite as easy to adjust as delivered from ERA.
A few pics of Nicks comp screen. I have a mid 30 something that runs our manual machine shop. He has a lot of fab experience, has paid some serious dues to get some really good old school techiniques, and teaches me lots. Some guy's are just born to do it.
Fully tape the bottom of the cowl flange
Locate the center of the arc and mark on flange
Use pair of calipers to locate and scribe the circumferential centers of the flanges
A a pair of dividers to scribe the hole locations on the flange centers
Dimple at each location using a punch
Start at the middle drilling two holes at a time on either side of center.
Add bolts to the two holes and snug down
Drill next two holes
Repeat as necessary til we get to end.
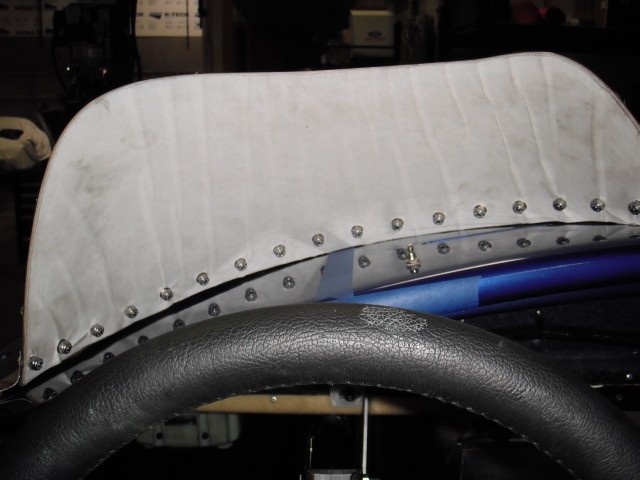
When we were done the plexi is lined up with the flange ends.
Very nice Nick - thanks.

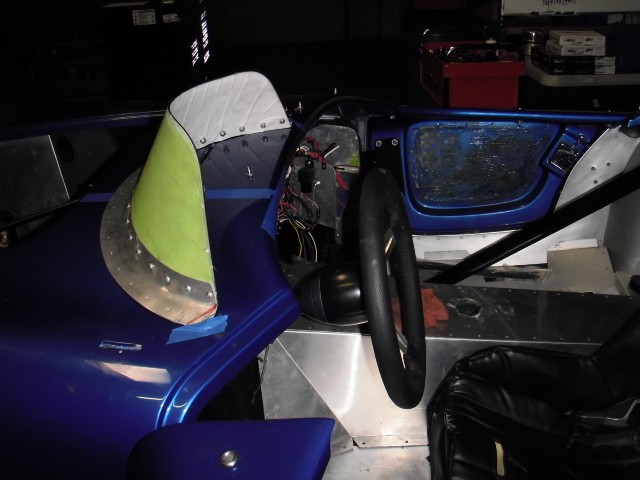
We taped a piece of blue tape on the cowl that is axially aligned with the steering column then placed the center line marked on the screen flange with the center of the tape.
We can not install to cowl until column has been final located, but it all fits together so we need to be able to move all the pieces together.
If anyone has ideas on the dash change, please share.
x-chr