Hello again friends,
So still moving forward with the build and still trying to catch up with my posts, here we go again.
This is going to be a bit of a long one, as it took me awhile to get to this point.
I am sure I will miss some things as some of this happened a few months ago and I am working with few notes, mostly memory and the pictures I was taking.
After discovering the discrepancies with the foot boxes and the chassis and having no real answers that were obvious I had to stop and think for a bit, honestly I was fairly bummed out by the whole situation, the drawings were supposed to make things better but here I am contemplating cutting up one part or the other to make things fit.
The real question was which one?
My beautiful bride could see that this was weighing on me and after talking it out for a bit she asked me something like what would you be doing if you didnt have the drawings? So of course the answers was, I would be making it work to the best of my abilities and using the parts I already have.
I am just so lucky to have her
..

So back to the drawing board, I accepted something was going to need to be redone so lets see what we have
..
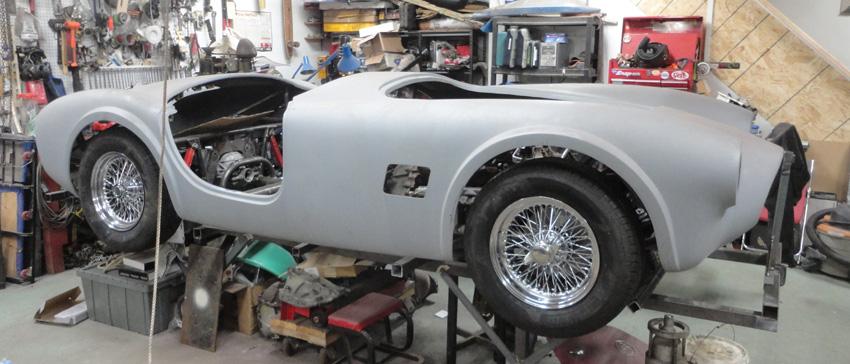
The body needed to go back on for another fit, what would be the path of least resistance I guess.
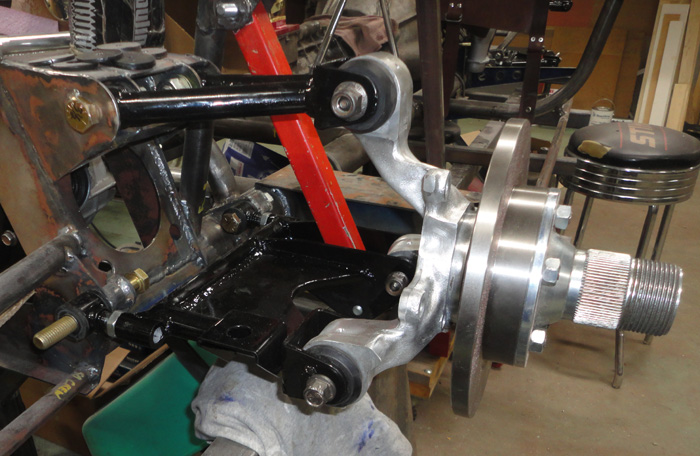
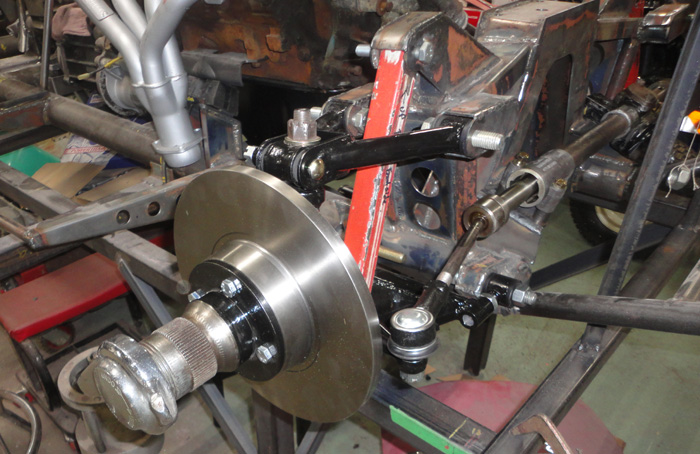
So suspension back on the chassis
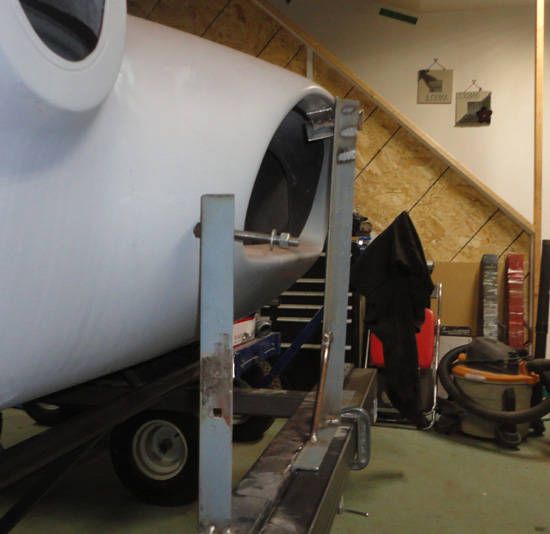
I also thought I should check some other points so I fabbed up the tube that would support the front of the body at the hood opening and made a temporary support stand to hold it at what I assume was the correct height according to the drawings.
I figured this was an important dimension for the later radiator installation.
It was also a bit of a chore to get the body back on now that I had made the front bumper mounts and some of the rear tubing that resulted in my needing to cut the lower rear part of the body off. I will reattach it when I do the final body work.
So with the body back on and the wheels in place I set to figuring.

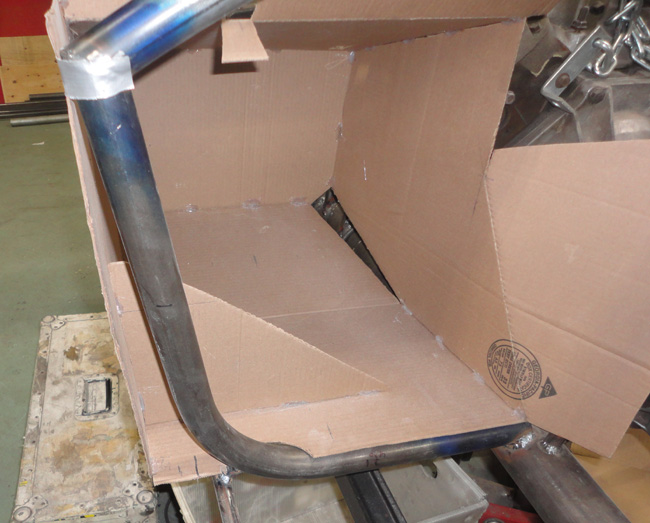
I made some cardboard templates of the door hinge brackets, one to drawing one modified a bit to suit the current cowl tube angle vs the current body side angle.
I decided that I would change my plan to fix the door opening size issue and front cockpit tube issue in a different way.
By moving the body rearward about an inch to make the door hinge bracket sit where it should in regards to the front of the door opening, the front cockpit tube is also much closer to the drawing size given and should work fine in the end.
So I think the only cut and move operation will now be in rear area, bringing the rear section forward as I correct the door size and allowing the required space between the tubing if I want to add the roll bar ( not sure) also the storage pocket behind the seats should also be the correct size now.
From the side with the wheels on it still looks fine too, so I am happy.
The rework for this change is the rear square tube that supports the trunk liner and the rear of the body. I did not want to remake the rear frame tubes so I added a 1 inch spacer tube and reattached the support tube to it. Hmmmm.
Late last summer a FFR roadster appeared in the town I work in, I sort of know the fellow in passing but had no idea he was building one. Honestly very few people around here know I am building anything either. It was still in red gel coat and filler but cool to see it out. I saw it again just last week and now it is gunmetal grey with black stripes, looks very nice.
One thing I did notice however was his licence plate. There was not enough space between the light and the trunk handle resulting in a notch cut in the plate to accommodate the handle. I want to avoid this ( I am sure he was not pleased about it either

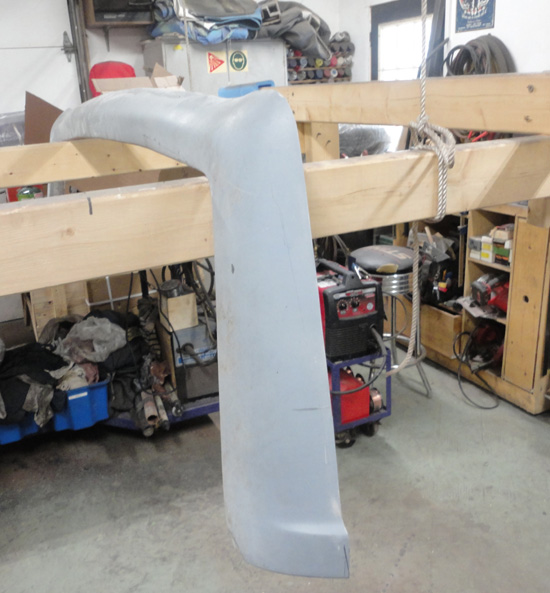
) so I dug out my trunk lid and handle and did some checking.
Glad I did too. I needed to lower the handle position a bit and adjust the rear support tube down a bit trying to factor in the trunk lid frame tube and handle mount as I plan on just using the skin of the trunk bonded to a more correct looking tube frame.
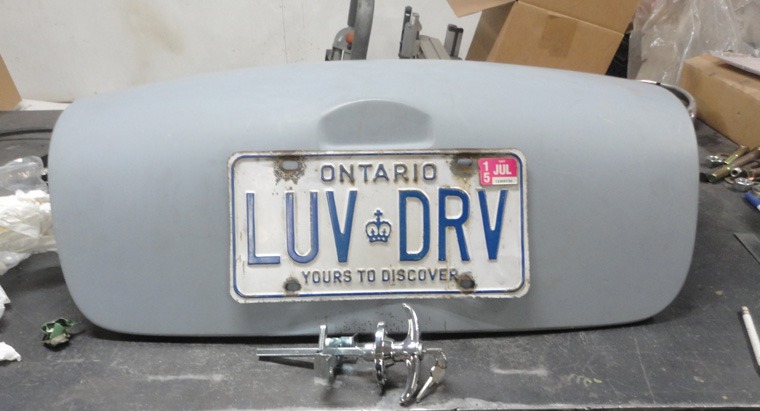
Yes the licence plates will need a restore as they have been with me since 1989, I have always tried to have them on something interesting. The last thing was a pearl lime green Jeep Rubicon, but I think the 289 will be their final home.

But back to the body
.
So what I needed to know was do I pull the lower part of the body in to match the cowl tube shape and rework the footboxes or rework the cowl tube to suit the body and footboxes?
With the help of my wife we positioned the windshield as close as we could to the correct angle and then I pulled the lower part of the body in with a ratchet strap to check. It seems that when I pulled the body in to work with the cowl tube the curve on the top of the body became too extreme for the windshield. Sure I could try and clamp things so the upper would not change too much but I think I would be fighting cracks all the time so the decision was made to rework the lower parts of the cowl tube
.
Right or wrong it fits my body better, so that is what I will do.
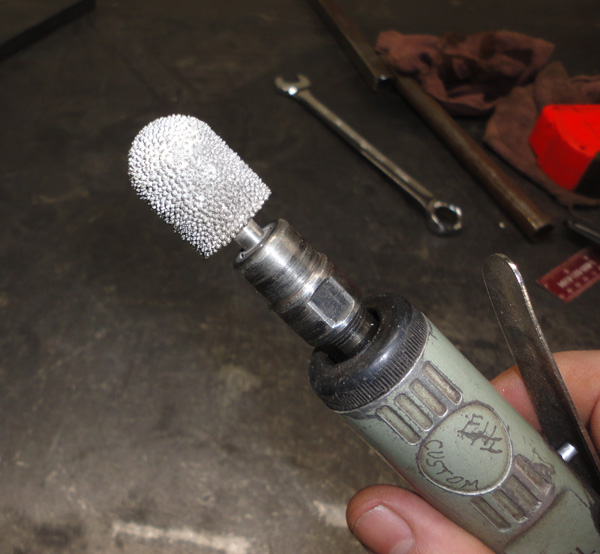
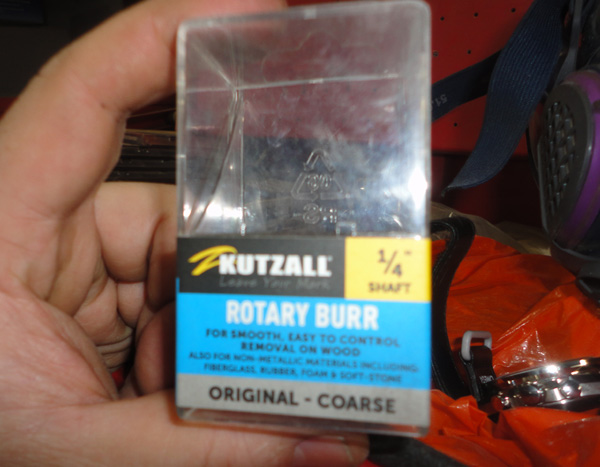
I also decided that while the body was back on I would add more of the inner body structure and check some other things.
I bought one of these ¾ inch diameter rotary burrs to run along the areas where the body meets the tubing, it does a nice neat job of it, I highly recommend it

I added the framing around the trunk area first, wow those side tubes are had to form, just the way the radius changes from the easy curve of the top section to a fairly tight curve at the rear really had me scratching my head.
I got it in the end but some of it is a tad rough, fortunately most of it wont be seen in the end. I will need to come up with a much better way of forming the tubes around the doors and other areas.
I think my old friend "Cerrobend" will be needed

The tubes around the hood went much better with their longer curves that I could just roll until they fit the body.
I must say adding those simple structures certainly stiffens the body.
I also decided to check on the bumper mounts in the front.
Using the height jig I built them with I discovered they were a bit on the low side for my body so they were adjusted upwards with a couple of strategic cuts, much better in the end I think.
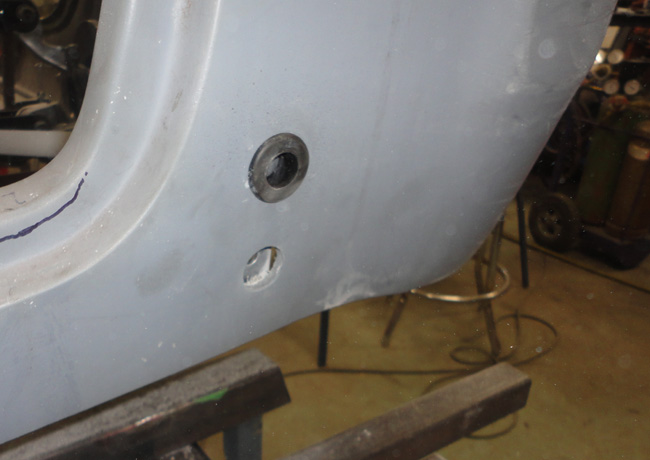
Using the mounts and a sharpened piece of rod in my drill I made 3/8 holes through the nose then with a homemade cutter centered in the bumper mount again I made the oblong holes to take the grommets.
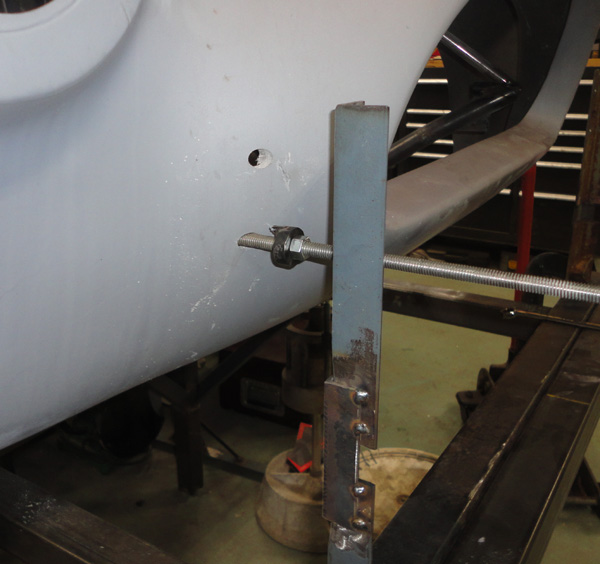

Everything seems to fit fine and looks good so I will check that off my to do list
I then made the rear bumper mounts checked the fit and tacked them in place and using the same homebrew cutter I did the rear grommet holes too
.check
So with that all done the body when back up to the ceiling and I moved onto the larger metalwork
.
Stay tuned, it only gets better
1