Well hello everybody,
It’s been a while again since I threw in an update, so here goes……..
The snow is melting and I am still working away on things, some parts are definitely going better than others but it’s all part of the “fun” I guess.

So after all the figuring and reworking on the cowl tube a couple of episodes back I finally got back around to the fiberglass parts I need to make. So I brought out what I previously created and after fixing a couple of dings in my trunk liner mould I waxed it up with some trusty old paste wax.
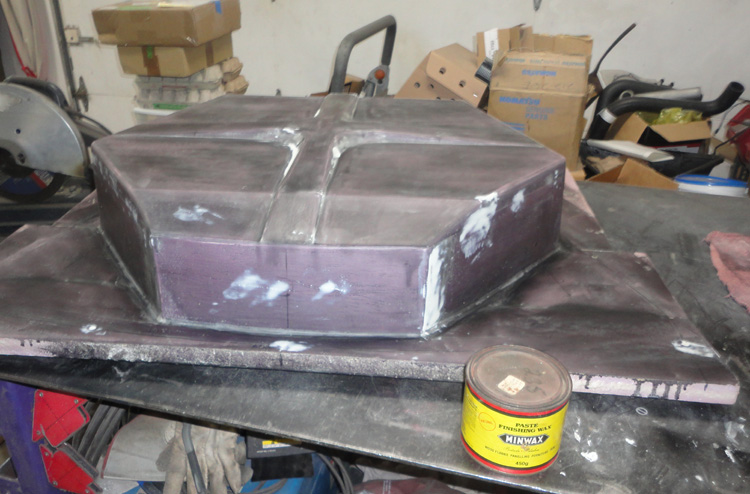
Then I applied a coat of PVA mould release and sprayed the gel coat and let it set up.
The PVA may seem like overkill, the wax should be enough and I did say this was a onetime mould. However I think the PVA also helps with the surface finish too, so long as it lays down nicely with no runs.

Then I layed it up with resin and cloth, adding some extra along the stiffeners. Also the area where the spare tire hold down attaches, I may add a reinforcing plate here too.
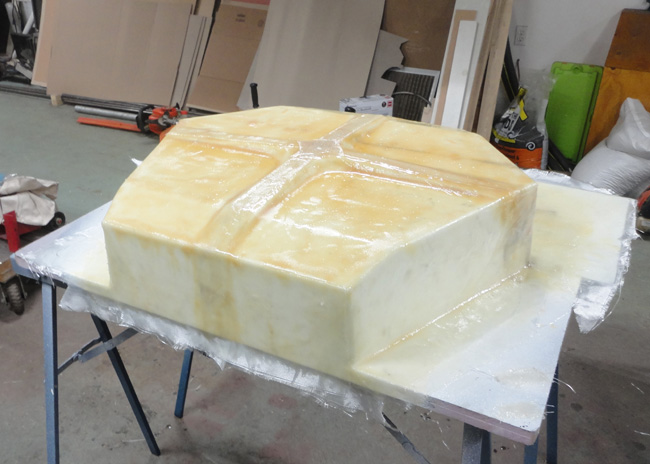
After curing I used a couple of wedges and the air nozzle to loosen it and off it popped!


I just had to test the fit with a wheel and tire…..Yep, fits nice.

I trimmed it up a bit and set it to the side for now, then on to the foot boxes…….
But first I really need to figure out some of the the interior, so I printed out the pieces for the floor section patterns and started building things up in CAD again.
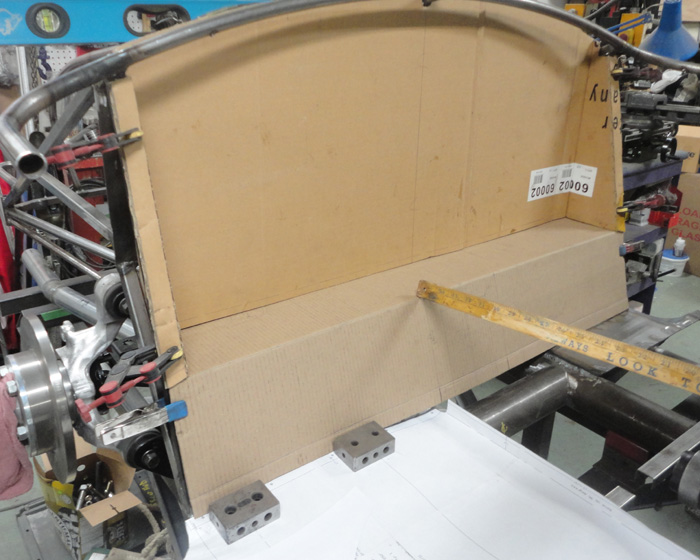
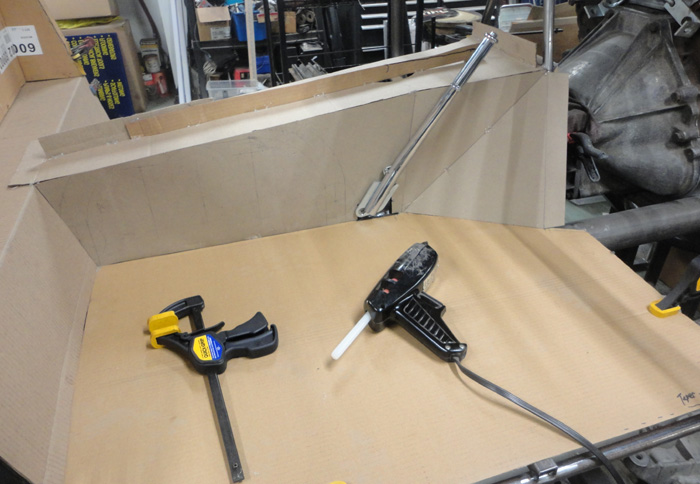
The sharp eyed among you will notice that I have changed things a bit at the rear of the tunnel. This is because I need to accommodate the MDL offset shifter.
It really only raises it up just over an inch but that means changes at the rear and most importantly at the front where it meets the foot boxes, they need to be a little taller too.
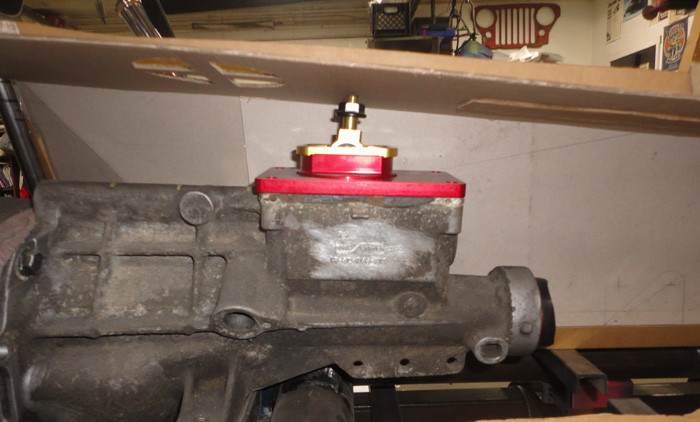
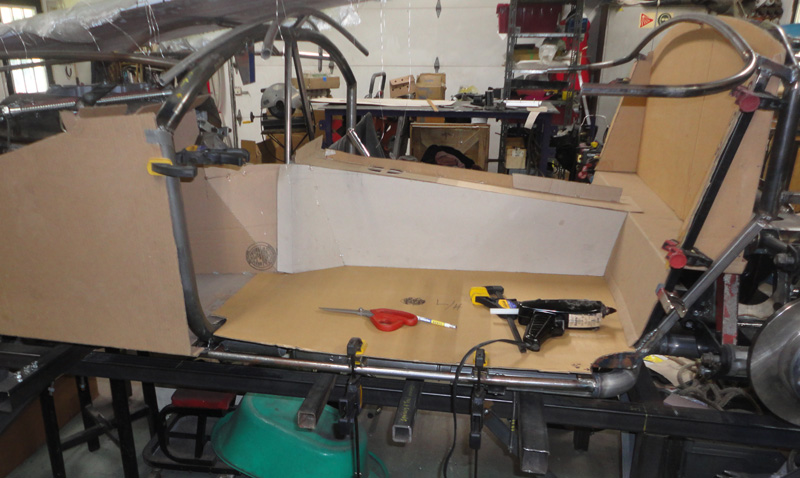
I know I could just stick the shifter straight up like so many others but it is always one of the things I notice first when I see a picture of a 289 interior and I see the shifter is too far back and in the center of the tunnel, I just know it’s a modern 5 speed. But I really do want the T5 for cruising so this is the compromise I am making.
So after I was happy with the way that looked I got out the foot box moulds and modified / finished them.
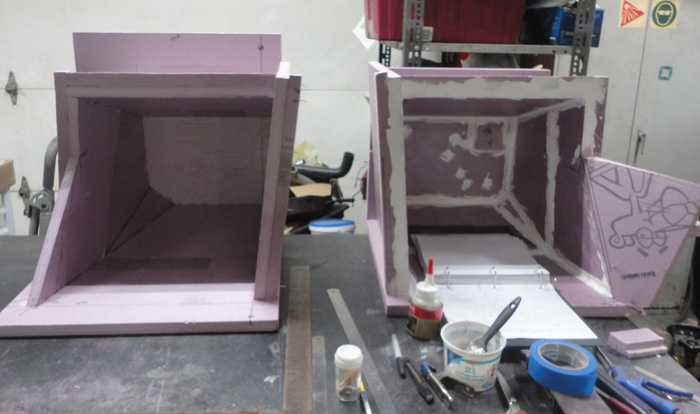
Much filling and sanding later…..

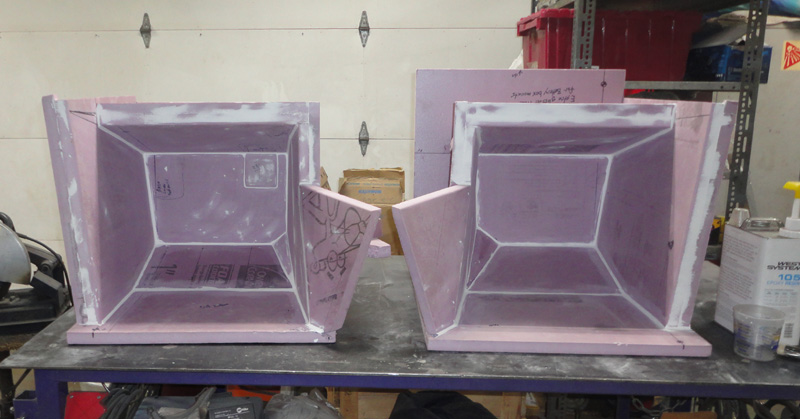
Waxed and a coat of PVA release agent applied……..
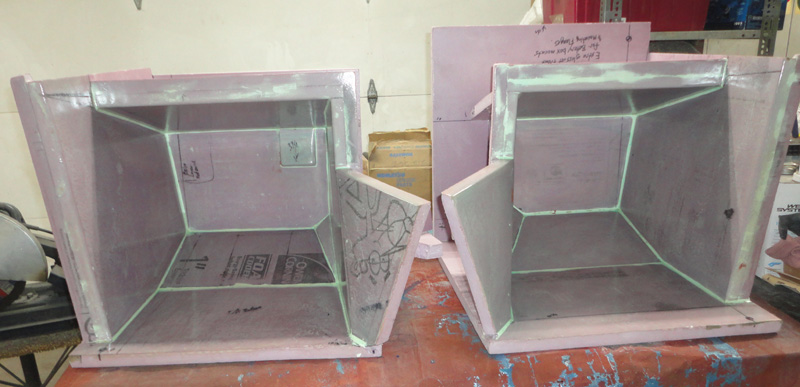
Then gel coat…..
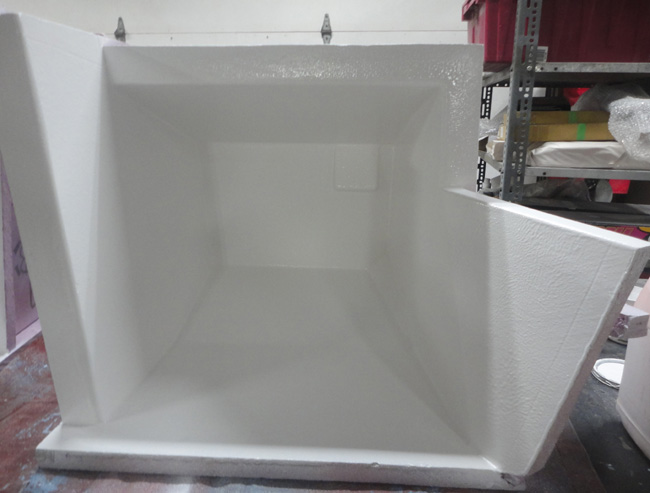
And fiberglass and resin layup…..
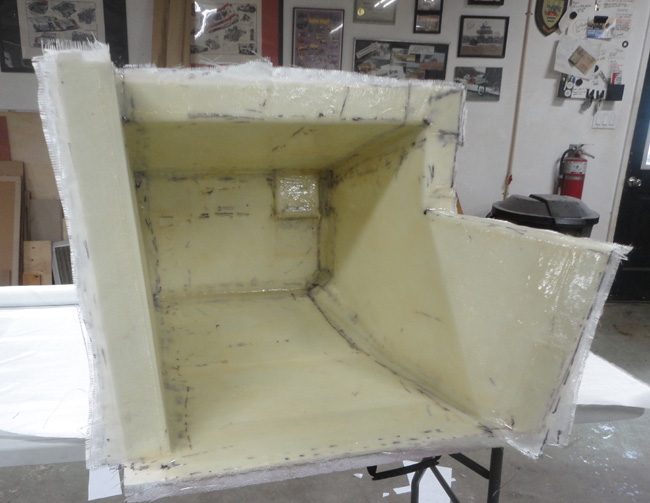
And then again, a couple of wedges and a bit of shop air applied and POP!
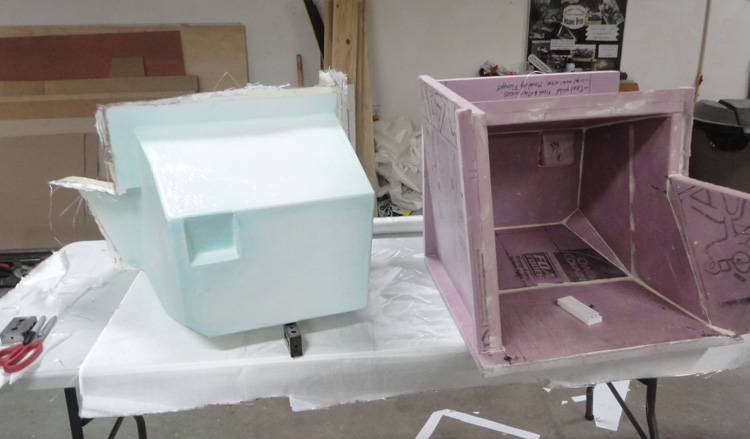
It was very satisfying, both parts came out of the moulds cleanly , The blue green is the PVA and it is meant to come out with the part, it washes off with water, great stuff, always works..
I trimmed the boxes up and checked the fit…..
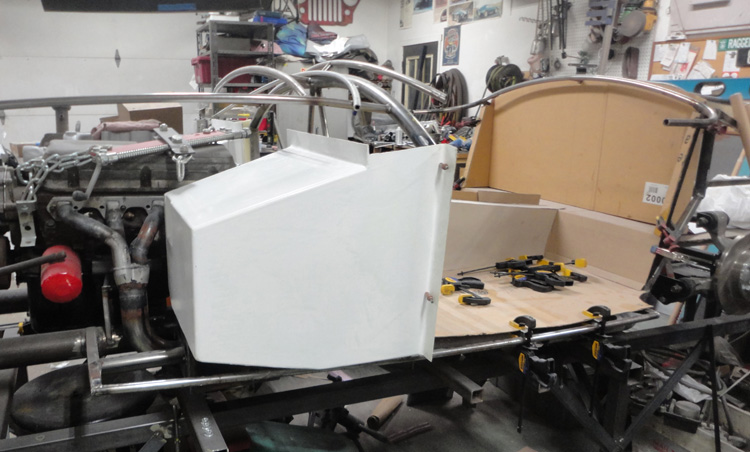
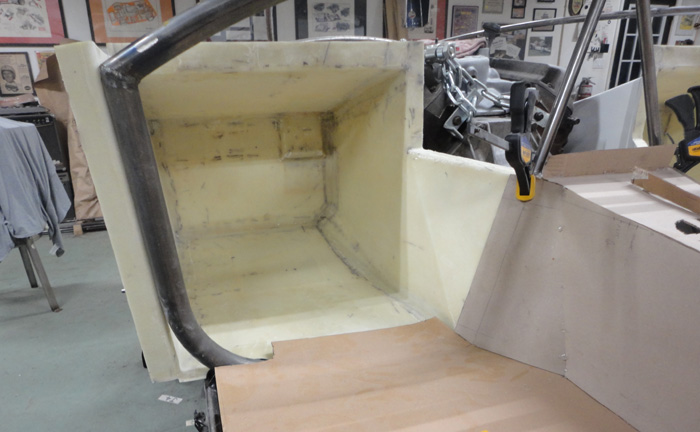
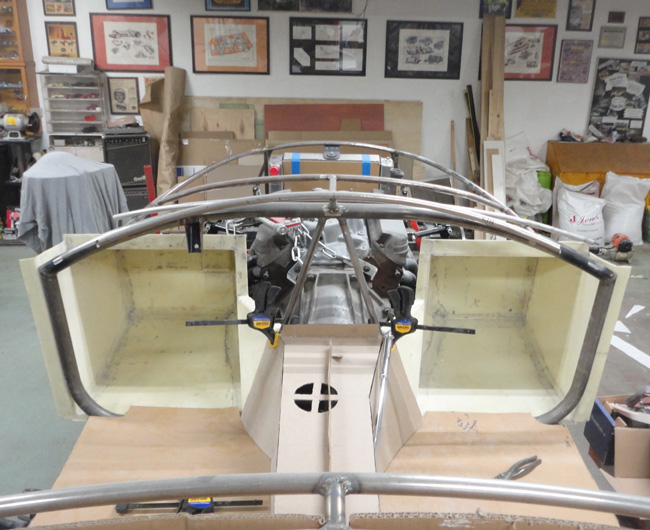
Very nice, I think it looks a lot like the pictures I have seen in books and on line, the only references I have really.
So that’s it for now, Yes I have done more but again my posts are lagging behind just not as much.
Next time It will be back to fun metal fabricating and body stuff!
Cheers,
Hudson
.