I'm sure this is by no means the only way to so this, but this is how my
buddy and I did it. I could not find another thread on how to change slip on pipes to flange, so hopefully this will help someone in the future.
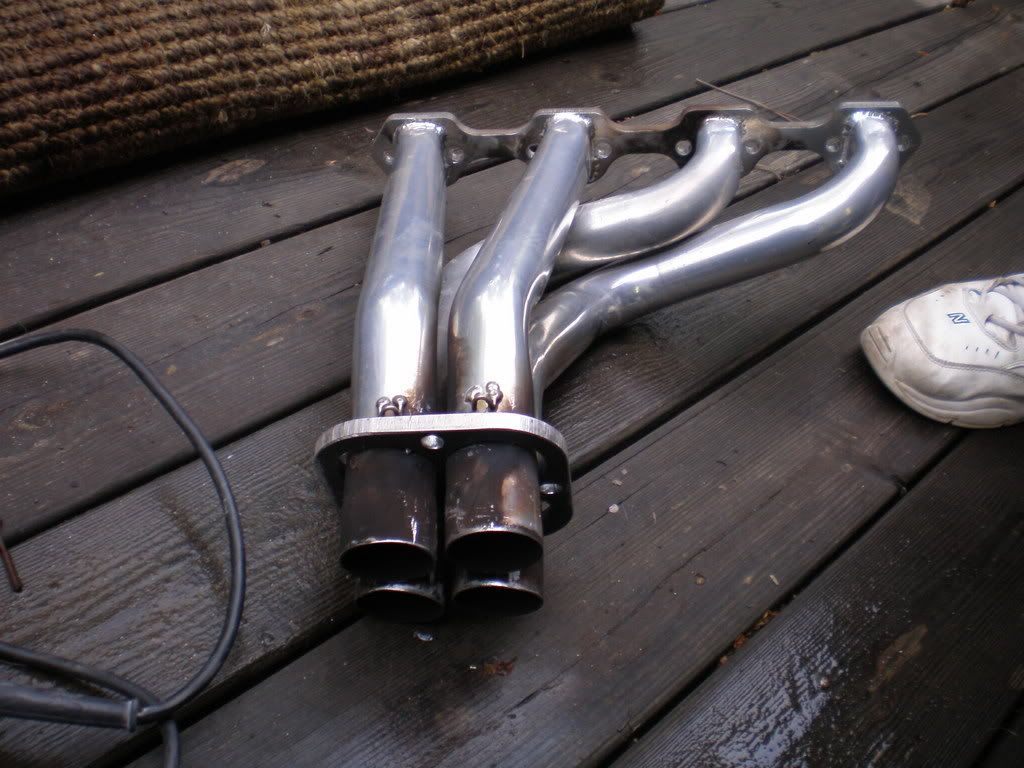
The 1st step was to remove the side pipe from the header.
Remove tension springs from header, and work pipe hanger off rubber boot
from side of car.(spray 9 or windex helps)
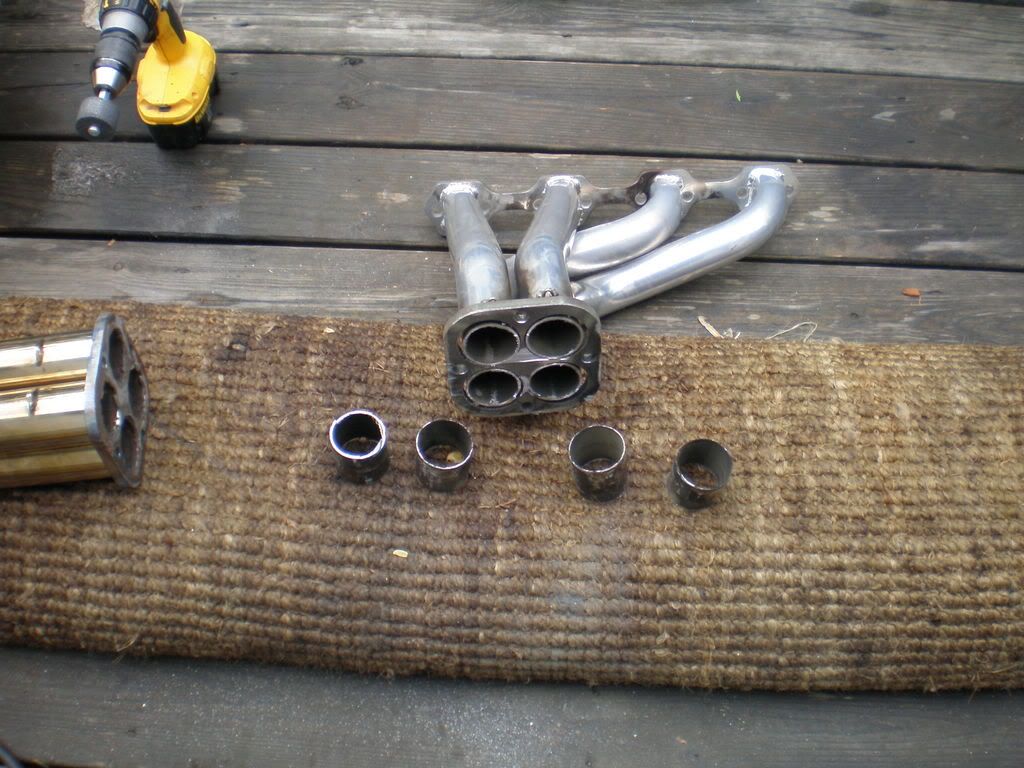
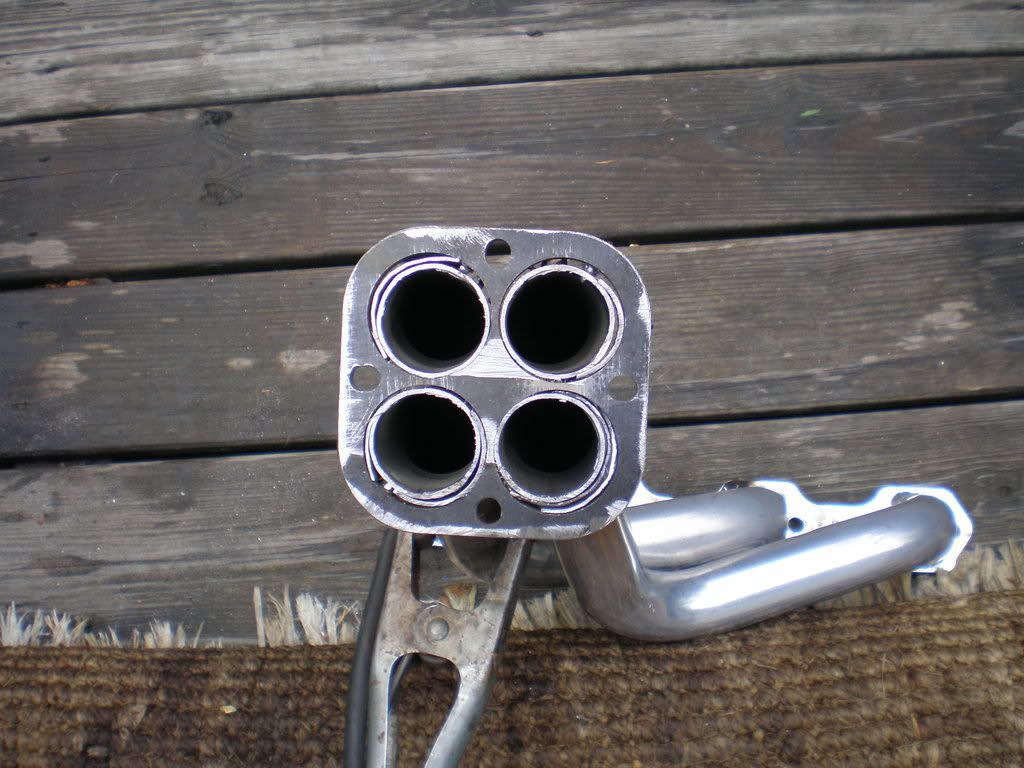
Measure 1 flange width down and mark the 4 collector tubes on the side pipe
(about 3/8") this will be cut off. We used a port-a-band which gave each
pipe a nice even and straight cut. Then used a Dremel and files to remove
all burrs.
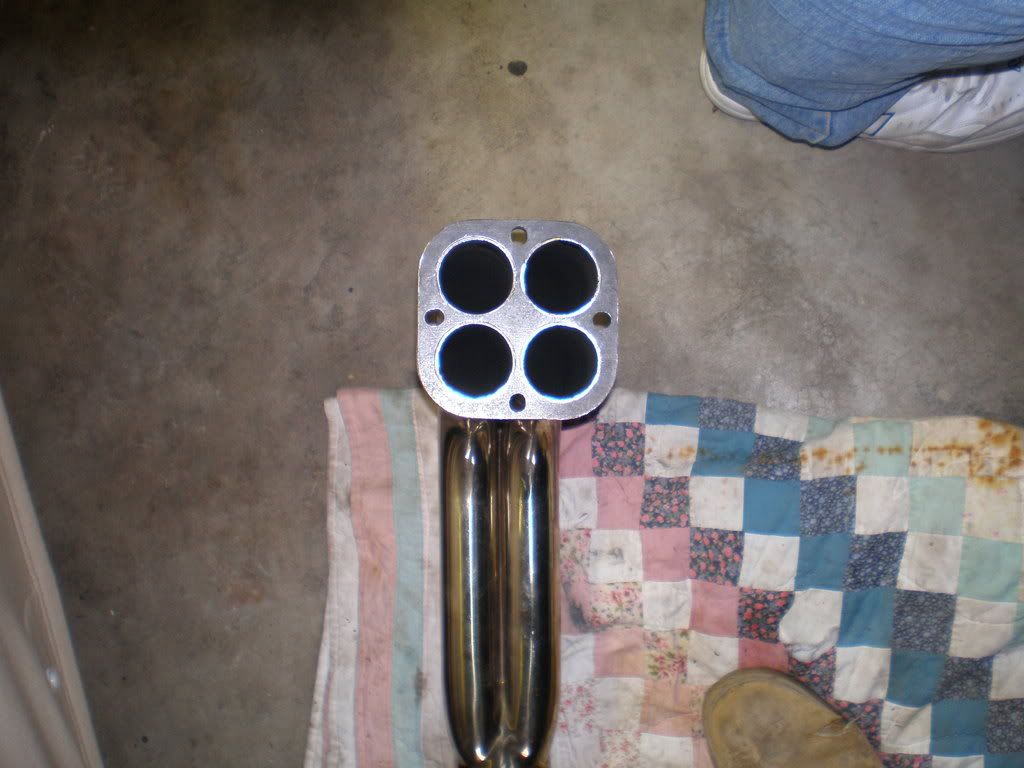
Install flange over collector tubes of cut side pipe. This was not easy! Had to
use flat head screw drivers between tubes to bend them apart, while
using a rubber hammer to bang the flange on the pipe. Removing the burrs
makes this process a lot easier. Since welding from the inside, flange
should be flush with the pipe.
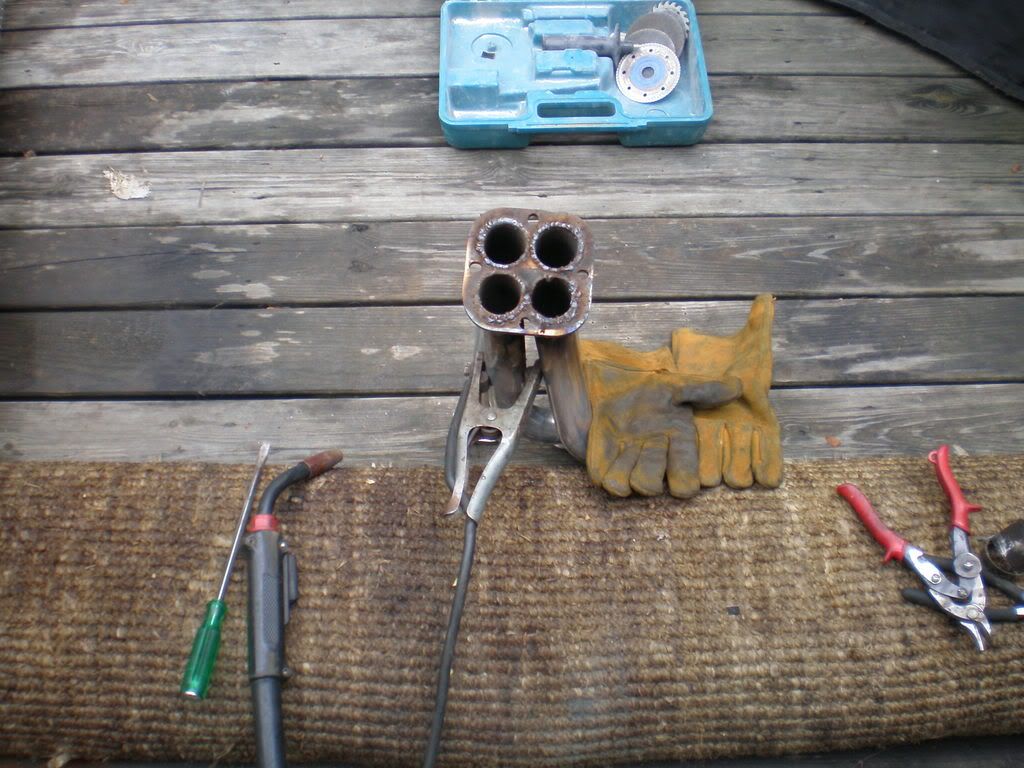
Weld flange to the pipe. Use an angle grinder to remove excess weld slag from flange. We also used a sand paper wheel for the fines and to get
extra smoothness across flange. This will also show any gaps that might need more weld.
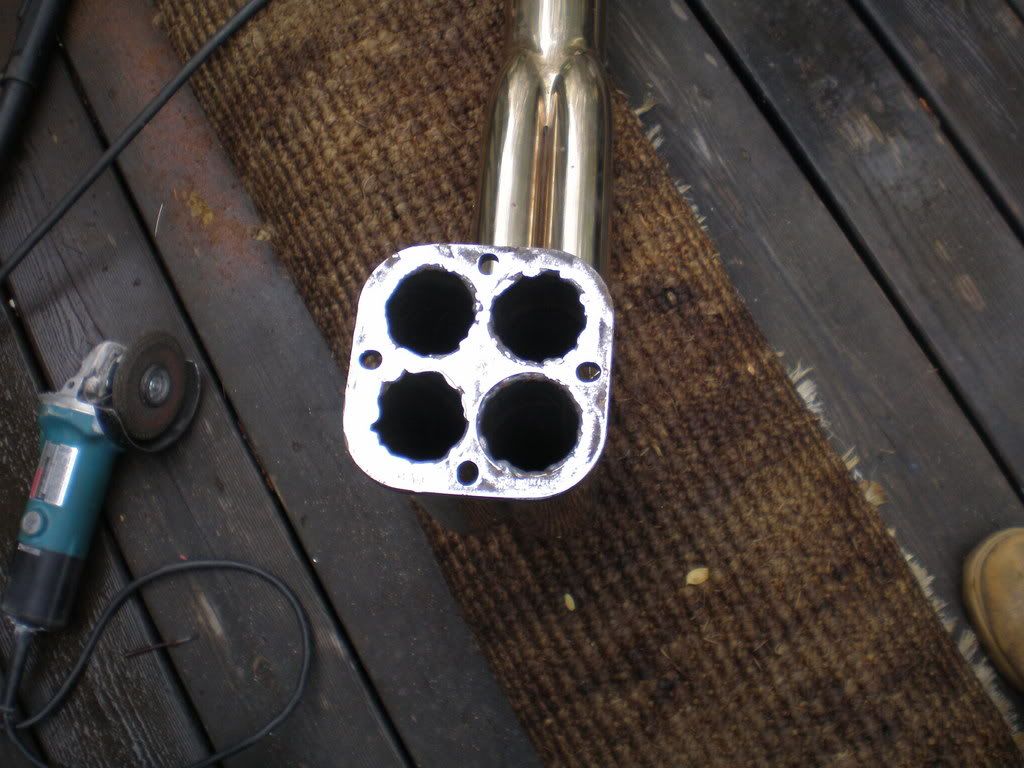
For extra strength, we ran some beeds on the outside of the flange around the pipes as much as possible. Couldn't get in between the collector
tubes with the type of welder we had.
Then bolted together the loose flange to the welded one. Slipped flanges and pipe onto header and made sure pipe was in the exact location
along the car for finished look.
http://i189.photobucket.com/albums/z...allignment.jpg
http://i189.photobucket.com/albums/z...fortacking.jpg
Then tacked header flange to header. Protect your car! With coated headers
sparks will fly while tacking. Unbolt flanges and remove side pipe.
Next, remove header from motor. For the driver side, I had to remove the
steering column to get to the header bolts.
http://i189.photobucket.com/albums/z...columnassy.jpg
http://i189.photobucket.com/albums/z...houtcolumn.jpg
At this point it was discovered 2 of the crimp points on the header had holes in them when they were orginally bent for the side pipes.
Filled them using the welder.
http://i189.photobucket.com/albums/z...Crimpholes.jpg
With the port-a-band we cut the excess header pipe off flush with the flange.
Then cut small pieces of header pipe excess, to fill around the headers in flange for less welding.
Welded flange to header using the same process as with the side pipe.
Grind smooth, check welds, and weld the outside of the headers for added
strength.
http://i189.photobucket.com/albums/z...utsideweld.jpg
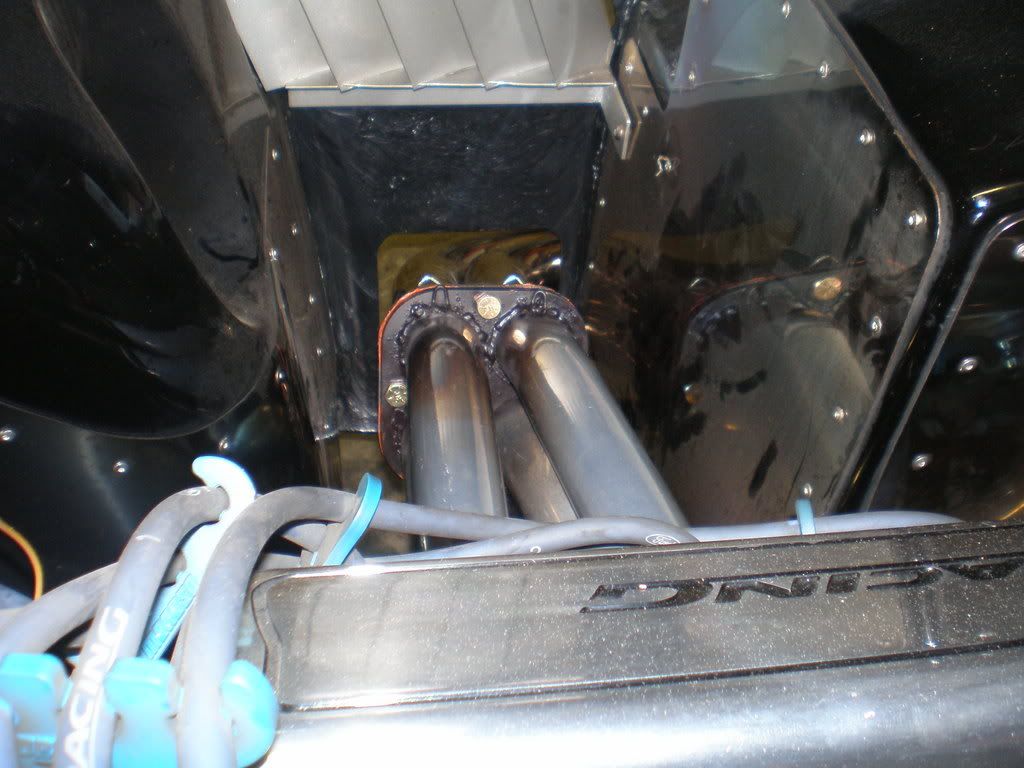
Install header on motor.
I used hi temp gasket sealer on header gaskets as well as flange gaskets.
Connected flanges together using grade 8 bolts and lock washers.
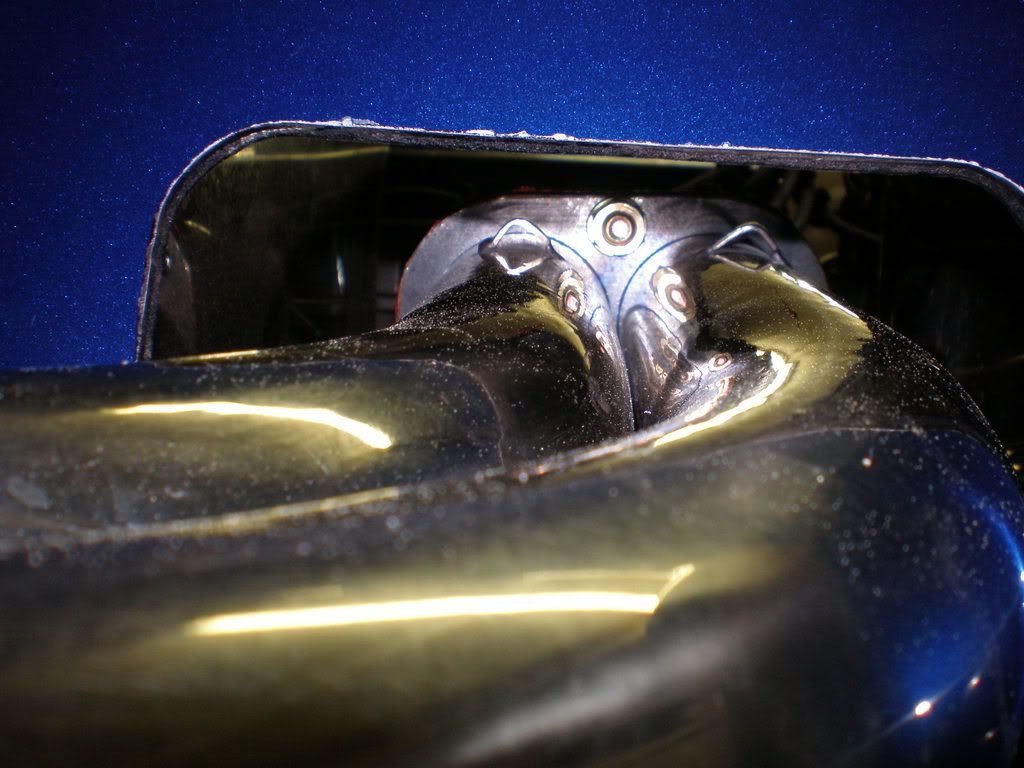
Installing the flange kit made a huge difference in how the engine sounded. Exhaust actually comes out the pipes instead of blowing carbon all
over the engine compartment. I don't get choked by fumes when sitting still, and the car doesn't back fire anymore.
It actually sounds like a Cobra!

The whole job took 2 of us about 10hrs.
I just want to thank Tony for all the work and help he gave me with this project. Couldn't have done it without his expertise and tools.

Also posted on
www.backdraftboys.com