Building a new set of hubs meant buying a couple of billets. Each hub starts as a 6" diameter round that's 5" long. At about $70 each you can't afford to make too many mistakes machining them up.
I thought I'd post up a step by step of machining the hub.
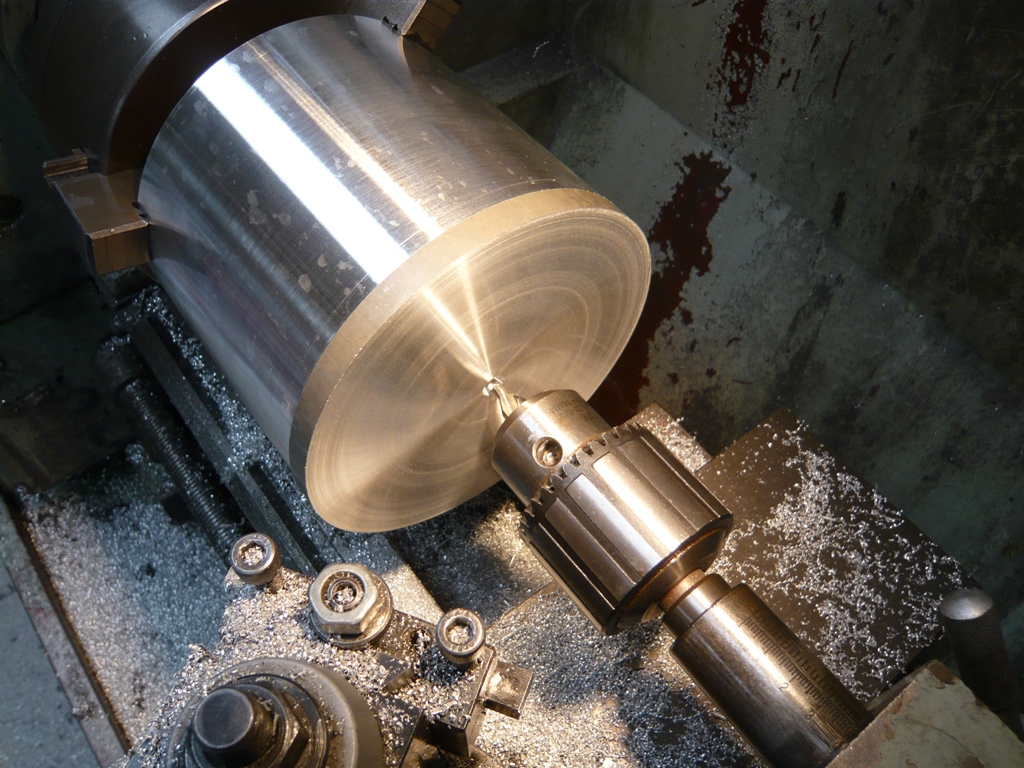
The billet piece is cut from a long length using a bandsaw and the ends aren't real square. The first step is to get it roughly lined up central using a dial indicator.
Here's the billet mounted in the lathe.
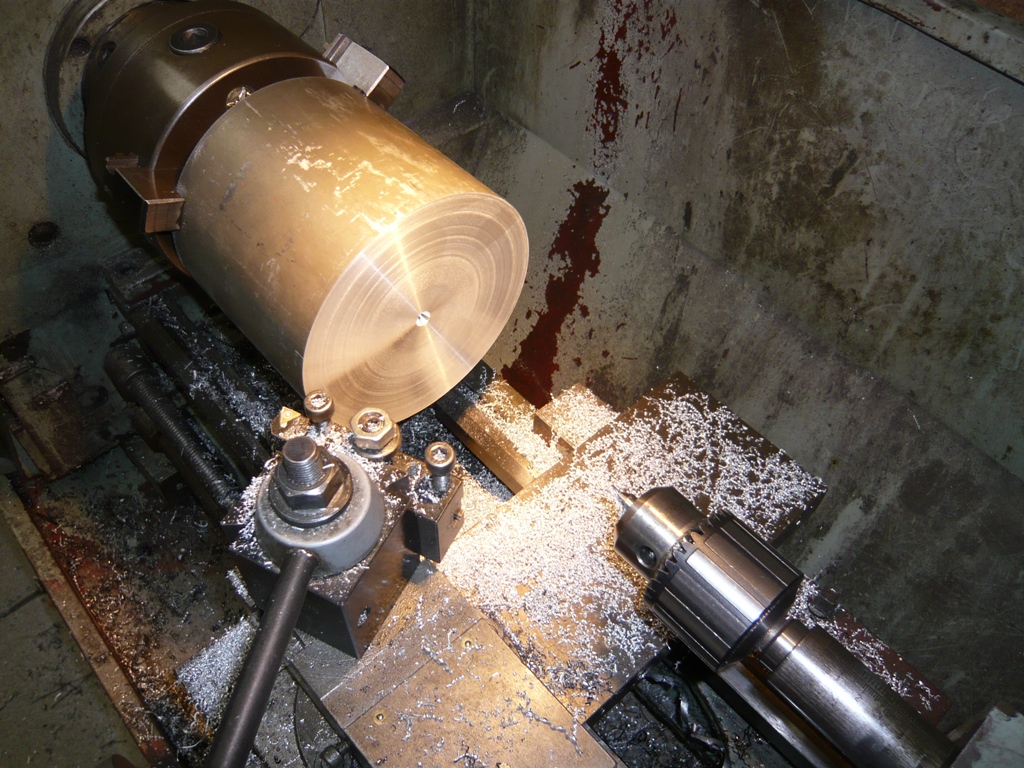
Once it's pretty close to square I machine the face square and drill a center hole using a center bit. This gives me a nice square face to mount the piece in the lathe. The center hole lets me support the end of the billet with a live center. That way it won't move around and will produce a more accurate piece.
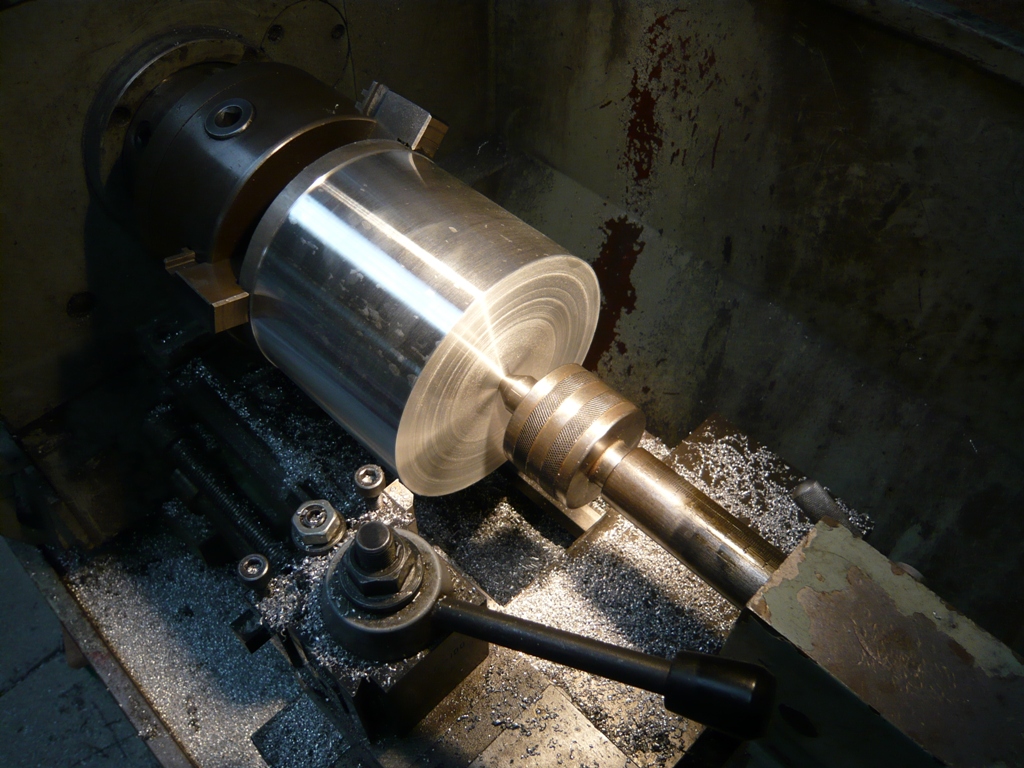
Here you can see the live center supporting the end of the billet. The live center has a ball race inside it that lets the work piece spin but holds it steady with pressure against the taper on the tip. The outside of the billet is machined down to the diameter I want for the outside of the hub. The smooth machined surface is also a lot more accurate for taking measurements from.
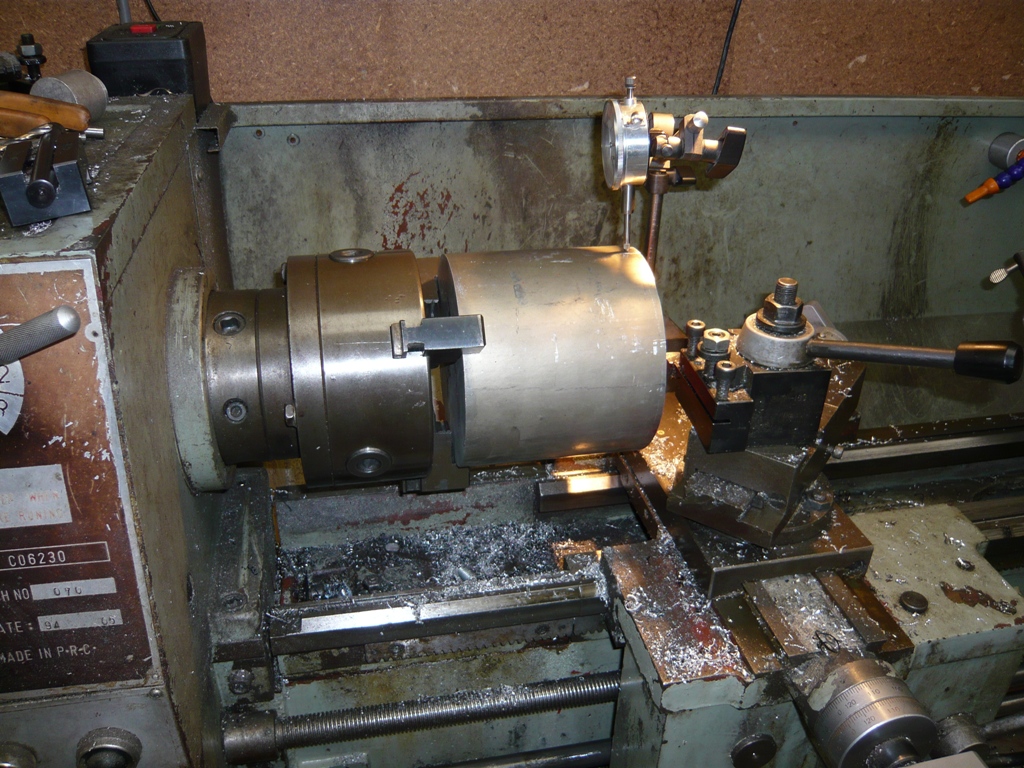
With the billet swapped around and mounted in the chuck against the machined face I check for runout with the dial indicator. This makes sure everything is square. I regularly recheck with the dial indicator especially if the piece is removed from the chuck and switched around.

I've machined the other face and added another center hole. You can see the tapered shoulder on the center drill bit that's designed to match the tip of the live center. Now I'm ready to turn a big lump of alloy into a big pile of swarf.