That's pretty much everything done on the lathe. The next steps are on the Mill.
In order to make it easier to get the bearing shells out when they wear out I machine a couple of slots behind the bearings that lets me get a drift in behind the race to knock it out.
Here's the outer race.
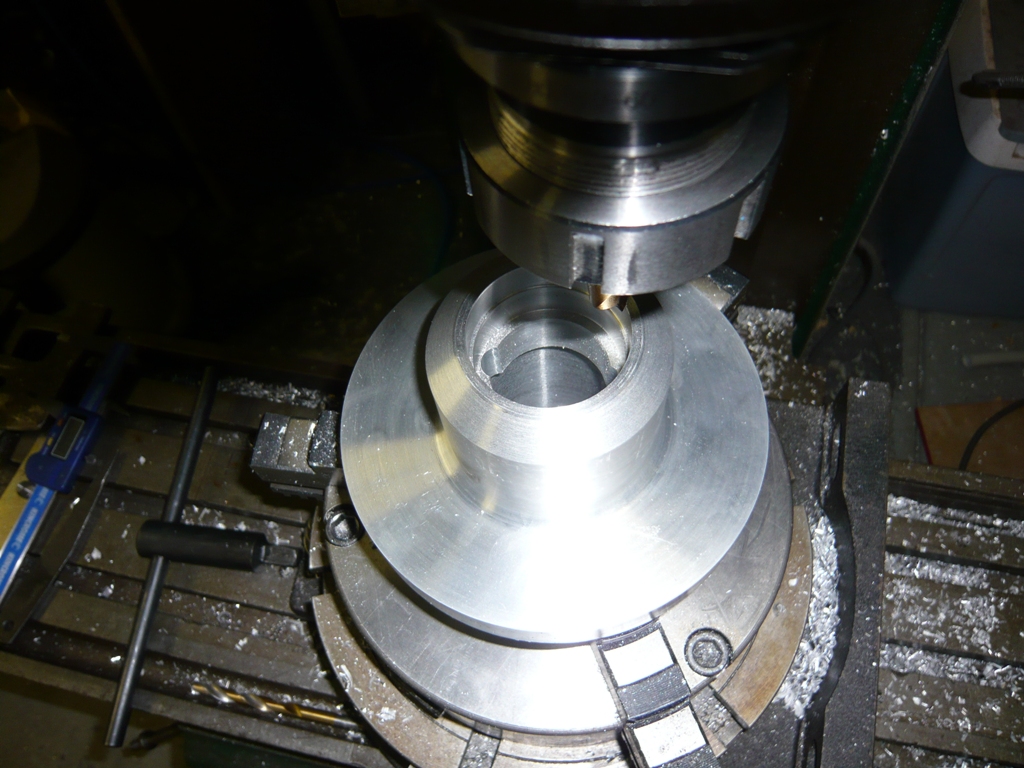
And here's the inner race. I've used a ball nosed slot drilll so I don't produce any sharp corners at the bottom of the slot.

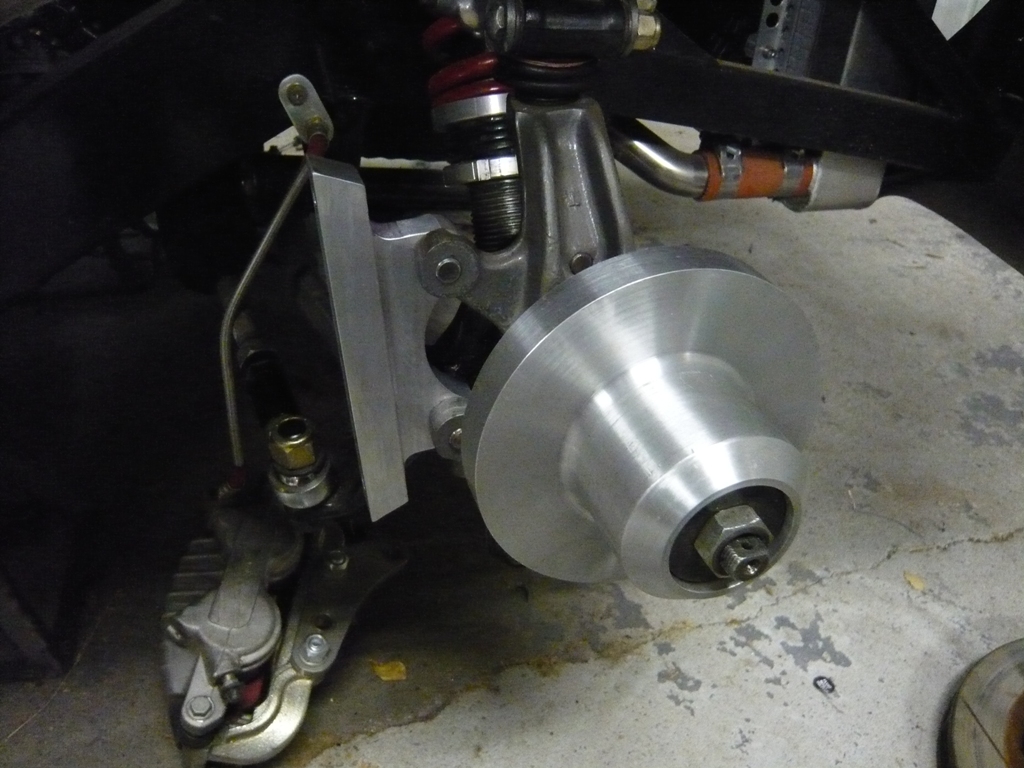
With the bearings in place it's time for a trial fitting. Everything turned out spot on. You can see the calliper mount I machined from a piece of 25mm flat bar. Radial mounts are much easier to make than lug style mountings. I'll cover the front caliper mounts in another post.
Now it's time to drill the Ford stud pattern. This was a tense moment as I've stuffed this bit up before. After checking and rechecking the PCD and runout on the rotary table I bored 5 holes in the hub.
With the holes in the right place I enlarge them to the right size for the wheel studs to press into. I also machine a recess for the head ot the wheel stud to slot into. This makes for a nice flush back to the wheel hub. I've made the face of the hub 20mm thick for strength. Aluminium isn't as strong as steel hub so I've beefed the hub up in places.

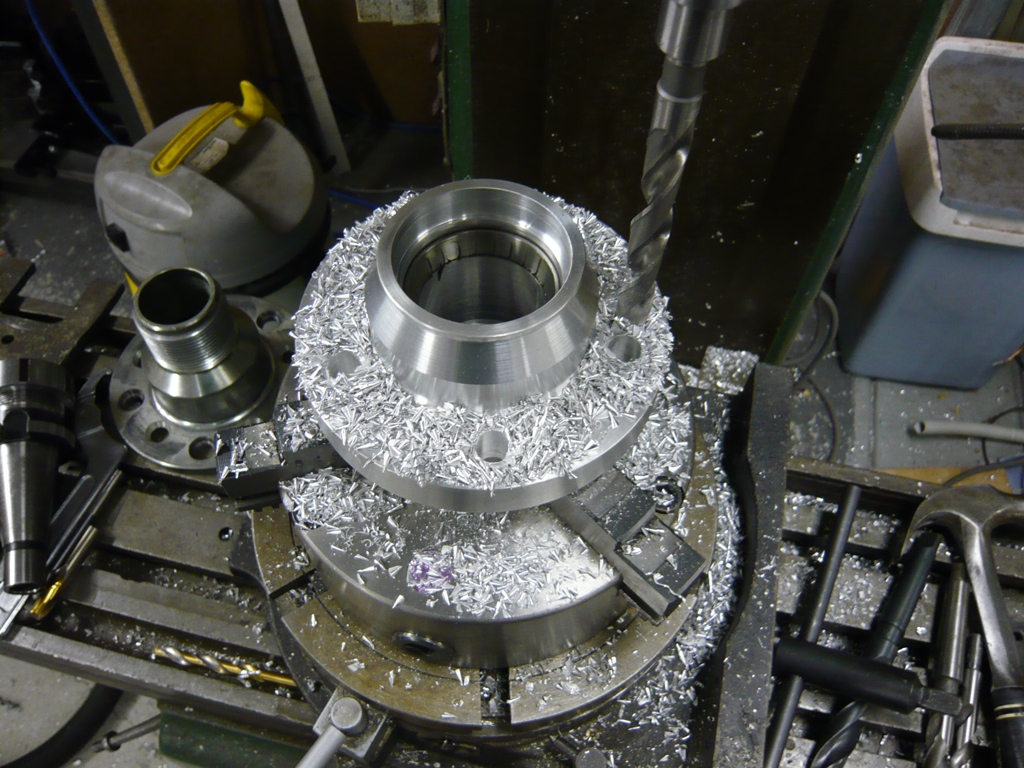
Phil's old rotors had already been drilled out to a Ford stud patern but the center bore of the hat was the smaller Ford size too. I mounted the hat in the 4 jaw chuck as it was too big to fit in the 3 jaw. The 4 jaw takes more time to set up but since each jaw is independently adjustable you can dial things in very accuratly. I didn't want any runout in the discs as this affects wheel ballance, pedal feel and pad wear etc. I bored the hat out to the larger Jag spiggot size.

Here's the hub and rotor mounted with the studs all pressed in place. You can see the back of the hub is flush with the studs in there. Check out how much room there is in the back of the hub and the rotor hat. This all translates into better airflow through the rotor.
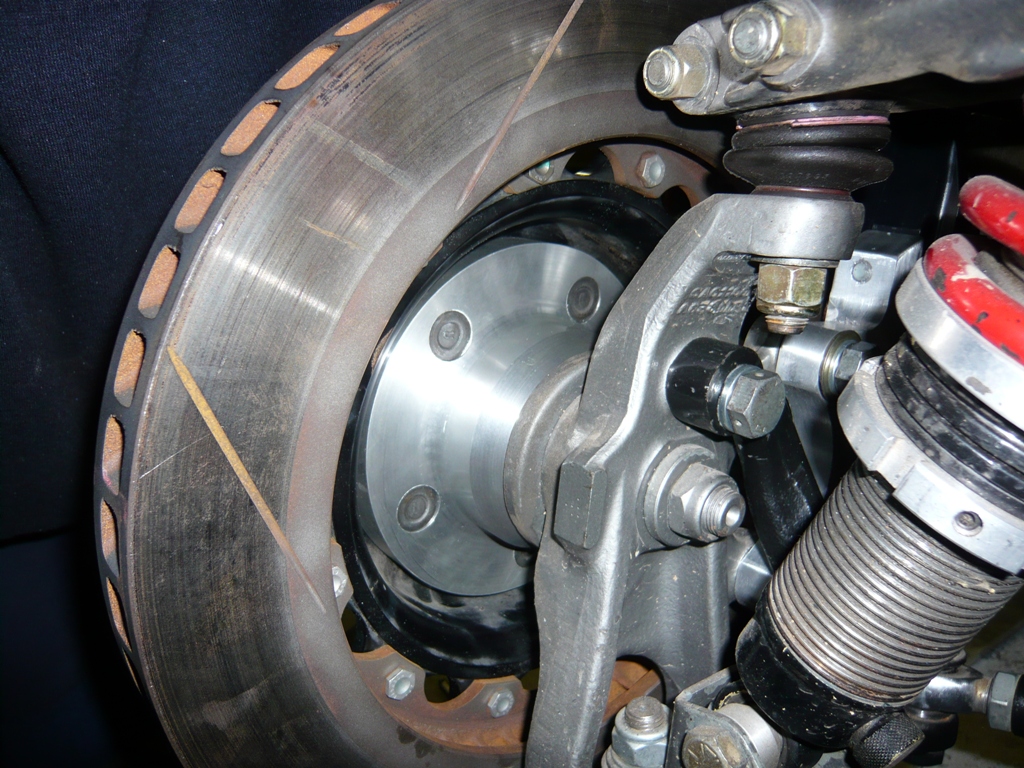
All mounted up with the Calliper bolted on and the pin drive adaptor sandwiching the rotor in place. Looks like I got the bolt circle right this time.
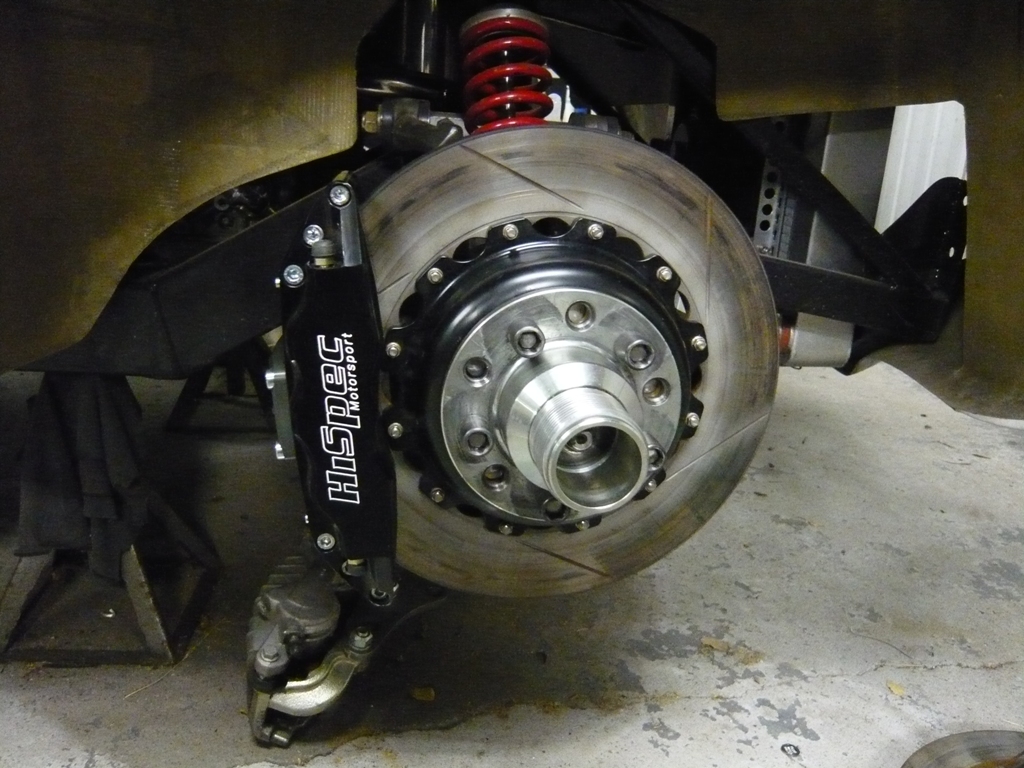
Now I've got to duplicate this setup on the other side. I've also got to machine up a little grease/dust cap for the hub. The cap on the pin drive adaptor keeps everything inside but I want to make sure the grease is kept in with the bearings where it's needed.
Cheers