A long, long, long, long, very long, overdue update
.
Well hello again everybody!

I cant count how many times I have sat down to down give you all an update over the past months, but just never seem to get finished.
I also think I am back to that issue of fighting between spending my time actually working on the car or sitting here telling you what I have been up to again. I will do my best to get caught up here and make this a more regular thing as working on the car has become a more regular thing again.
I know said I was taking an extended break to get some other projects out of the way
and I did. However things never go quite the way you think they will and things always take longer than you think they will
.hmmm.
Some of the things were planned, such as the stone work and windows on the house that honestly had been put off from the previous years, but other things just sort of came up. Also honestly I did throw a couple of things in my way to force me to get them done too and I did get some of it cleared away. Plus the regular stuff of life, working, family matters, friends,
C'est juste la vie
.
Then there is the strange issue that perhaps you too have also encountered, that is, when I am really focused on a large project and get pulled away from it for a time I tend to have a hard time getting my head back into it again.

Its strange, I want to get it done but my mind has wandered and I need to almost force myself back to working at it, its just strange. Perhaps it is because I have other hobbies as well and I feel the pull to do them too or?? I just dont know.
So I have been working on the roadster again, slowly for a while now but , sorry, I just havent gotten around to writing and posting about it.
There have also been some issues with the project but more on that later.
On the good side of the ledger I did get some parts ordering done over the summer, fall, winter, spring. A windshield assembly from Shell Valley arrived way back last summer, a wonderful birthday present ( well I hope its wonderful ).
I then ordered a beautiful set of Smiths gauges from Nisonger Instruments in NY state, they were great to deal with and very beautiful stuff too.
Yes I know, I know, most of the 289 cars had Stewart Warner, but the early ones, the European ones and then the 427s had Smiths and because this is my car thats what I want. I just like the look of them better. No offence to anyone but I have always found the classic Stewarts look fairly industrial by comparison.
I put in a small order to Modern Driveline for shifter stuff and also picked up a handbrake handle that I think with a small modification will work nicely.
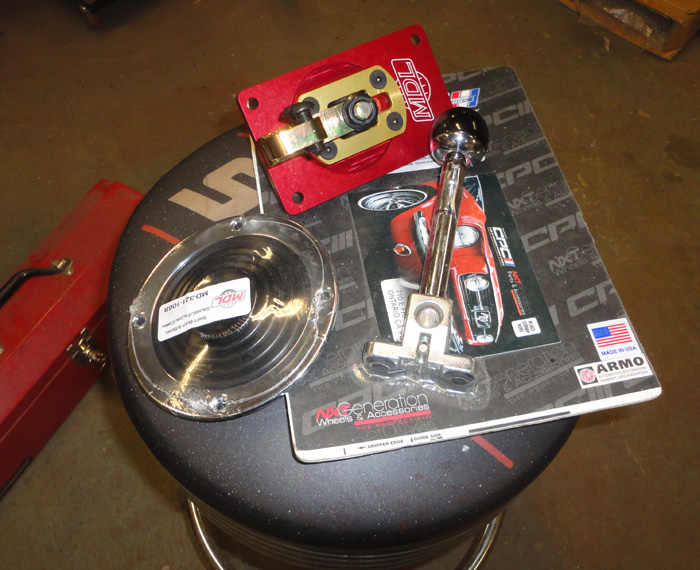
There were other odds and ends too but more on them later.
So I will try and get back on track here with my reporting and try and get caught up while I try and keep moving forward, so then on to the good the bad and the ugly.
So getting back to it
.
I started sort of right where I left off, the differential mounting. My urethane front mounts arrived after about 3 months! Bloody covid delays
So
I needed to pull the diff case back out to deal with the new mounts, the rear cover and the fact its just an empty shell! Well it was then I found out I really couldnt remove it, not without removing the front mounts completely and twisting it in a bizarre way and I also realized the when it is fully assembled with a rear cover on, that would just be impossible. There is a picture in my last post where you can see them, kind of ugly really.
So really a bad way to start back at it

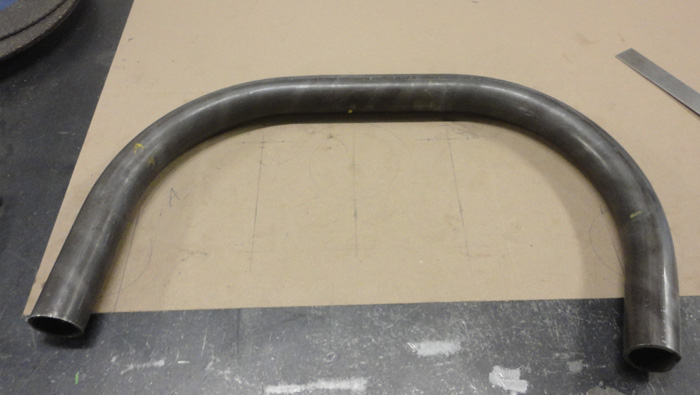
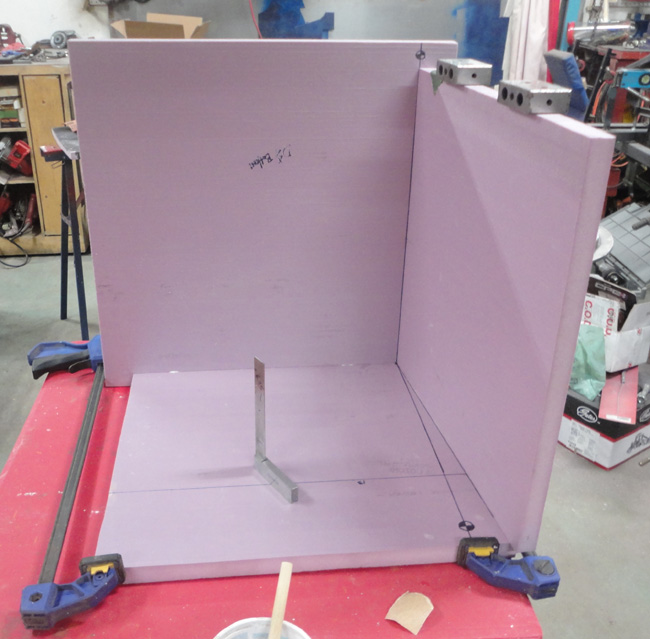
but back to the drawing board, the diff obviously needed to mount from the top as it does in the T- bird, etc. so it can drop straight down and out. I did some measuring and figured I could find enough space at the rear of the tunnel to add a compact upper mount design and I had just enough 1 ½ DOM tube in the shop to make it. It certainly doesnt look like anything the original chassis had but it is above the main tubes and hidden behind the rear cockpit panels so no one will really see it.
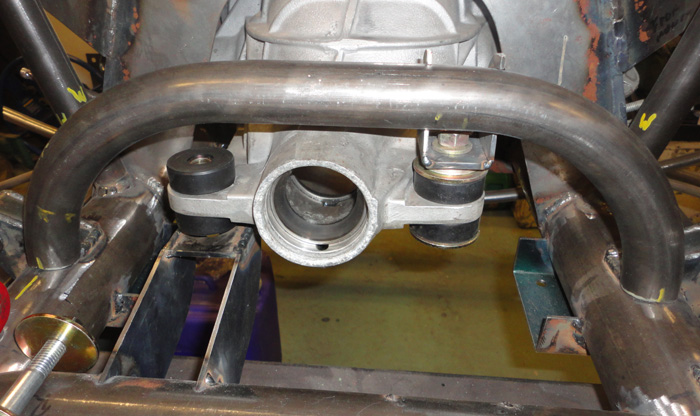
This picture does have one of the first attempt mount pieces on the left just holding the diff while I fit up the new top mounting point, they were fairly ugly, just flat pieces with a plate on top, simple to make but did not work, I think the new one is much more elegant

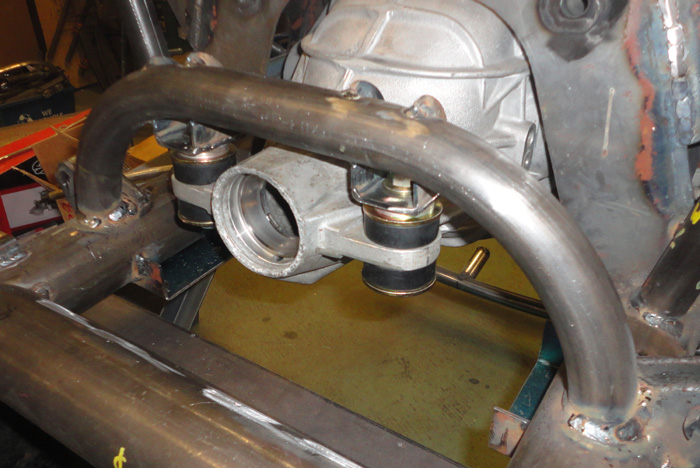
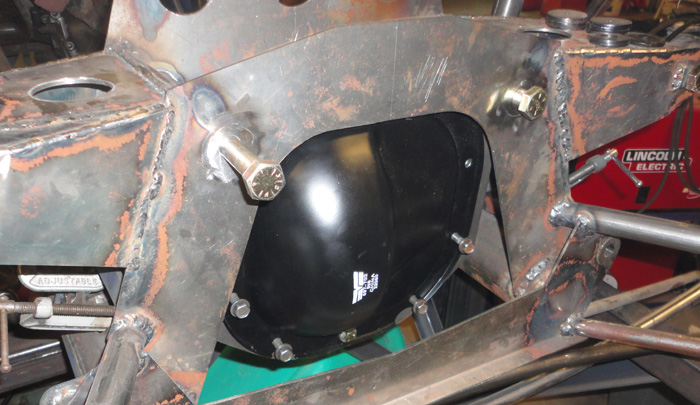
It seems to work well, I should be able to build up the differential and lift it into place with the floor jack easily enough. Also it currently looks like the old school steel cover is the winner for fitting, I might still cut and try one of the alloy ones, but more later. The steel one will need a couple of plug holes added but thats not a big deal.
So problem solved, I hope

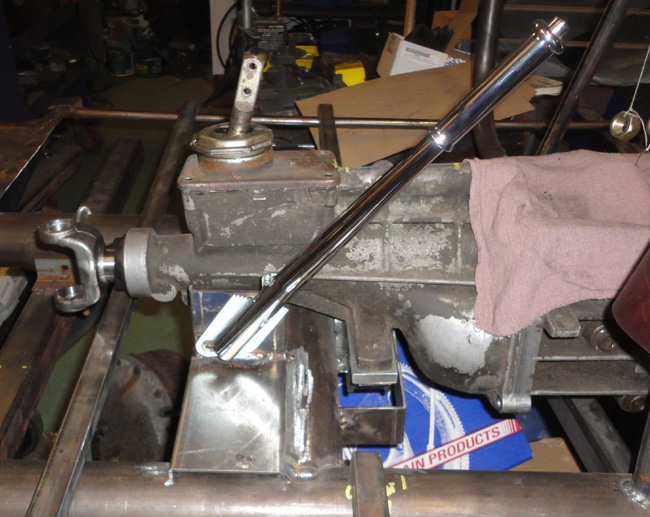
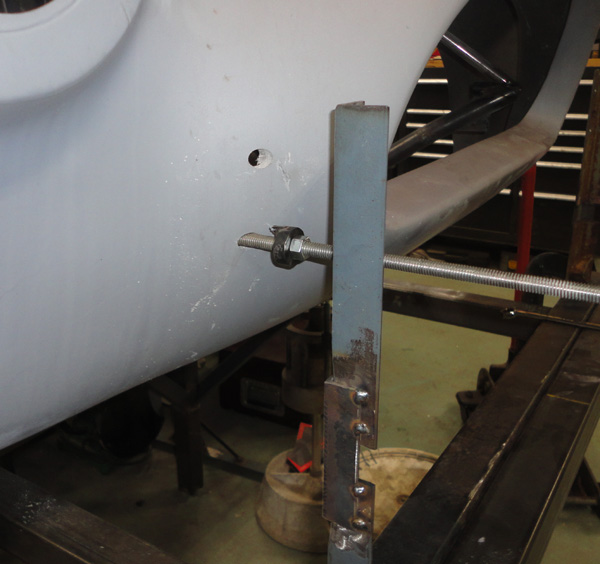
Then as I wanted to start working on the interior aspects of this car I made up the brake handle bracket and tacked it in place relative to the transmission cross member but remembering that I had moved it rearward 1 ¾ inches. We will see how it lies up with other things as I build the floor and tunnel but for now there it is.
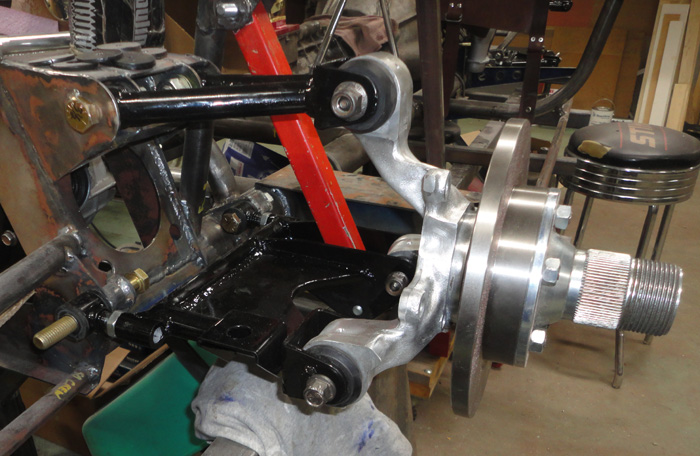
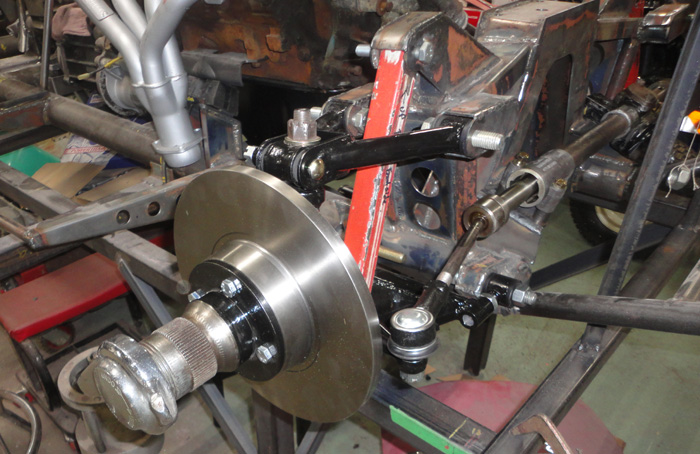
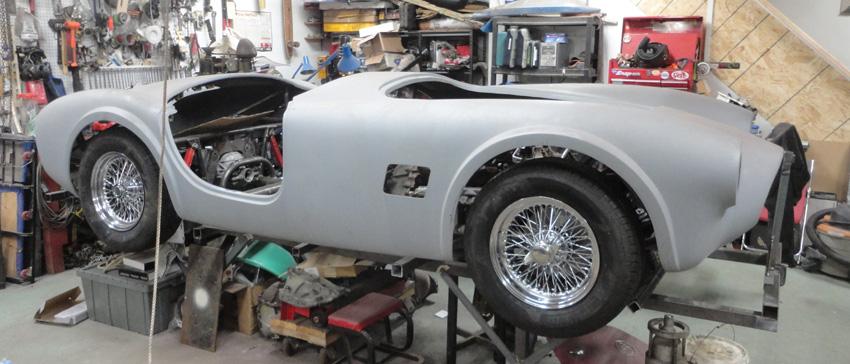
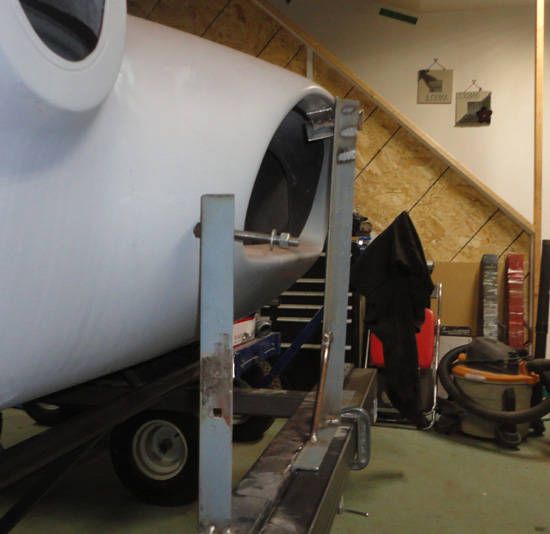
I wanted to get the suspension back on for a body fit up at some point soon, as I had some new thoughts about how things might be lining up around the cockpit area.
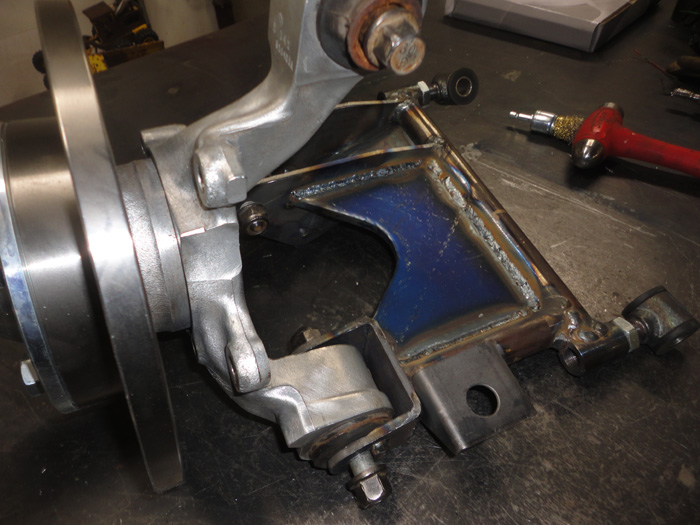
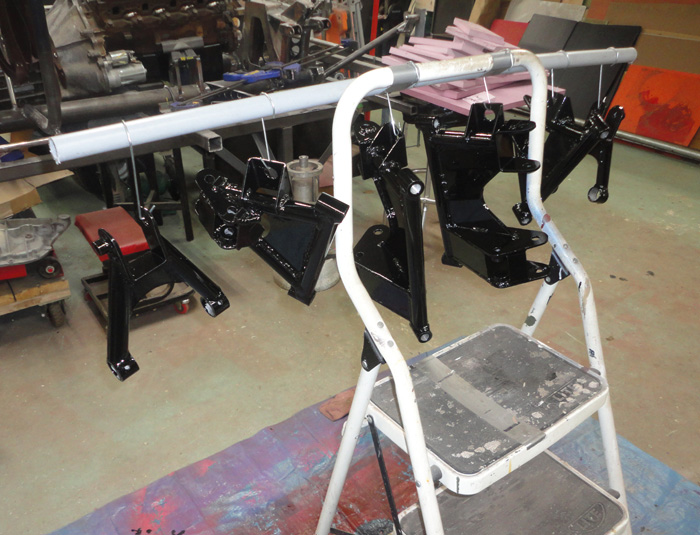
I got the parts out of storage and decided to add the gusset to the lower rear arms. I was still not sure what the rear axles were going to be but was still thinking they would be shortened Ford ones so I need to clear the CV boots. A piece of 14 gauge with a formed lip to stiffen it should work nicely. Then the whole lot was sand blasted and painted with Por15. 2 coats with a brush, very nice.
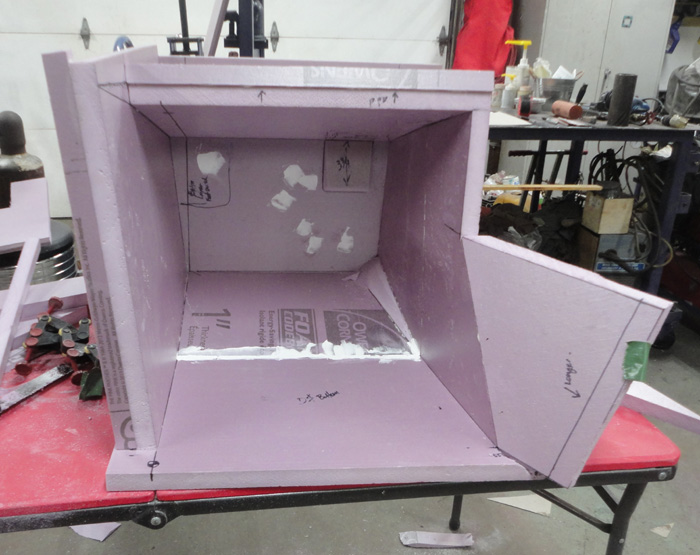
Next I wanted to make the foot boxes and trunk liner fiberglass parts; it was getting later into the fall and before the weather got too cold for stinky fiberglass work outside I thought I had better get a move on.
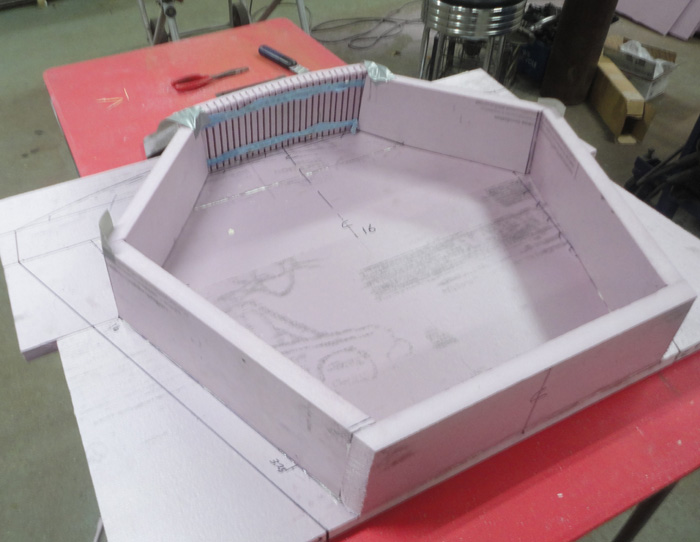
I had received a copy of Chucks newest drawings and with some previous experience making fiberglass moulds I got to work. As I only want to make one copy of these and keep my cost down I decided to go with builders foam from my local construction store and my favorite polyurethane glue. I have used these products before to make mould plugs so it should be fine for a one time mould.
The trunk liner and boxes are mostly comprised of flat surfaces so it should be a case of cutting out the various panel shapes and bonding them together and for the most part it went like that.
The trunk liner does have a curved panel at the back and the tapered stiffeners in the bottom but it was just a case of making a flexible piece for the rear and cutting the bevels on the stiffeners with the table saw and then tapering them down to shape with a sanding block.
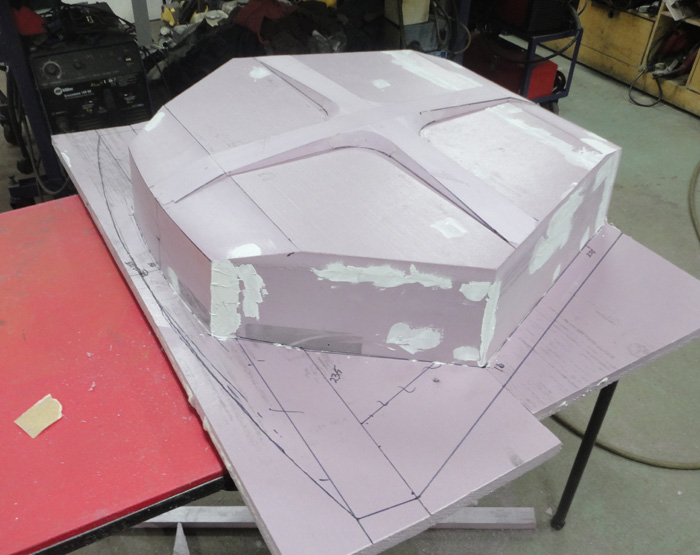
This is one of the best things about using this foam, it cuts and sands fairly cleanly. For filleting the corners and filling minor imperfections I just use regular drywall compound, again, cheap and sands easy too.
The downsides of this method are also related to the foam board, it is very easy to damage the surface, you can scratch it with your fingernail so care is a must. The major issue however is the fiberglass part; the polyester gelcoat and the resin will MELT THE FOAM! I have seen others use latex paint as a barrier coat with varying degrees of success but my preferred product is West System epoxy for coating the final shape, just apply a thin layer and when it cures depending on the surface finish you want, wet sand it and wax it up good.
Things were going good or so I thought
..
I started with the trunk liner, really it is just like making a regular mould plug, its a positive shape just a case of getting the sizes and draft angles right. I did have a bit of head scratching about the angle of the drop towards the trunk opening as what is on drawing doesnt really make sense but I took some measurements from my setup, then a good guess and made some minor changes I saw fit.
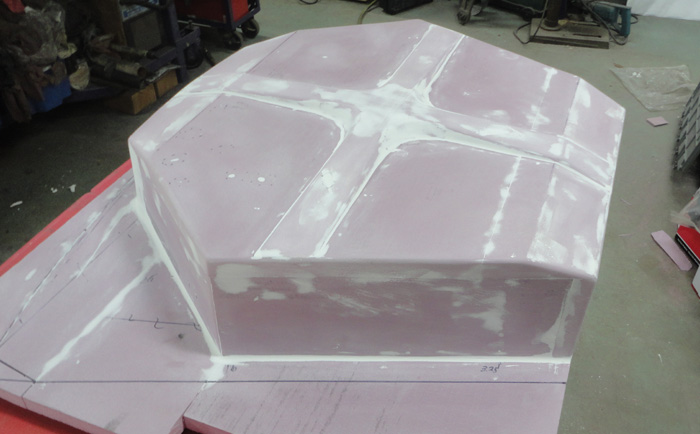
I got a coat of epoxy on it and I will double check things again but I wanted to get started on the foot boxes.
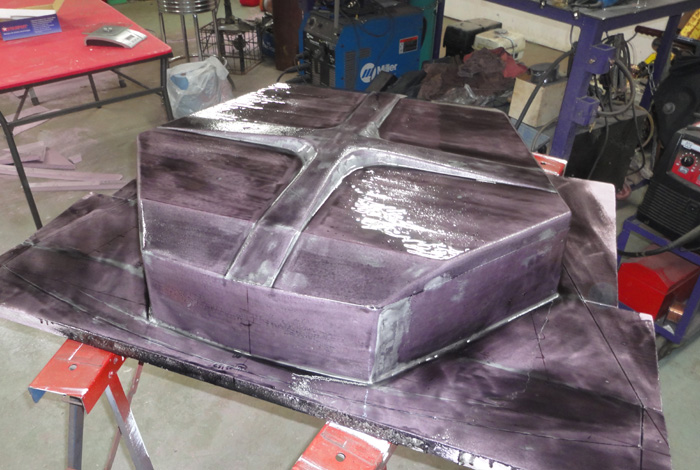
With plan in hand I started measuring and making shapes. The drivers side went together surprisingly well and there is only one panel that really isnt flat so I thinned the foam and flexed it to shape.
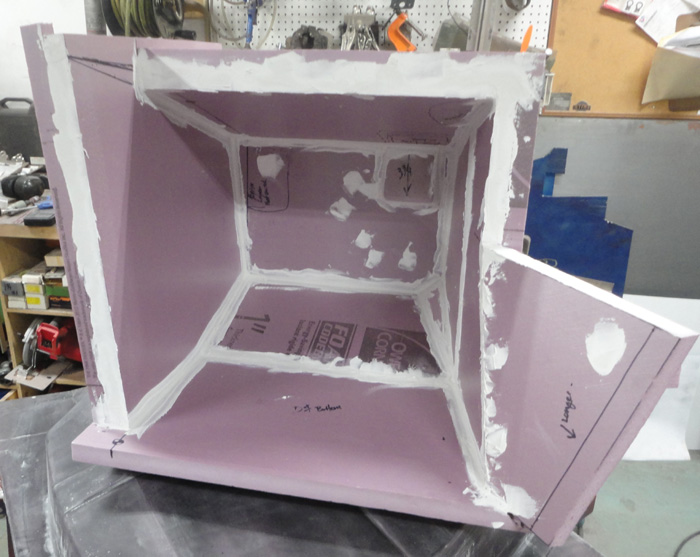
Its really great stuff to work with, you just glue it and pin it with toothpicks, if you need too you can clamp or tape things for a couple of hours till the glue sets up enough to handle it.
When I got to the filling and sanding stage I started to work on the passengers side box, again I measured and cut the shapes, but well into making it I had a thought or two about how things were lining up, the passenger foot box seemed to be a bit longer than the drivers and I know that the battery tray mounts to the front and it is supported from the front outrigger, so how was that going to work out?
I took a measurement and it looked promising, perhaps ½ inch short but I could allow for that in the battery tray and bracket.
So, Ok, but something was still bugging me
. that got me thinking about the drivers side, I did not check anything over there and I had noted in my head it is a different length. I got my ruler and well, something was just not right at all!
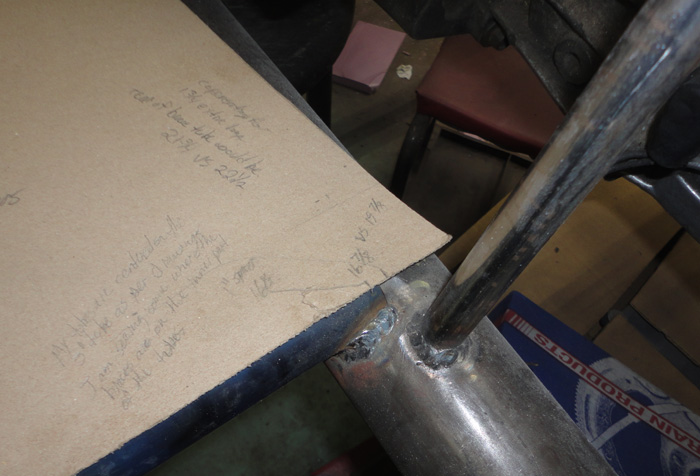
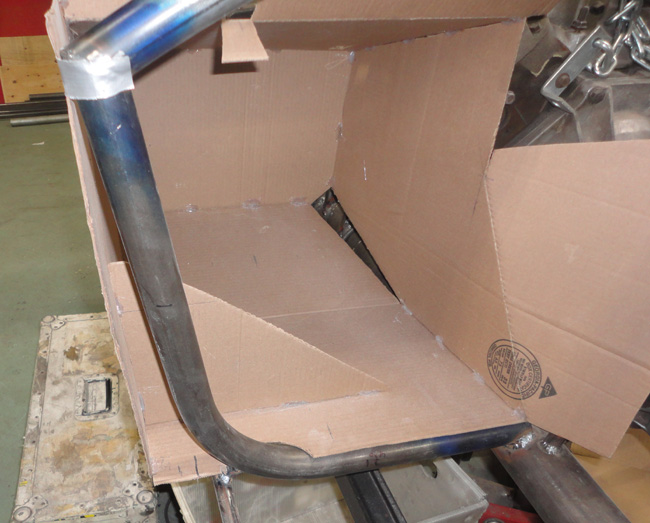
I made a full size cardboard template of the bottom of the foot box and checked that in place.
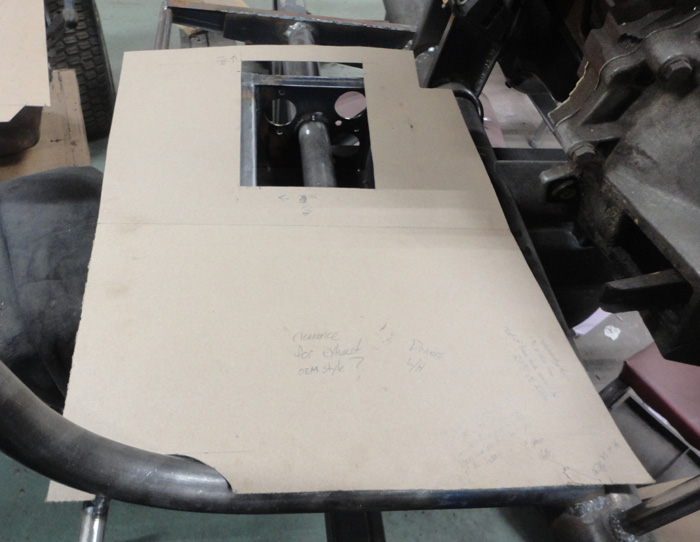
Even more things looked wrong! WTF? I started rechecking all the appropriate measurements, everything, even the spacing of the main chassis tubes although I knew they were not wrong, I surely would have noticed that by now. But currently the box seems way to long and way too wide
.?
So a message was sent, telling what I found and asking if there is a discrepancy in the foot box measurements. Were these taken from another replica perhaps? And we started comparing notes
Hmmmm
I must say Chuck was great about getting back to me, he doubled checked some of the measurements and was honest about the fact the chassis drawings have the pedal box located about 1 ½ inches to far aft and a bit too close to the main tube as well, another unrelated discrepancy I noticed with the rear framework was also confirmed but I had used the correct measurement so no rework is required there. Chuck has also corrected the drawings and sent me the updates. If you have a digital set of his drawings in your collection I am sure he will send you the update if he hasnt already.
He says his measurements were taken from a battered original set of boxes he has, and a reproduction set he had access to and are the same as the ones used in his build.
So if those measurements are correct and we have established that the pedal box is currently in the wrong place why is the rear part of the foot box still about 1 ½ inches too wide and why is it the same on both sides? Is it me? Did I forget how to measure?
Much more re-measuring to follow
I have condensed a lot of the back and forth on this and the time to tell it takes far less time than it took to check, check and recheck stuff. Not to mention the frustration of finding out stuff you have been doing is going to need to be re-done

. Nobody likes that news, but fear not fellow travelers, things are going to work out in the end.
I will check back in again soon.
Cheers,
Hudson
.


 115Likes


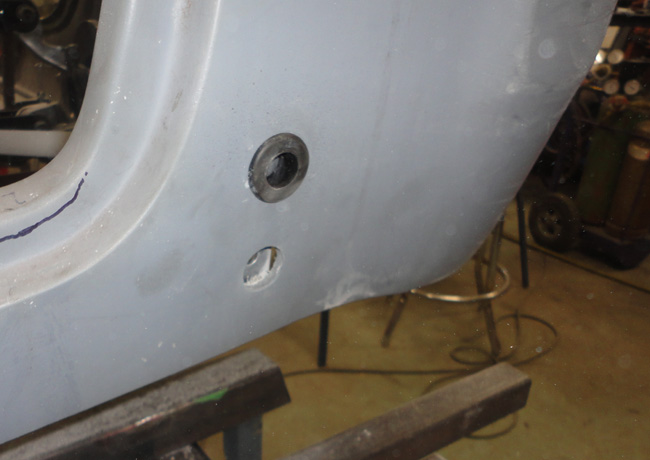
 ) so I dug out my trunk lid and handle and did some checking.
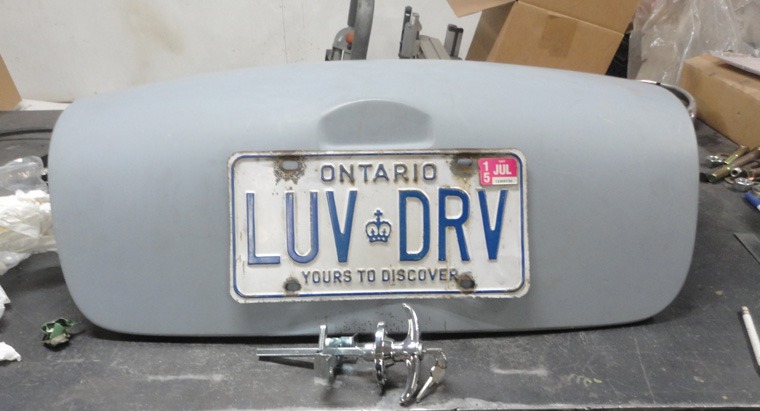


 Hybrid Mode


