So last year due to varied circumstances I sold my Harrison #40, which to be honest was a very very hard thing to do, and boy do I miss that car. The plan was to get a tri-five chevy, in particular a 55 Hardtop. Next to a Cobra, this has been my life long dream car.
I had been searching for some time and a few examples came up but they just didn't stack up for whatever the reason.
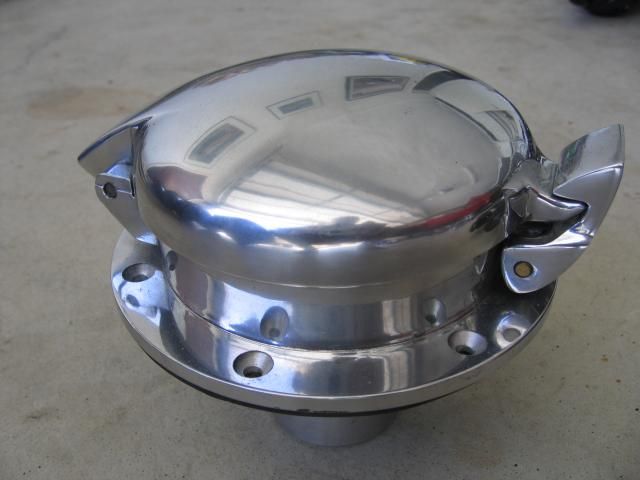
During this time whilst searching ebay etc, I came across a gascap. I have always been a fan of the non roller gascap so I thought, why not get it to add to the garage for 'art'.
After months of realization, it came to me, the desire for a Cobra was just too strong. At this point I was enjoying the thought of a mild restoration on a 55 Hardtop, so why not the same with a Cobra.
A good mate and a QLD cobra club member has an old Arntz which he was using as his daily driver. Due to his knowledge on vehicle importing we discussed the options of purchasing and importing from the USA. Some options came up however for whatever the reason, they did not stack up. So this then led discussions about the Arntz.
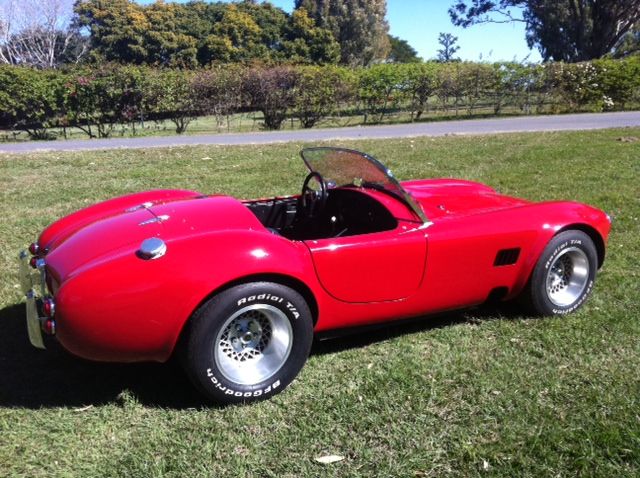
Long story short, this now resides in my garage. The original plan was for a quick tidy up, tighten up the 30+ year old steering and enjoy. However, not always do things go to plan.
Anyway, I will use this thread do document my Project Arntz restoration, lets just see if I keep on track or get carried away.
It started with a gascap.
Arntz, before me getting to it.
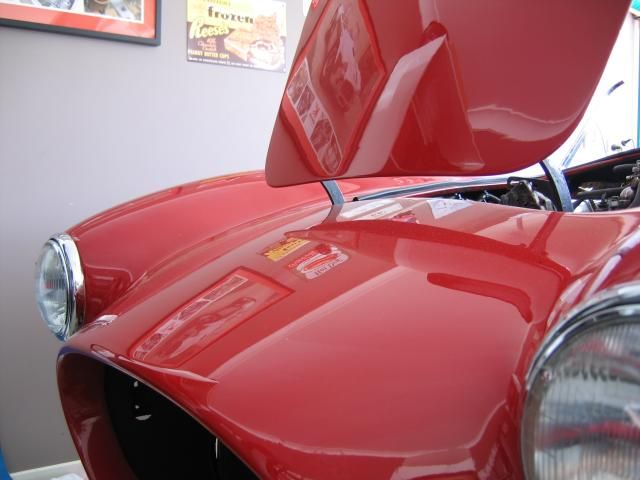
Initial clean up and paint correction.


 250Likes


 Threaded Mode

