I recently changed the mufflers on my side pipes and made them removable with V band clamps. With all the talk about side pipes here recently I thought Id share how I did it. Now before any of you killer fabricators get all cranked up over it, Im NOT a good welder but wanted to give this a shot myself. To start with I was pretty sure that my pipes were fairly restrictive just because of some posts that Id seen on mid production BDRs (mine is #687). Some of you may remember my issues with the headers that I received with my car and Ill show a little of some of the things that I did with them. So everyone is on the same page, my car was an early example of a BDR set up for an FE and I understand that many things that I had trouble with have since been addressed. But for those with a car near mine in production this should be interesting.
First let's look into the exit side of the headers. Most of the pics here are self-explanatory but if you have questions about then dont hesitate to ask.
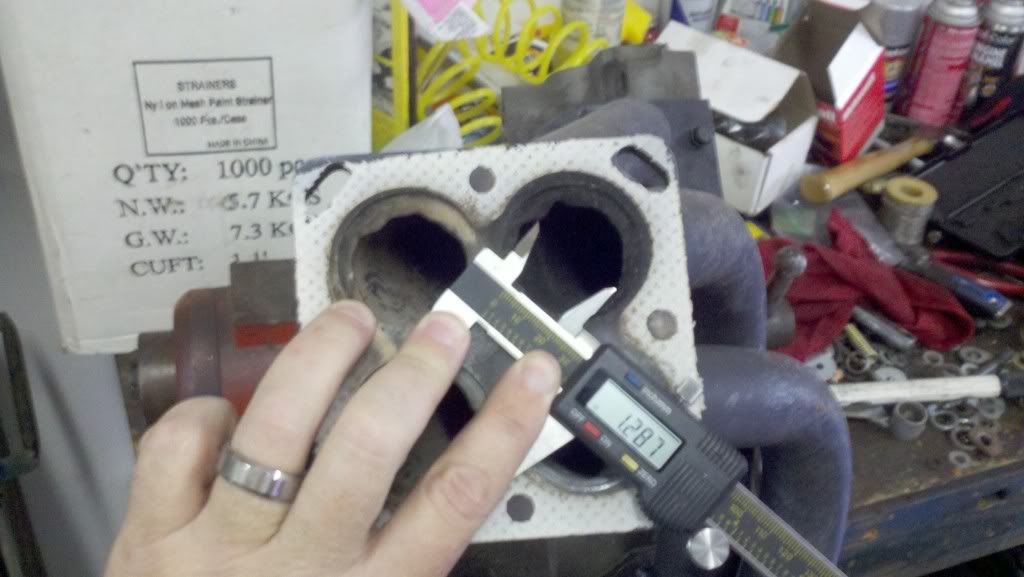
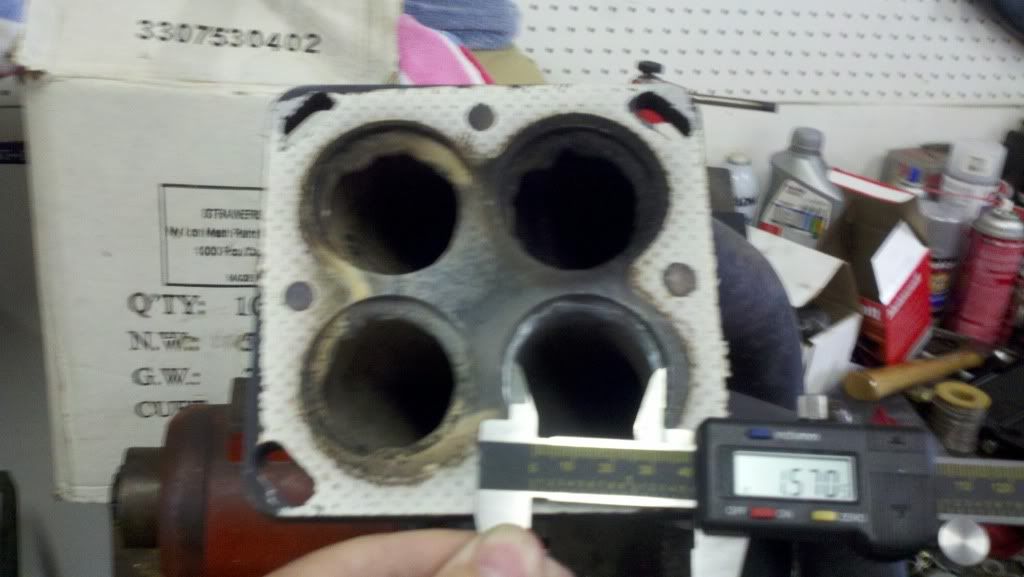
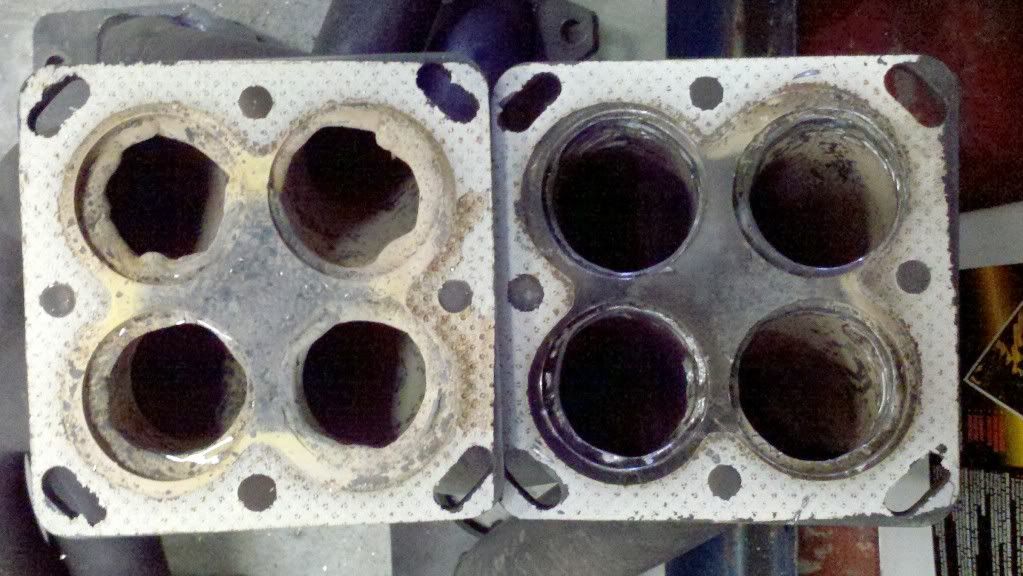
In the next 3 pics youll see the weld slag in the port where the side pipes bolt to the header. I actually went to town grinding on these before I put the engine on the dyno a few weeks back.
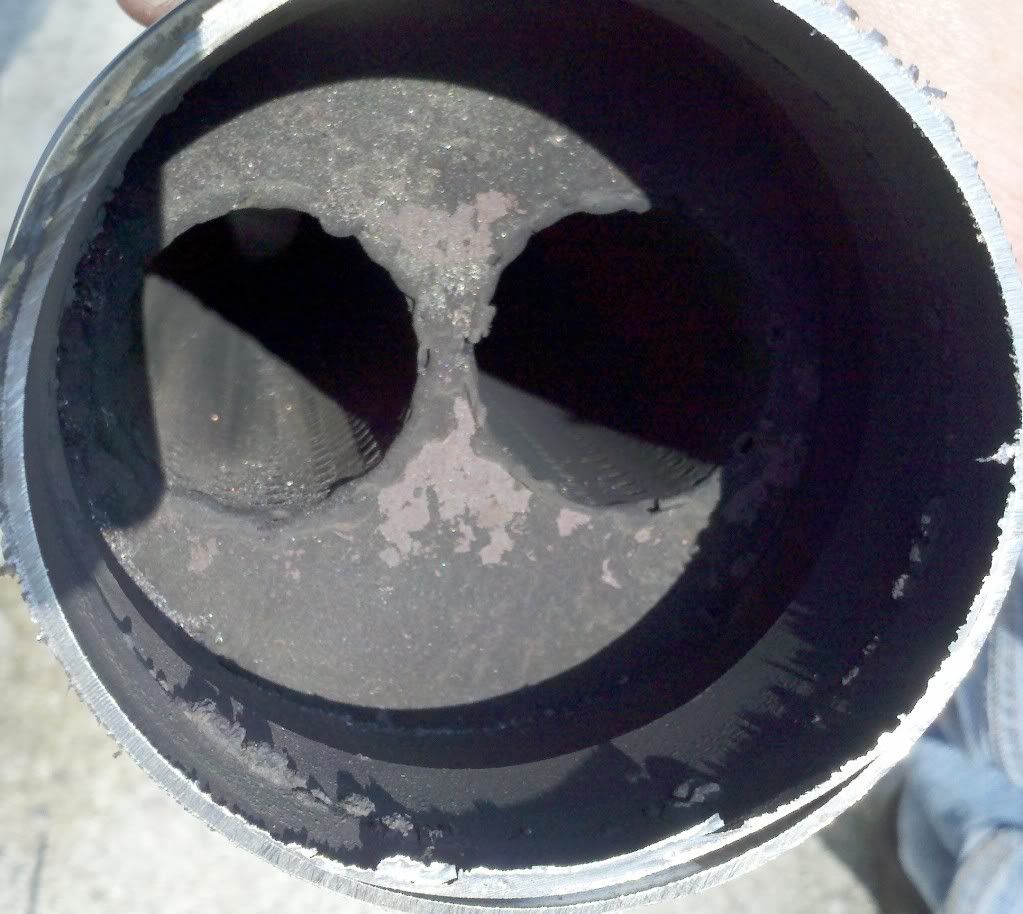
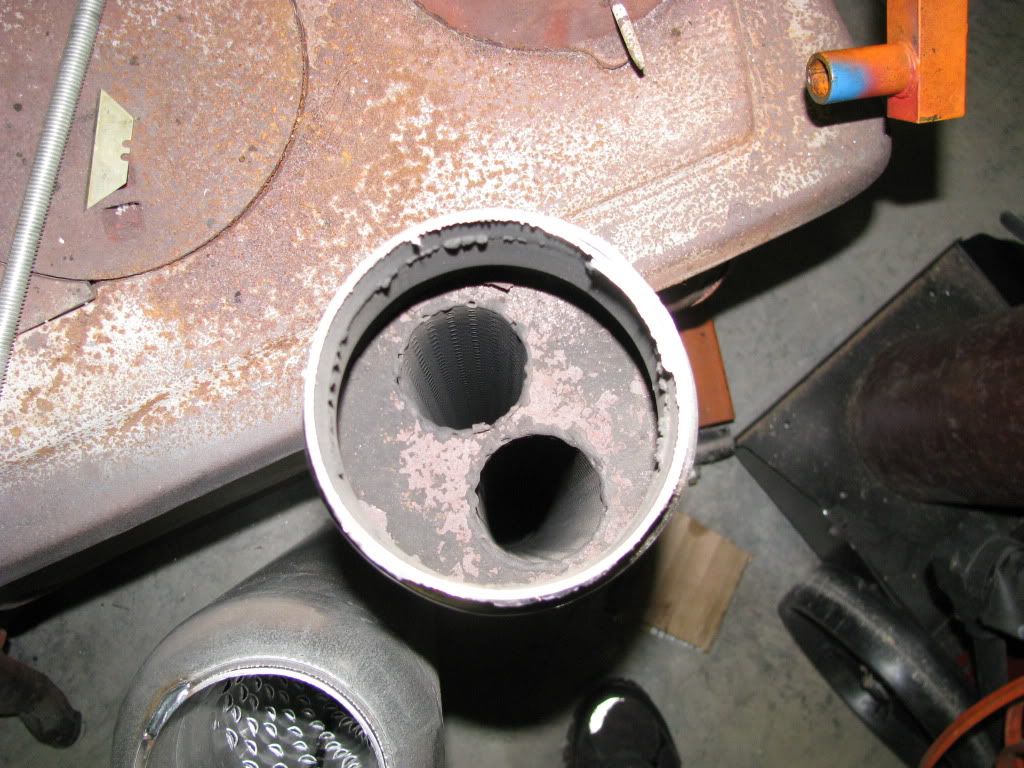
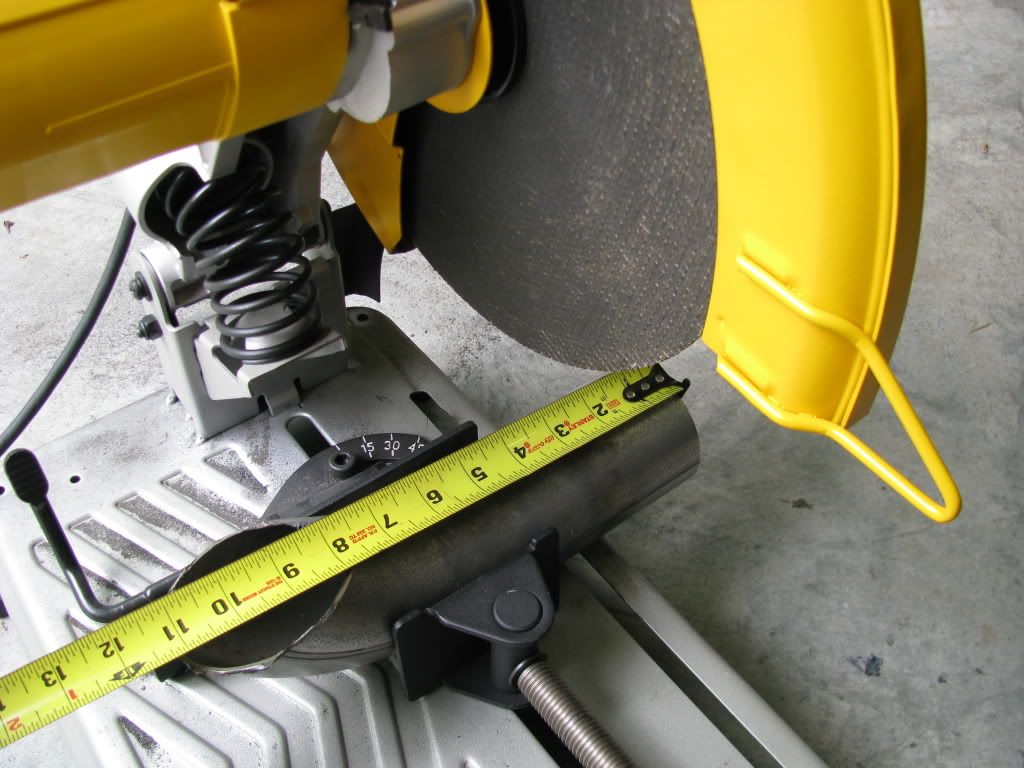
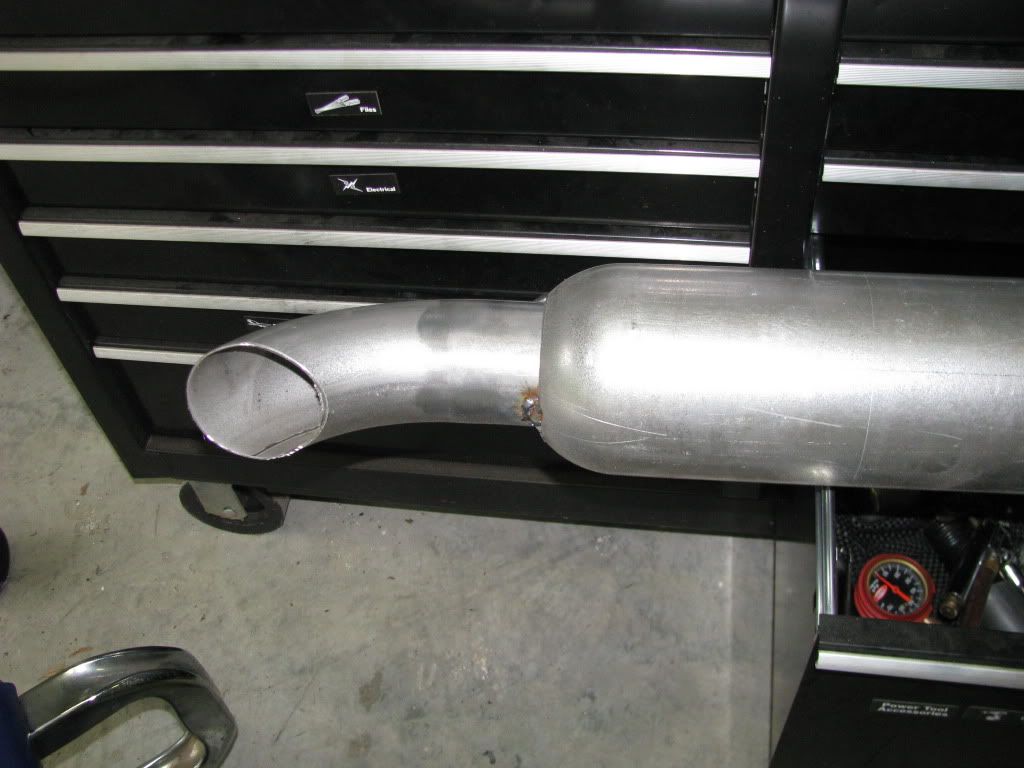
The next couple of shots are of the inside of the side pipe after I finally got up the cojones to take the chop saw to it. The first one is looking at the collector from the muffler end and the second is what the inside of the muffler looked like. Not good in either case.
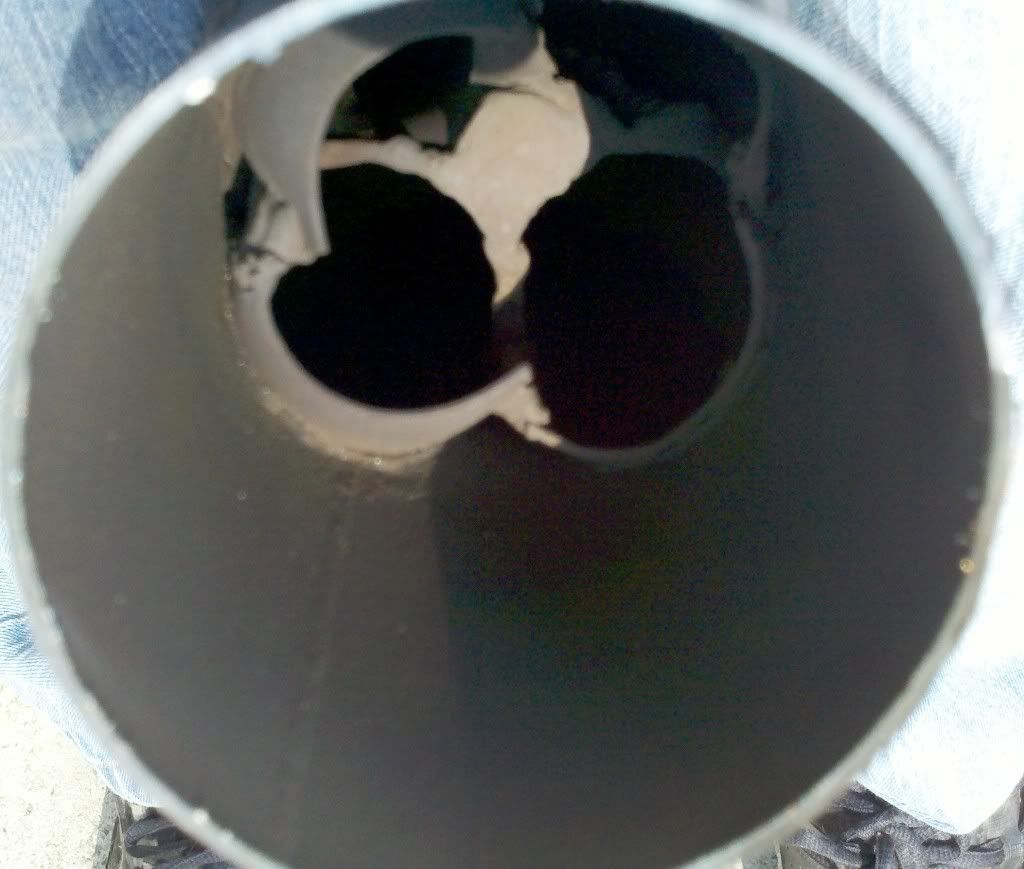
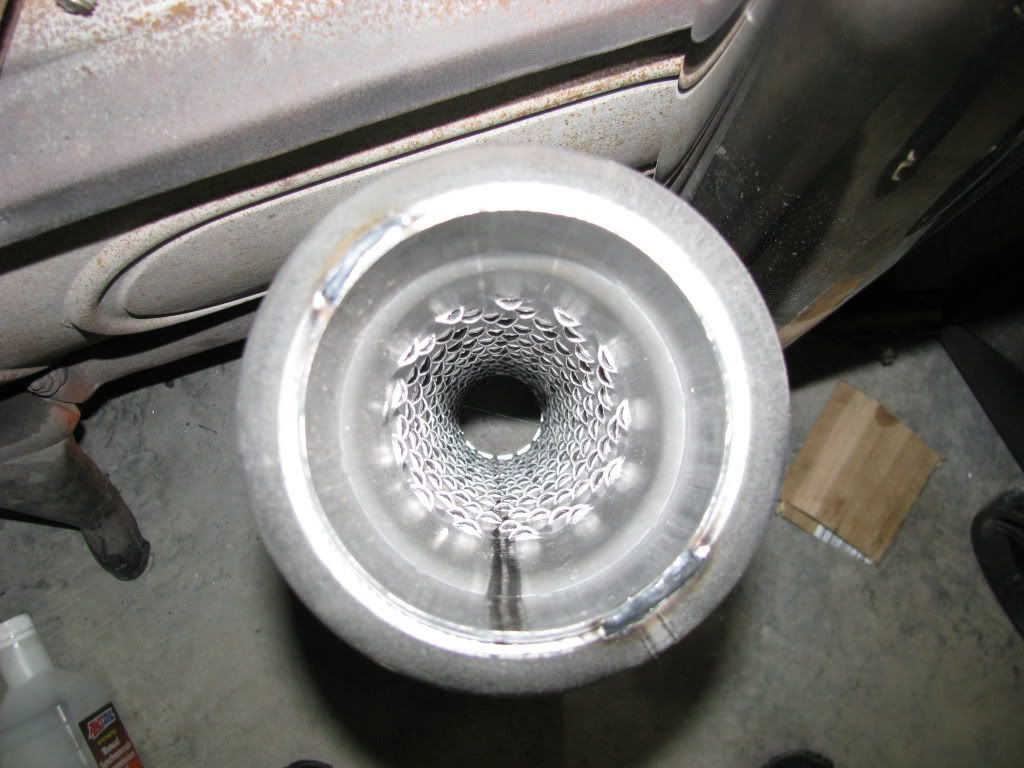
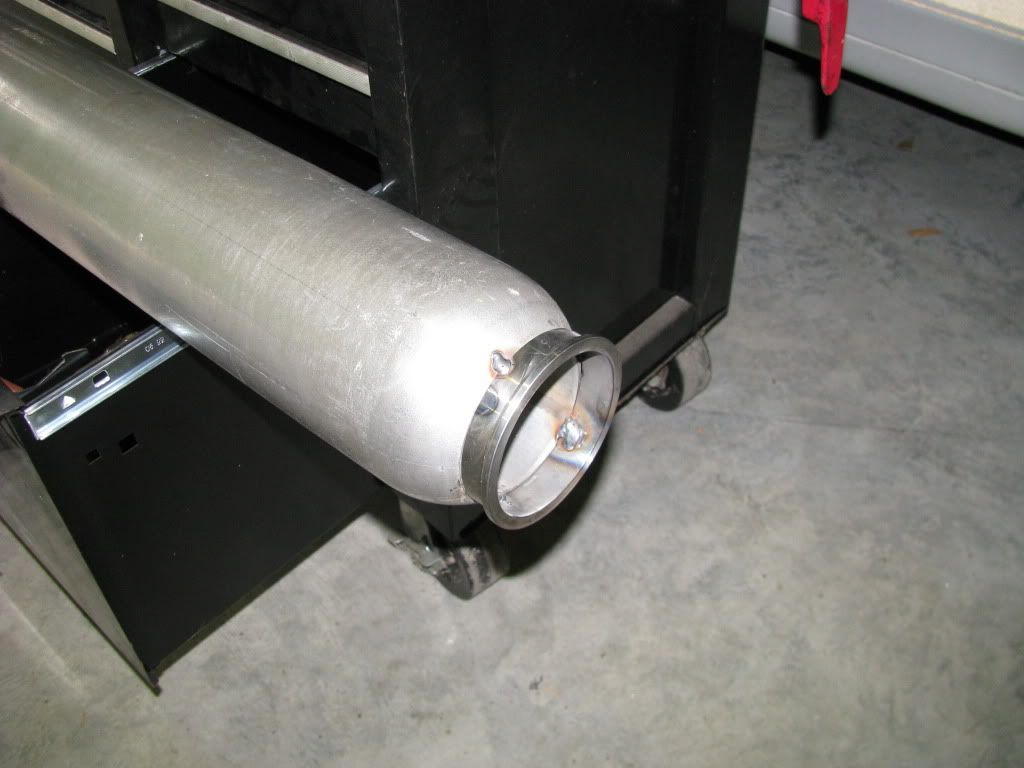
This is a look down the muffler that replaced it. This is a 5OD glasspack with a 3 core. I think itll do mobetta. I sourced the mufflers from Full Line Exhaust
Full Line Exhaust Online @ something like $38 a pair.
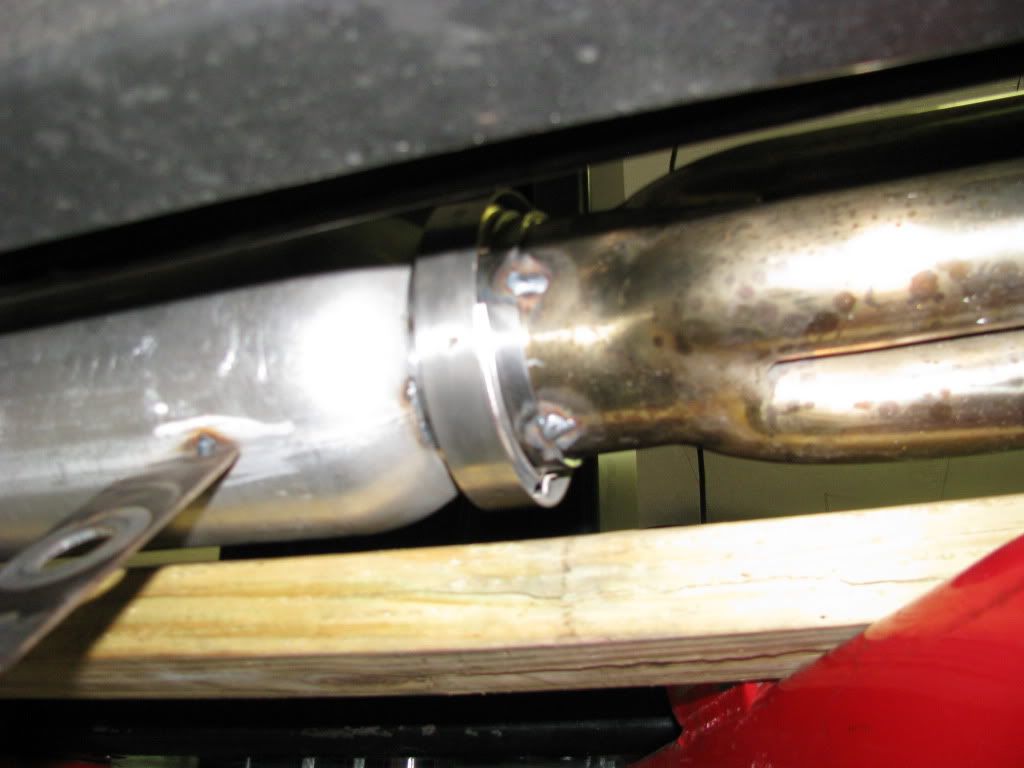
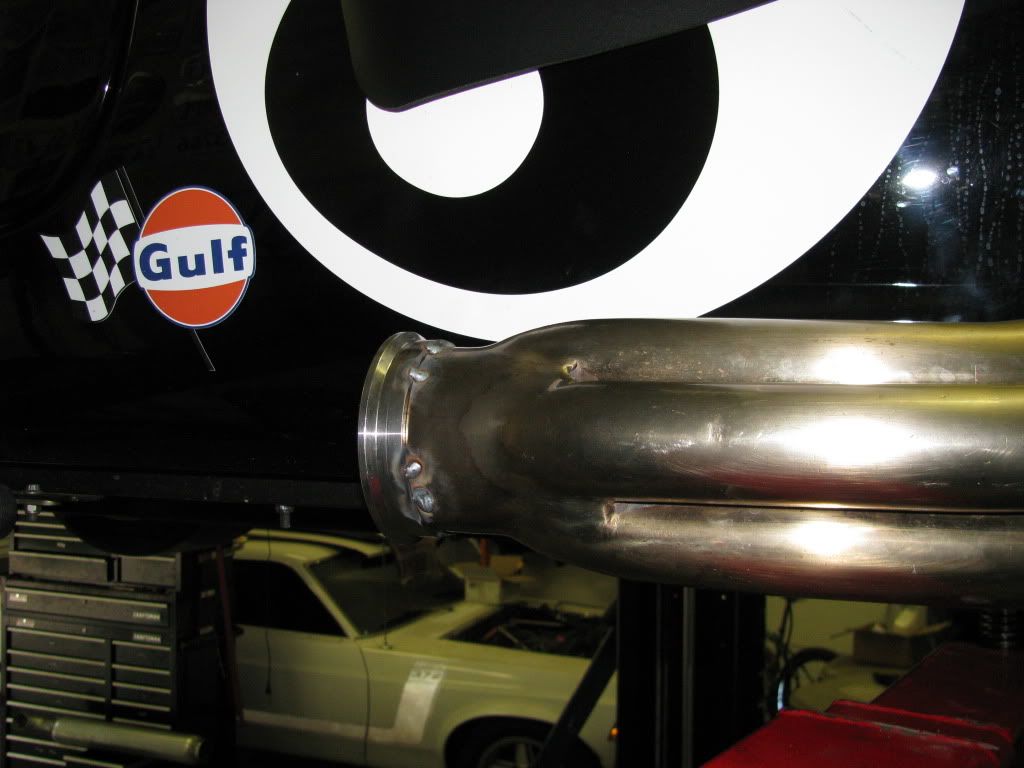
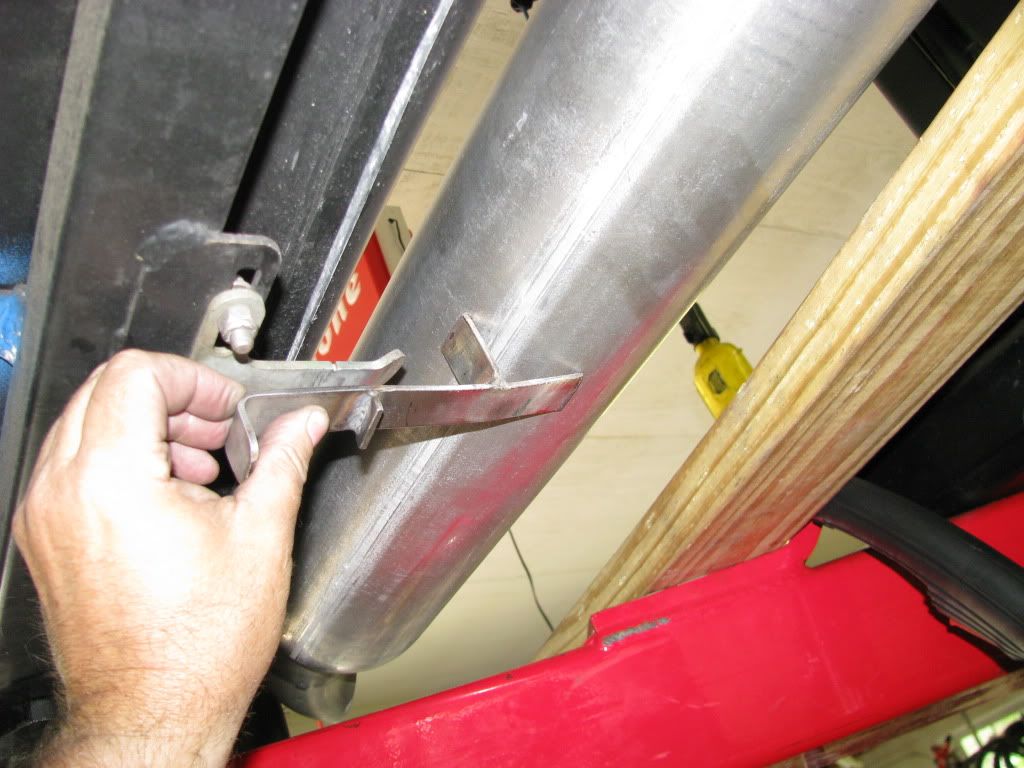
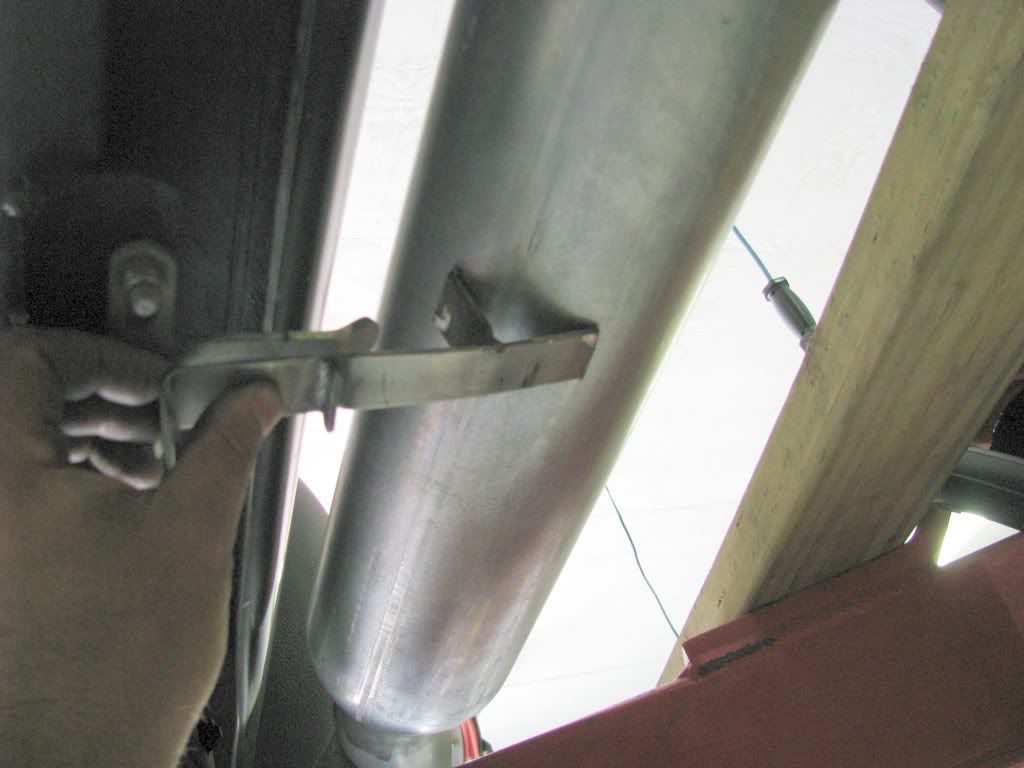
Then I got the V band mounts as even as I possibly could on the mufflers and tacked them in place.
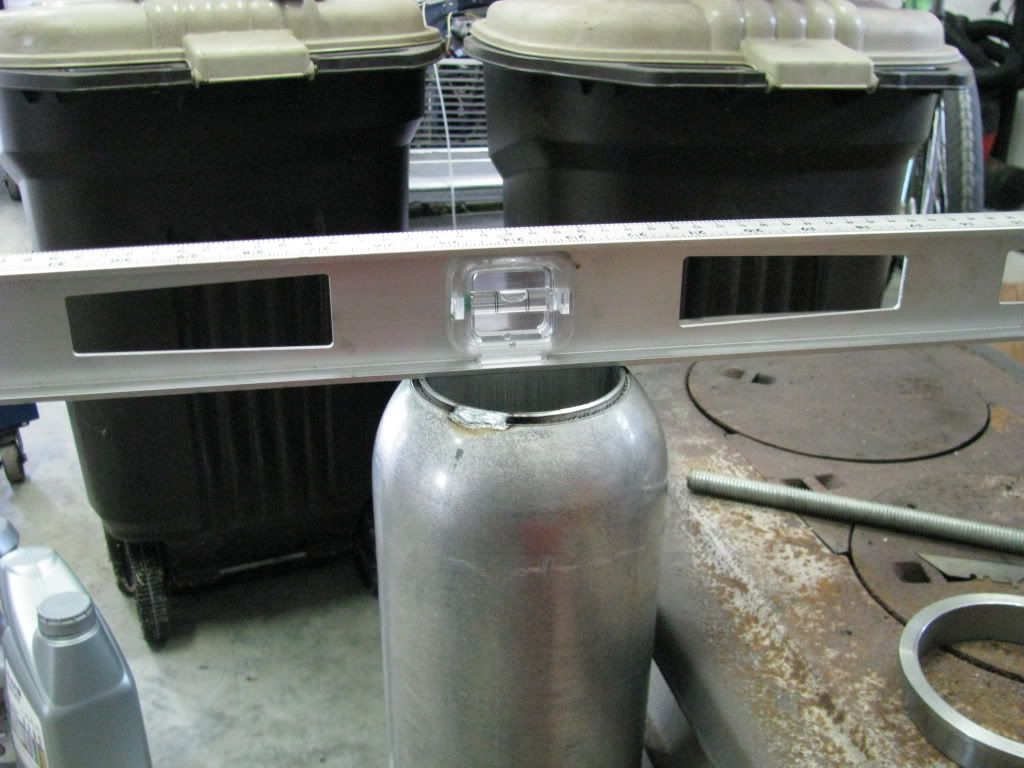
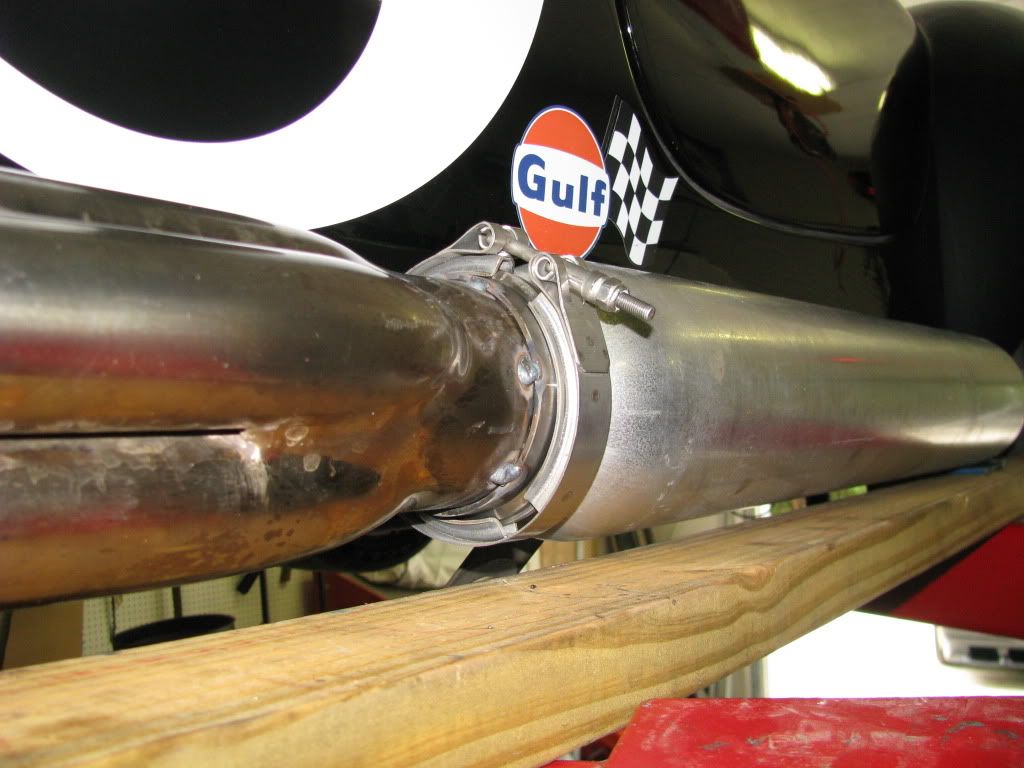
Then, with the V band mounts on the collector but NOT tacked yet, I fitted the muffler. To do this I used the V band to hold the mounts in the right place while I moved the mufflers to the best position that I could. The slight movement of the V band mounts on the collectors allowed several degrees of movement in all radial directions.
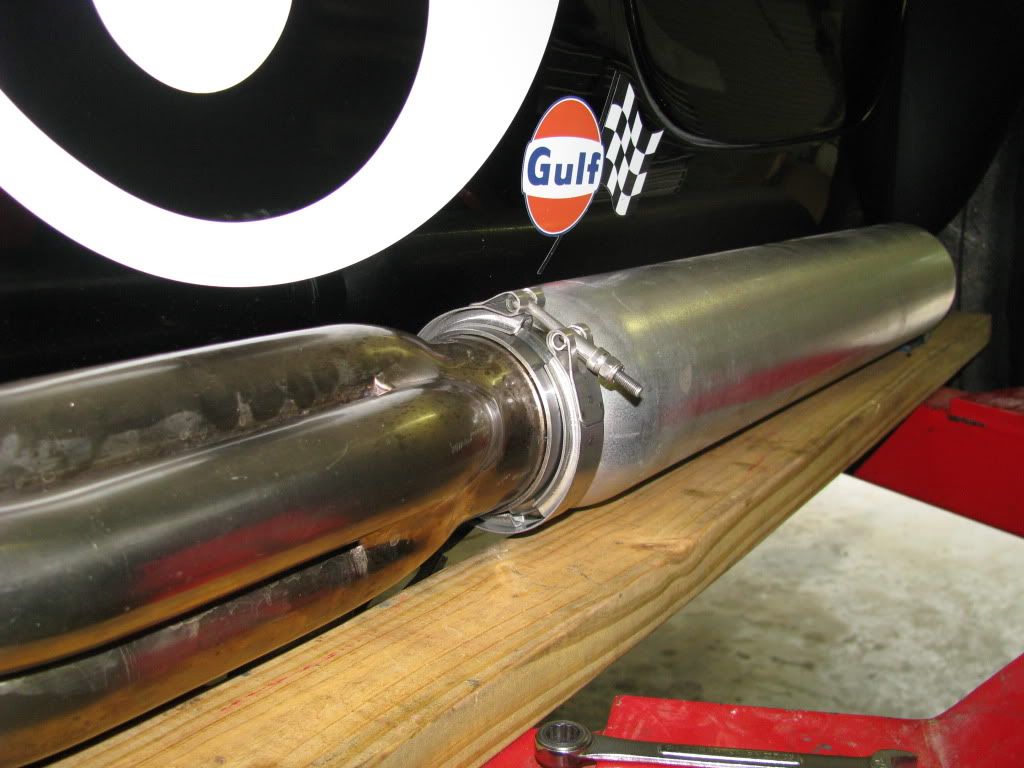
Once the mufflers were as well placed as I could get them I tacked the V band mounts in place on the collector. BTW, I sourced the V band parts from All Purpose Pipes
V-band Clamps and Rings
Once that was done I moved on to the dump tips which were trimmed with the chop saw and tacked in place with a very slight downward tilt. The 3 tips came from FLE as well.
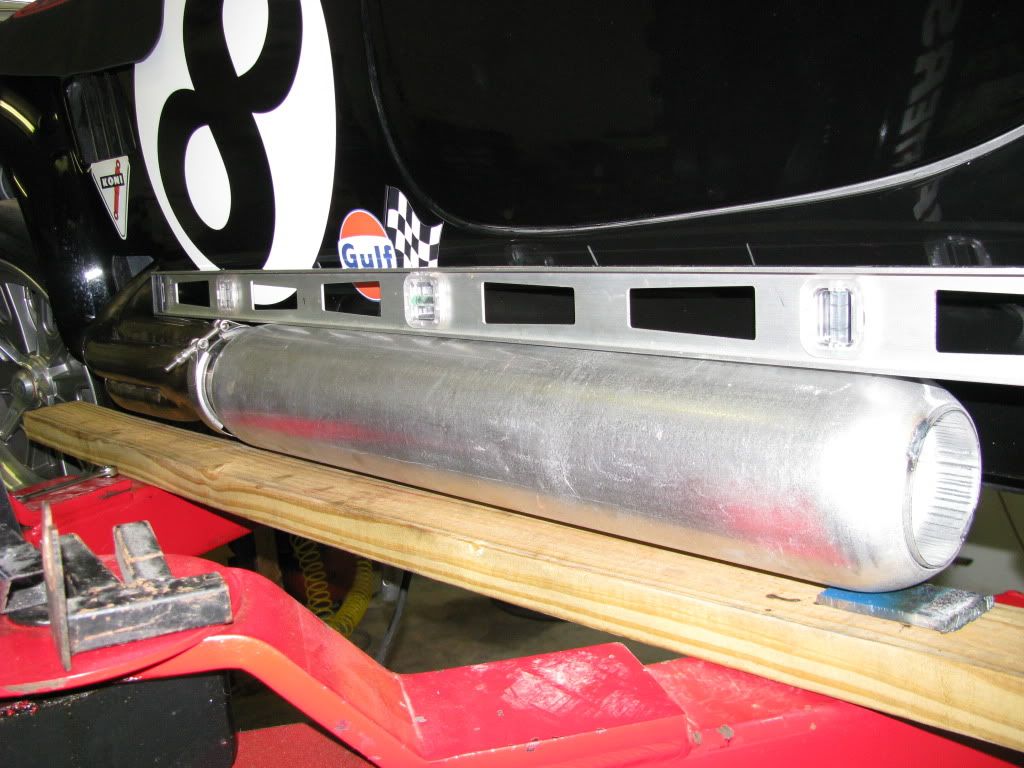
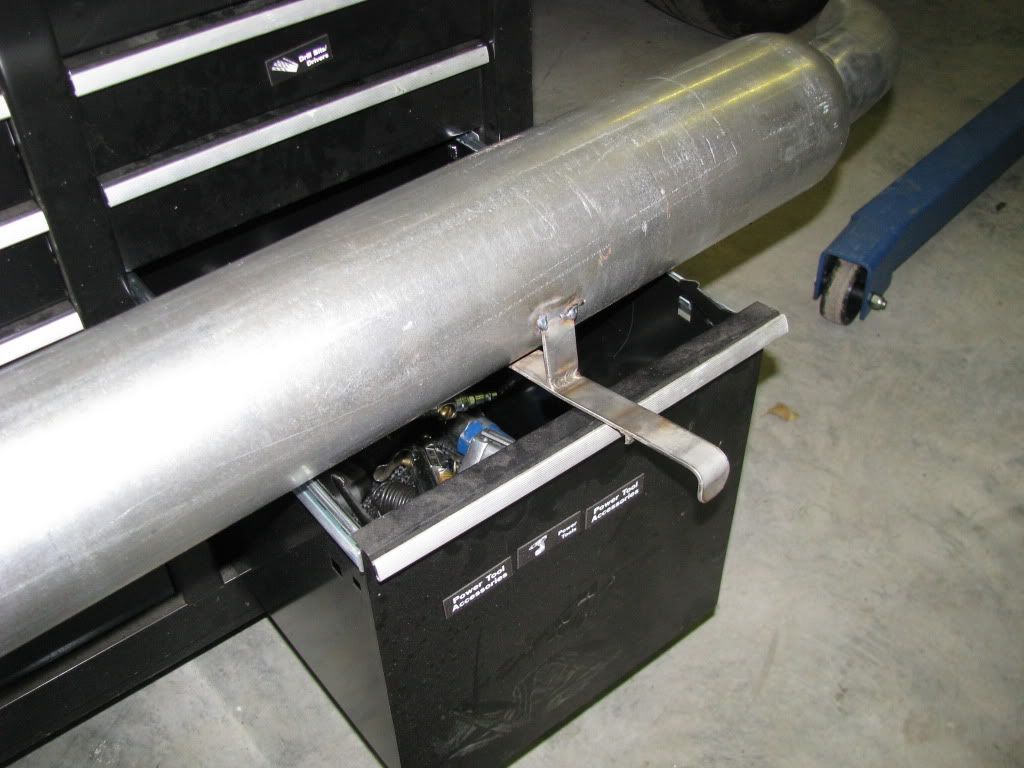
Then came the Muffler mounts which I cut off of the factory pipes. Since these mufflers are larger around than the factorys, I had to do a bit of bending and cutting to get them right but nothing to big, Once they were done they were tacked in place.
Then they all came off for final welding (yes thats what Im calling it), sand blasting, painting and refitting.
(A little side note on the sand blasting here, to sand blast it I had to rent one and the place that I went to didnt have a normal air powered blaster and the guy asked me if I wanted to use one powered by my pressure washer. Id never heard of that but rented the thing anyway. I have to say that It worked awesome! Way more power than I had expected.)
Once they were blasted I mostly dried them with a MAP torch then let them dry the rest of the way over night. The next day I wiped them down with lacquer thinner and panted them with VHT white and let them dry overnight. It should be noted that it took 2 cans to do it and I could use even more so be forewarned.
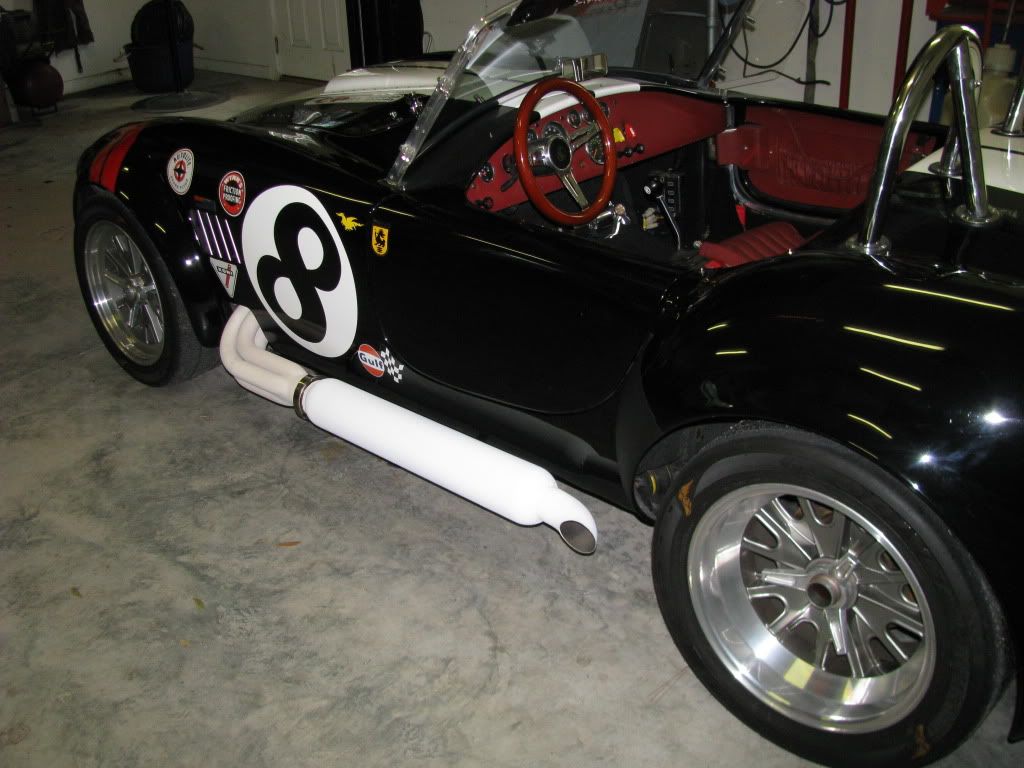
Then everything was bolted back in place and VHTs curing process was started. This is how it turned out.
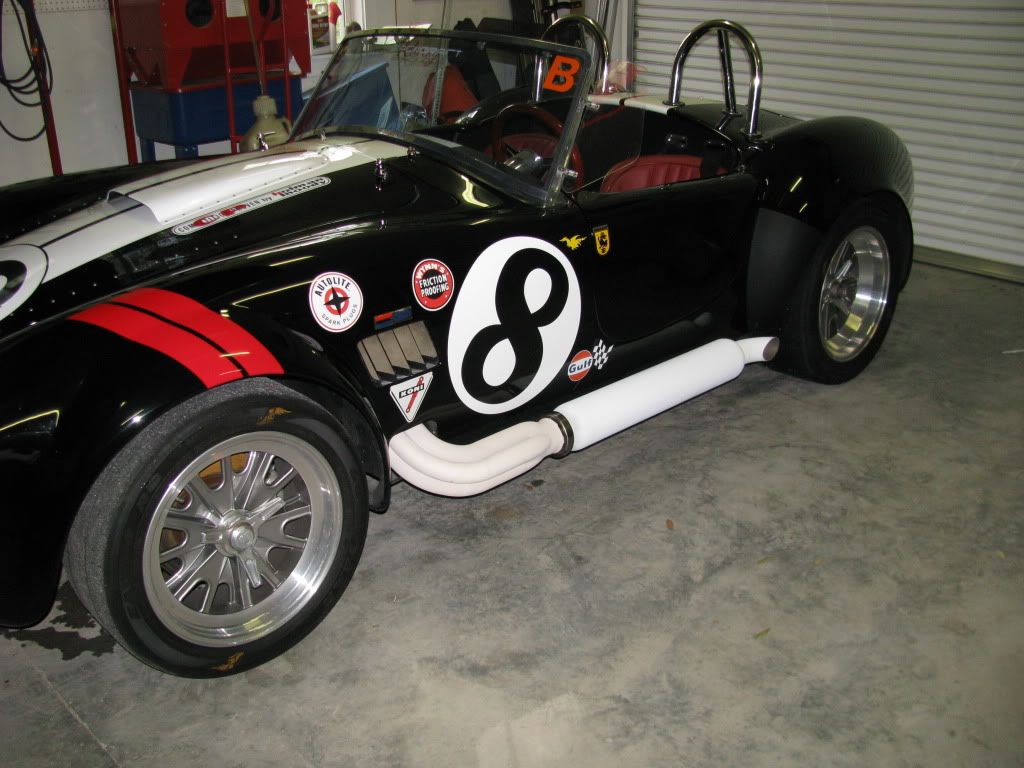
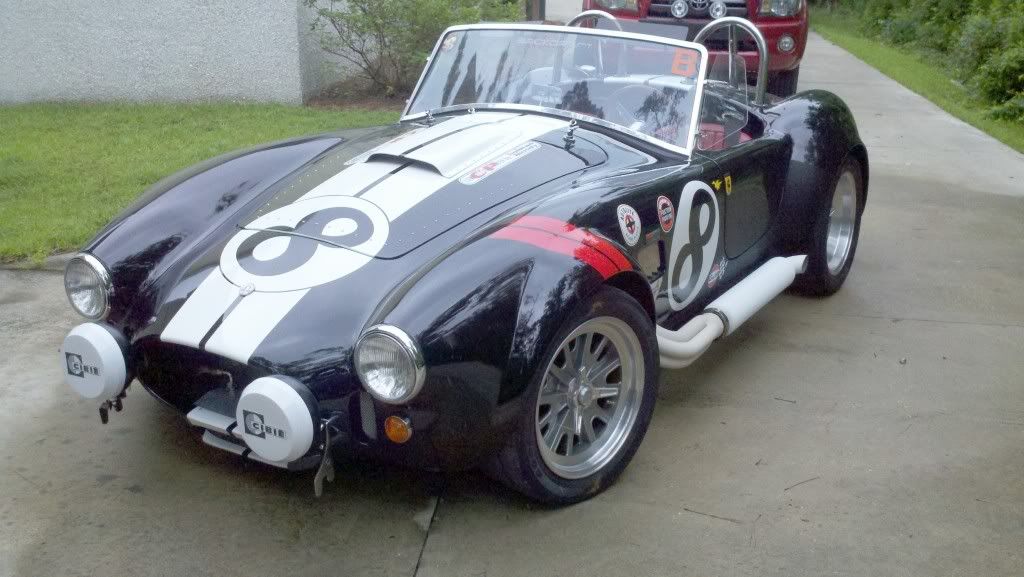
Now for the part that everyone is thinking but not asking. How does it sound man?!

Here is a before.
Before - YouTube
And here is an after.
After.3gp - YouTube
And the sound at full song is beautiful!


 Threaded Mode

