The car isn't actually here yet, but it is in the paint shop and should ship at the end of April. And Brent has begun building the engine.
Here are the car details:
- ERA 427 S/C
- Ferrari Blu Pozzi, no stripe
- FIA wheels, black sidepipes (Classic Chambered), black quickjacks, chrome roll bar, riveted hood scoop
- Black leather seats and dash
- Black Wilton wool carpeting
- Avons
- Wilwood front brakes
- Larger fuel lines
- "Standard" Salisbury rear, 3.54
- Sway bars
Drivetrain details:
- Pond 427 SO, stroked and possibly bored
- Pond heads, ported
- Solid roller cam with Isky roller lifters (with bushings)
- Single Holley HP Ultra (950 CFM)
- Scat crank and H-beam rods
- Ferrea hollow-stemmed valves
- Cobra aluminum finned valve covers
- TKO600 tranny with 0.82 OD
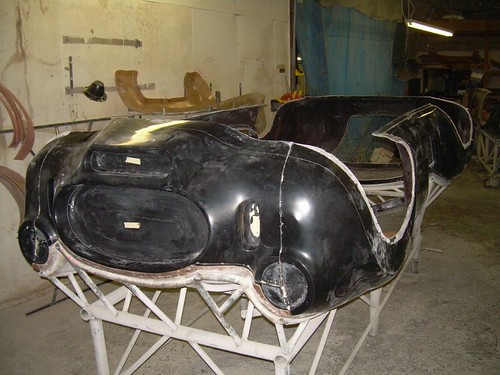
The photos show the car being built at ERA
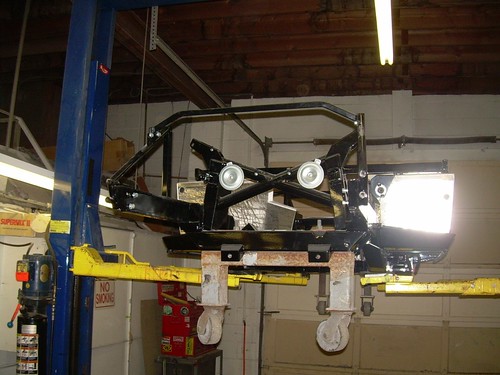 Untitled
 by
Lippy111, on Flickr
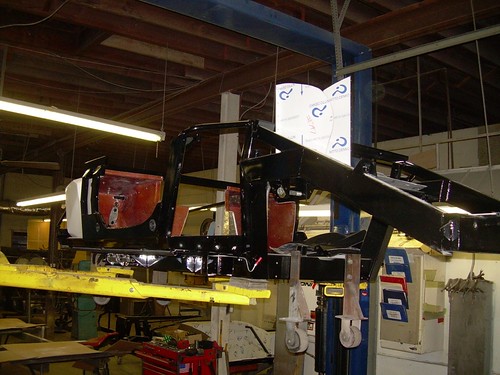 Untitled
 by
Lippy111, on Flickr
 Untitled
 by
Lippy111, on Flickr
 Untitled
 by
Lippy111, on Flickr
 Untitled
 by
Lippy111, on Flickr


 23Likes


 Threaded Mode

