Here's my tale of woe...

Any suggestions would be greatly appreciated.
I've been dealing with a small amount of coolant leakage into the
oil of my Pond 482 for over a year now. Everything pointed to the Dove (typically porous) Tunnel Wedge intake. The engine originally had a Blue Thunder 427 MR 1x4 on it and it never leaked a drop with that combo. It started as soon as I swapped on the Tunnel Wedge. I ended up sending the Tunnel Wedge to Barry R for repair and he found a leak in it. He had some welding and re-machining done; a new pressure test then sent it back saying it was A-OK. I reinstalled it and had the same old problem, a milkshake in the valve covers. I tasted the froth, as I did in the first place and it had the sweet taste of glycol so I knew it wasn't simply condensation. It never leaked enough to taint the
oil itself though. It to this day remains bright and clear. I added some Bars-Leaks block & intake sealer. It stopped the leak for several months but after that it started to return, gradually at first but eventually leaking as much as it did before I added the stop-leak. I finally decided to tear it down today as this leak was driving me nucking futs.
Here's a few pics of what I've done....
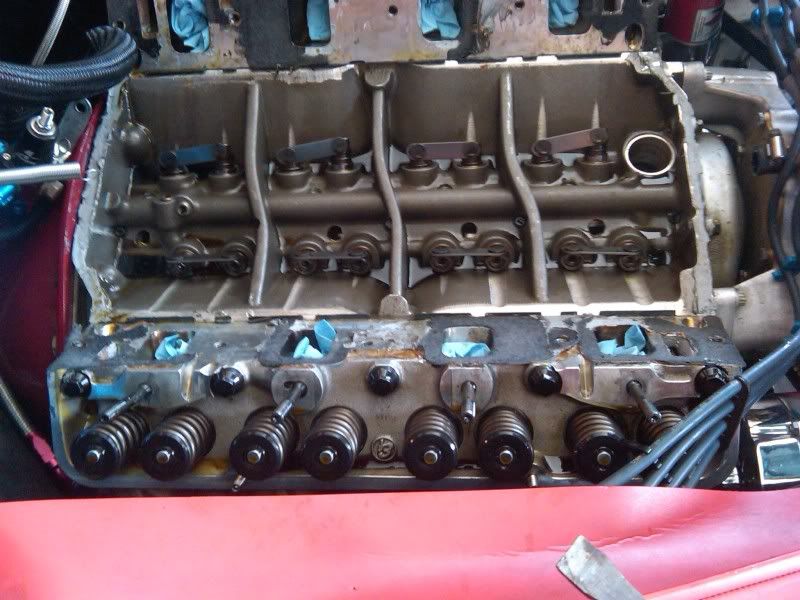
Here the top-o-the Pond with the intake off.
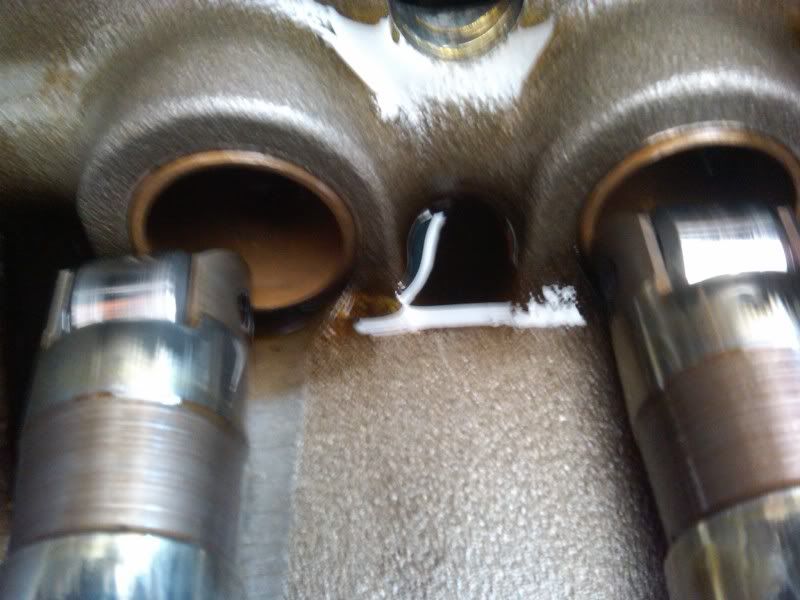
Here's the pretty silicone bronze thick walled lifter bushings.. The originally had the most beautiful Keith Craft cross-hatching.
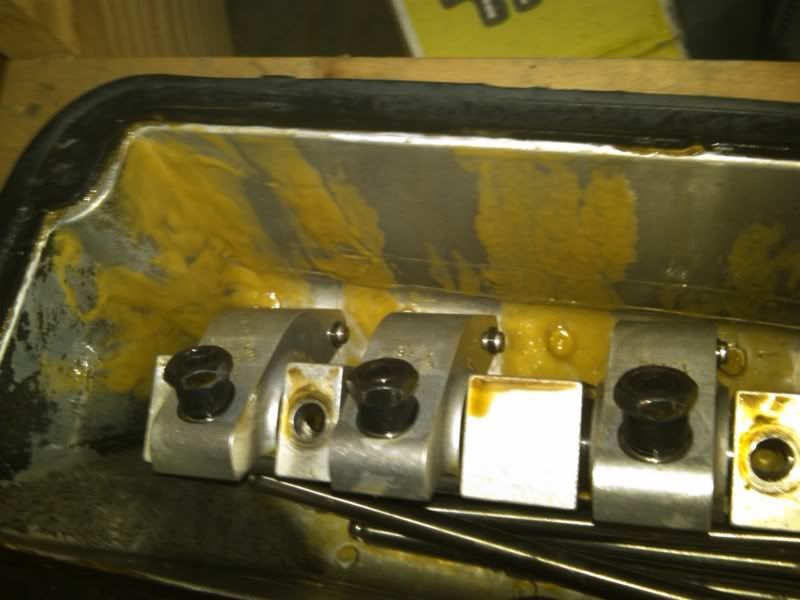
Here's the infamous valve cover milk shake. This is what originally alerted me to my problems.
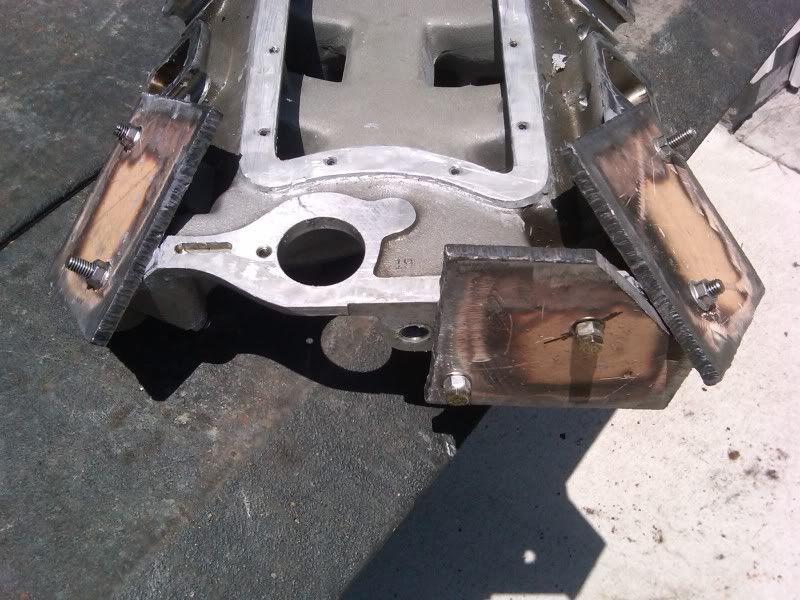
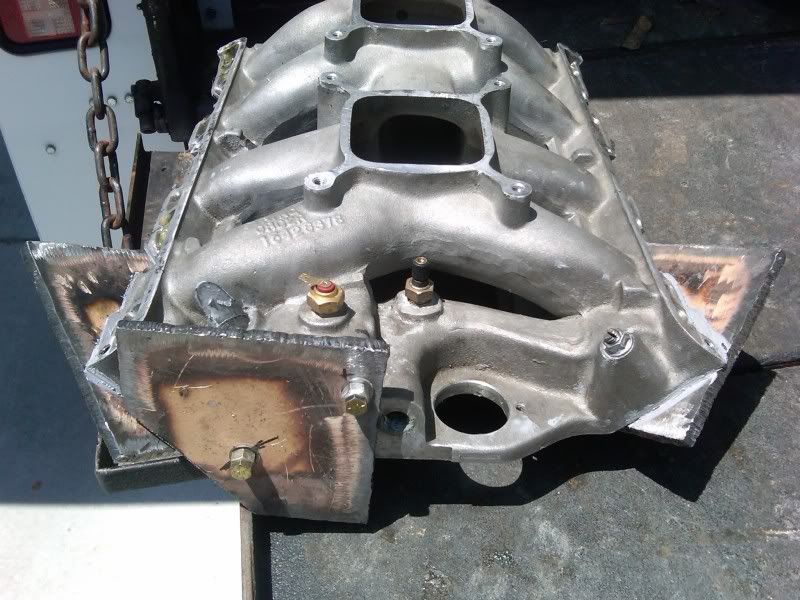
Here's my home made pressure "FE intake manifold pressure testing kit". It blanks both intake to head water outlets as well as the thermostat outlet. I pressure tested the intake with 100psi of Nitrogen and could not find one leak!! I'm at a loss now. Do I pre-heat the intake and test again?? Do I continue the tear-down and pull the heads for pressure testing?? The Block, pressure test it too?? Where does it all end? I never had a problem until I installed the Tunnel Wedge so my 6th sense tells me to fix the intake. I pulled it with the intent of sending it out for "Pressure casting Impregnation". That is what Dove recommended.
http://www.godfreywing.com/vacuum-casting-impregnation/
Thoughts people???


 Threaded Mode

