 Main Menu
|
 Nevada Classics
|
 Advertise at CC
|
| S |
M |
T |
W |
T |
F |
S |
| |
|
|
|
|
|
1 |
| 2 |
3 |
4 |
5 |
6 |
7 |
8 |
| 9 |
10 |
11 |
12 |
13 |
14 |
15 |
| 16 |
17 |
18 |
19 |
20 |
21 |
22 |
| 23 |
24 |
25 |
26 |
27 |
28 |
29 |
| 30 |
|
|
|
|
|
|
|
 CC Advertisers
|
|

12-19-2009, 07:02 AM
|
 |
CC Member

|
|
|
Join Date: Sep 2002
Cobra Make, Engine: SPF#0760
Posts: 3,409
|
|

 Not Ranked

Superformance Related:
The brake lines run along the top of the chassis on the drivers side just below the exhaust header. I also have my fuel line relocated in this same area.
The tubing in this area can easily recieve a heat-soak from the exhaust header, heating both the tubing and its contents and occasionally causing vapor lock in the fuel line after a long ride on a hot day and spongy brakes if the brake fluid boils. This would most likely occure after parking the car for a short periods when hot. (like stopping for gas, etc)
It's easy to install a heatshield in this area before the engine is installed but a tough area to access after engine installation. Here is my solution; all installed from below the car without even taking off the tire. Tapping the 4 holes for the mounting screws was the hardest part because two of them go thru a double section of steel. Pop rivits would make for an easier installation. I think the total cost for the modification was $10 without the addition of the heat tape. Made a big difference on hot days after a long ride after stopping and restarting the car. I think the photos tell the story best.
__________________
Wiring Diagrams: SPF MKII, MKIII, GT40, CSX7000, CSX8000, Corvette Grand Sport, and Shelby Sebring, Bondurant & Cinema Tribute Cars.
Owner’s Manuals: SPF MKII, CSX7000, CSX8000, Sebring, Bondurant, Cinema Tribute Cars $ GT40’s..
Large, easy to read and trace schematics with part numbers, wire colors, wire gauge, fuses, and electrical upgrade information. Trouble-shooting and replacement part numbers for those roadside repair adventures.
SPFWiringDiagrams@Comcast.net
Last edited by Blas; 12-19-2009 at 08:35 AM..
Reason: spelling
|

12-19-2009, 07:09 AM
|
 |
CC Member

|
|
|
Join Date: May 2006
Location: Portland,
OR
Cobra Make, Engine: ERA FIA, 1964 289->Webers
Posts: 3,689
|
|

 Not Ranked
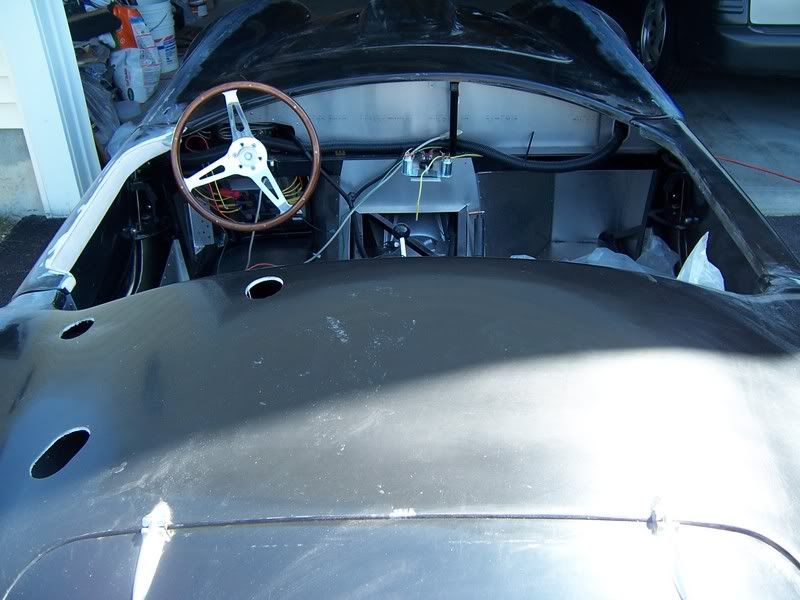
After a couple years of storage I put a driver in the seat 
I built a a new Y-manifold with fuel log & have a filter box in the works for the Carbs...
__________________
ERA FIA 2088
|

12-19-2009, 03:08 PM
|
 |
CC Member

|
|
|
Join Date: Sep 2009
Location: Sacramento,
CA
Cobra Make, Engine: ERA 707, 446ci FE
Posts: 1,115
|
|

 Not Ranked
Quote:
Originally Posted by *13*

After a couple years of storage I put a driver in the seat  |
Best possible feature.
__________________
= Si Opus Quadratum vis, angulos praecidere noli. =
|

12-19-2009, 05:38 PM
|
 |
CC Member

|
|
|
Join Date: Mar 2005
Location: East Greenbush,
NY
Cobra Make, Engine: FFR Mark III, Carbed Explorer 302
Posts: 214
|
|

 Not Ranked
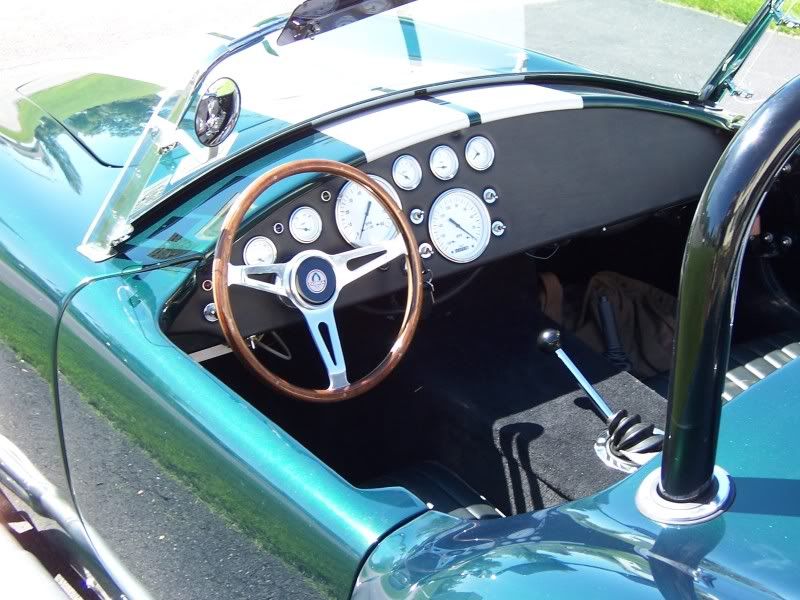
I cut my DS door...

Gave me all the elbow room I need!

Finished!
__________________
Proud owner of FFR1004630RD '01 Explorer 302, FRPP B-Cam, Holley S/A 670, HD T-5, Wilwood pedals, 3 link, Koni shocks, 17" Bullett wheels, Baer brakes, Classic gauges, I-Squared wiring, Jaguar Racing Green w/Sliver Stripes
Tagged and road ready in NYSas of 6-5-09 Life is GREAT!
My build log http://www.clubcobra.com/forums/cobra-build-logs/80663-my-cobra-build.html
If you live "Upstate" near Albany, NY send me a PM. Our Cobra gang is growing and looking for new members!
Last edited by ICBomber90; 01-27-2011 at 02:15 PM..
|

12-20-2009, 02:59 PM
|
 |
CC Member

|
|
|
Join Date: Sep 2002
Cobra Make, Engine: SPF#0760
Posts: 3,409
|
|

 Not Ranked
That's It?
I know there is a lot more creativity out there on Club Cobra.
This is a chance to show off your ingenuity, skills and resourcefulness….
No idea is too small. My uncle Al Einstein once said: “Imagination is more important then knowledge”
Let’s make it more interesting….
The 3 best suggestions from all submissions, get free information on how to make their original style Smith’s gauges bright enough to actually be useful….Competition ends 31 January 2010.
So if you got something unique to share, put it up here on CC and make your thread stand out with photos, links to parts, what-ever….(no bribes please)
Decision of the judges will be final. Duplicate entries will be judged by their presentation for clarity and completeness, Void where prohibited by law. Residents of Luxembourg, Vatican City, Tuvalu need not apply. Ties will be decided with pistols at the London Cobra Show in June…
Good Luck Ladies and Gentlemen.
Let the games begin........
__________________
Wiring Diagrams: SPF MKII, MKIII, GT40, CSX7000, CSX8000, Corvette Grand Sport, and Shelby Sebring, Bondurant & Cinema Tribute Cars.
Owner’s Manuals: SPF MKII, CSX7000, CSX8000, Sebring, Bondurant, Cinema Tribute Cars $ GT40’s..
Large, easy to read and trace schematics with part numbers, wire colors, wire gauge, fuses, and electrical upgrade information. Trouble-shooting and replacement part numbers for those roadside repair adventures.
SPFWiringDiagrams@Comcast.net
Last edited by Blas; 12-20-2009 at 03:10 PM..
|

12-20-2009, 06:28 PM
|
|
Senior Club Cobra Member

|
|
|
Join Date: Jul 1999
Location: SF Bay Area,
CA
Cobra Make, Engine: SPF #1019
Posts: 1,657
|
|

 Not Ranked

Quote:
Originally Posted by Blas

Superformance Related:
The brake lines run along the top of the chassis on the drivers side just below the exhaust header. I also have my fuel line relocated in this same area.
The tubing in this area can easily recieve a heat-soak from the exhaust header, heating both the tubing and its contents and occasionally causing vapor lock in the fuel line after a long ride on a hot day and spongy brakes if the brake fluid boils. This would most likely occure after parking the car for a short periods when hot. (like stopping for gas, etc)
It's easy to install a heatshield in this area before the engine is installed but a tough area to access after engine installation. Here is my solution; all installed from below the car without even taking off the tire. Tapping the 4 holes for the mounting screws was the hardest part because two of them go thru a double section of steel. Pop rivits would make for an easier installation. I think the total cost for the modification was $10 without the addition of the heat tape. Made a big difference on hot days after a long ride after stopping and restarting the car. I think the photos tell the story best.
|
Wow! What a great solution! The clearance I have with my 460 block is like an inch (maybe 2 at the most), and I think this heat shield would have huge positive affect on problem. I tried making a shield myself a couple of years ago, but custom fablication is not my forte, so I gave up. I imagine that every SPF owner with a BB could benefit from a shield like this, especially one that can be installed without pulling the engine.

|
 Posting Rules
|
You may not post new threads
You may not post replies
You may not post attachments
You may not edit your posts
HTML code is Off
|
|
|
All times are GMT -7. The time now is 07:47 AM.
Links monetized by VigLink
|


