 
 Main Menu
|
|
Nevada Classics
|
|
Advertise at CC
|
| S |
M |
T |
W |
T |
F |
S |
| 1 |
2 |
3 |
4 |
5 |
6 |
7 |
| 8 |
9 |
10 |
11 |
12 |
13 |
14 |
| 15 |
16 |
17 |
18 |
19 |
20 |
21 |
| 22 |
23 |
24 |
25 |
26 |
27 |
28 |
|
|
CC Advertisers
|
|

03-14-2009, 02:07 PM
|
 |
CC Member

|
|
|
Join Date: Jun 2004
Location: Leicestershire,
UK
Cobra Make, Engine: Kirkham #523, 427 S/O
Posts: 1,137
|
|

 Not Ranked
Quote:
Originally Posted by 767Jockey

Pete,
That's odd that you can't fit a sway bar with the Watts link, all the later Contemporary's came with both installed.
|
Mine had both fitted.

Paul
Last edited by FatBoy; 03-14-2009 at 02:09 PM..
|
03-19-2009, 08:27 PM
|
 |
Senior Club Cobra Member
|
|
|
Join Date: Feb 2005
Cobra Make, Engine: Contemporary, FE, Tremec TKO 600
Posts: 1,990
|
|
Not Ranked

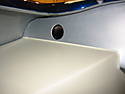
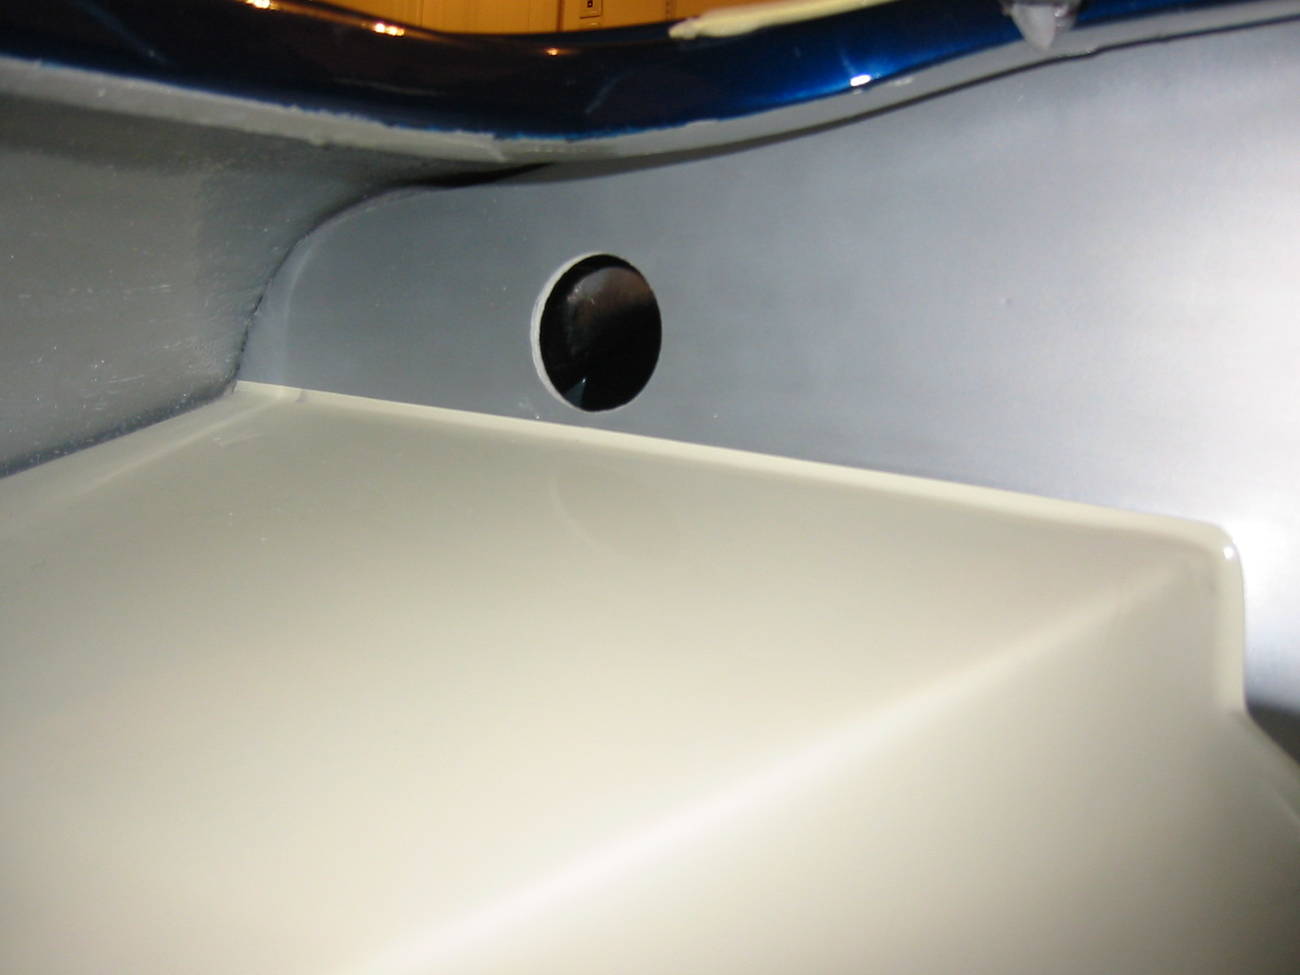
Well, I haven't posted on the thread in a bit, but that doesn't mean I haven't been busy. I've been doing many little things, getting prepped for the wiring harness installation. One problem I was having was trying to figure out where to buy large firewall grommets that had wide enough mounting grooves to accommodate a fiberglass firewall. Thanks to Bob Perry (who by the way has one of the most beautiful CCX's that I have ever seen!), the answer to my problem was easy following his common sense advice. What I am doing is measuring the diameter of the groove in the grommet to determine the size of the hole it needs to be mounted in. Then I am measuring the outside diameter of the entire grommet. I add 1/4" to that outside diameter, and cut that size hole in the fiberglass firewall. Then I cut the smaller grommet mounting hole size in the aluminum firewall overlay. This way the grommet is mounted in the aluminum, and then the whole grommet is nestled into the fiberglass hole that is large enough to surround it while it is installed in the aluminum. Since the aluminum isn't mounted yet to the firewall, this is all very easy to do. Here's a picture of the large hole in the fiberglass, one of two that I have to drill:
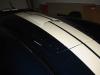
Speaking of aluminum firewalls, last week I had a visit at home from Rich Carlisle, and I gave him the header pipes from my old 351C Contemporary to use on his car. He was kind enough to mail me a template for a CCX firewall that he had in his possession. I mailed it to Nick Acton (Mickmate) of Acton Custom, who cut and bent up for me a beautiful aluminum firewall:
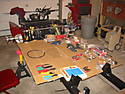
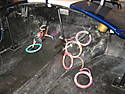
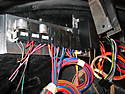
I'm trying to keep the firewall fairly clean and uncluttered. I like an original style look, but going for the full Lucas type harness is just beyond my talent and it's somewhat primitive too. Electrical is my weakest area and I just don't want any problems, so I went with a modern Ron Francis harness. I turned my chassis into the world best harness installation center: 
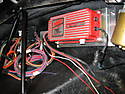
I am mounting the MSD 6AL box inside the firewall behind the dash, out of sight, away from the heat and vibration of the engine compartment. I am drilling and countersinking holes on the engine side of the firewall for the stainless countersunk screws that will be used to mount the aluminum mounting plate for the MSD box, then putting nuts on the inside of the firewall to lock the crews in place. Same with the fuse box. Once this is done and all the grommet holes are drilled in both the aluminum and fiberglass firewalls, I will mount the aluminum firewall over the fiberglass one, and this will hide all the mounting screws for the MSD box and the fuse box behind the aluminum. Meanwhile the screws will be locked in place due to the nuts on the inside of the firewall, so I can easily remove and replace the aluminum mounting brackets if the need arises.. Here is the MSD box mounted to the aluminum mounting bracket fabricated for me by Nick Acton (Mickmate) of Acton Custom:

I'm using the anti-vibration mounts as supplied by MSD. Between them and the standoff of the aluminum bracket, the MSD box has plenty of space behind it for cooling the MSD unit.
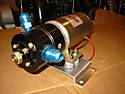
I also had Nick make me a aluminum mounting bracket for the monster fuel pump  that I need to feed this engine. I used anti-vibration mounts to try to keep the racket down from the electric pump, although I doubt I'll hear it above the 3" core Classic Chambered pipes!
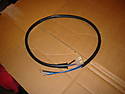
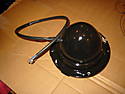
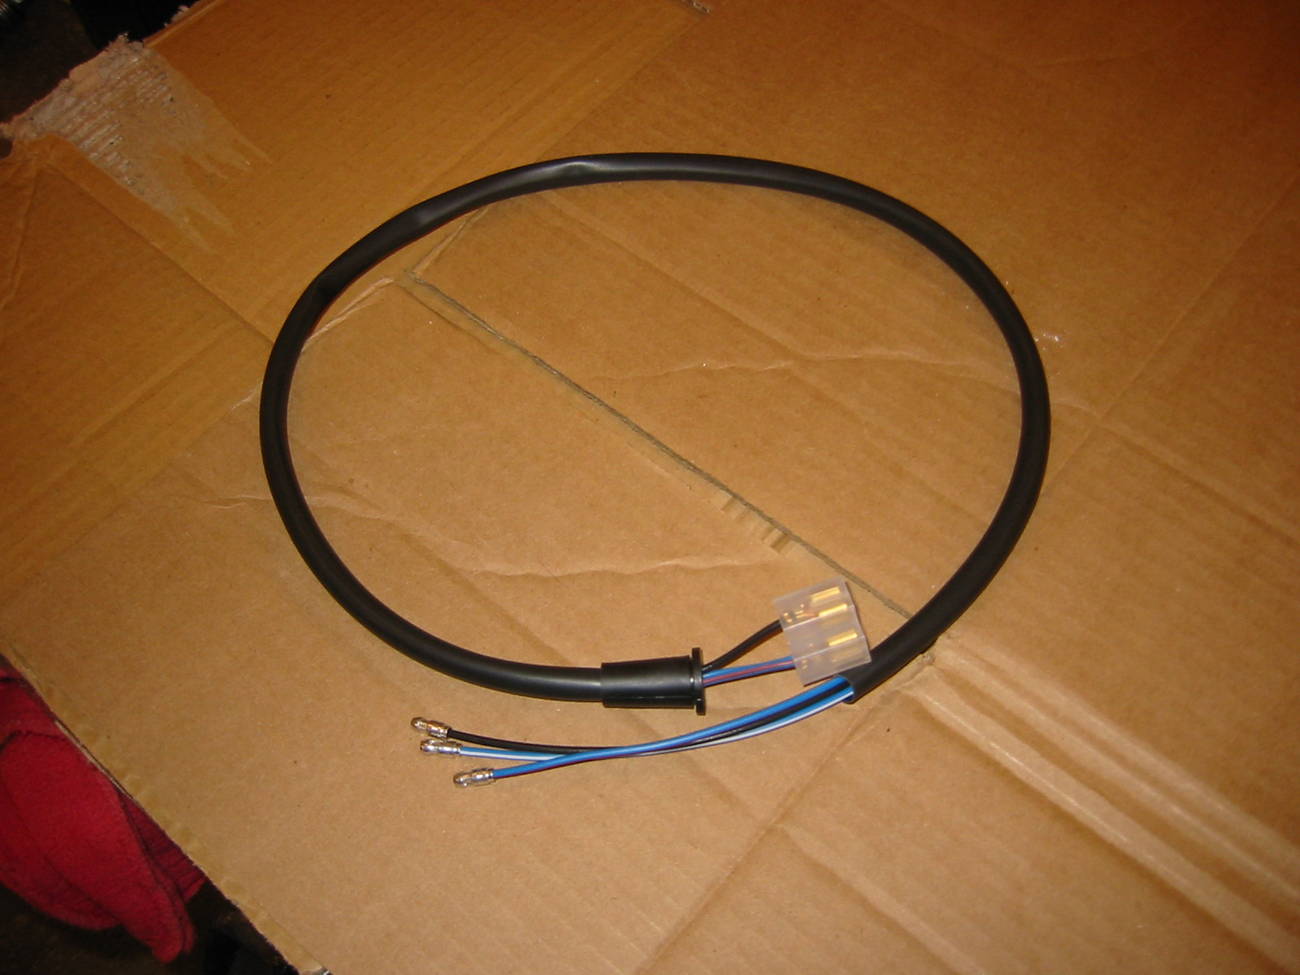
Another thing I did was to completely recondition the Lucas headlight buckets. They each had a set of sloppy multi-spliced leads in them, they were a mess. I stripped the buckets down, sanded and painted them and replaced all the hardware in them that I could with stainless. I obtained two original sets of Lucas headlight leads from British Wiring, and I will be replacing the bullet type connectors with Weatherpack connectors. Now the headlight buckets are better than new:
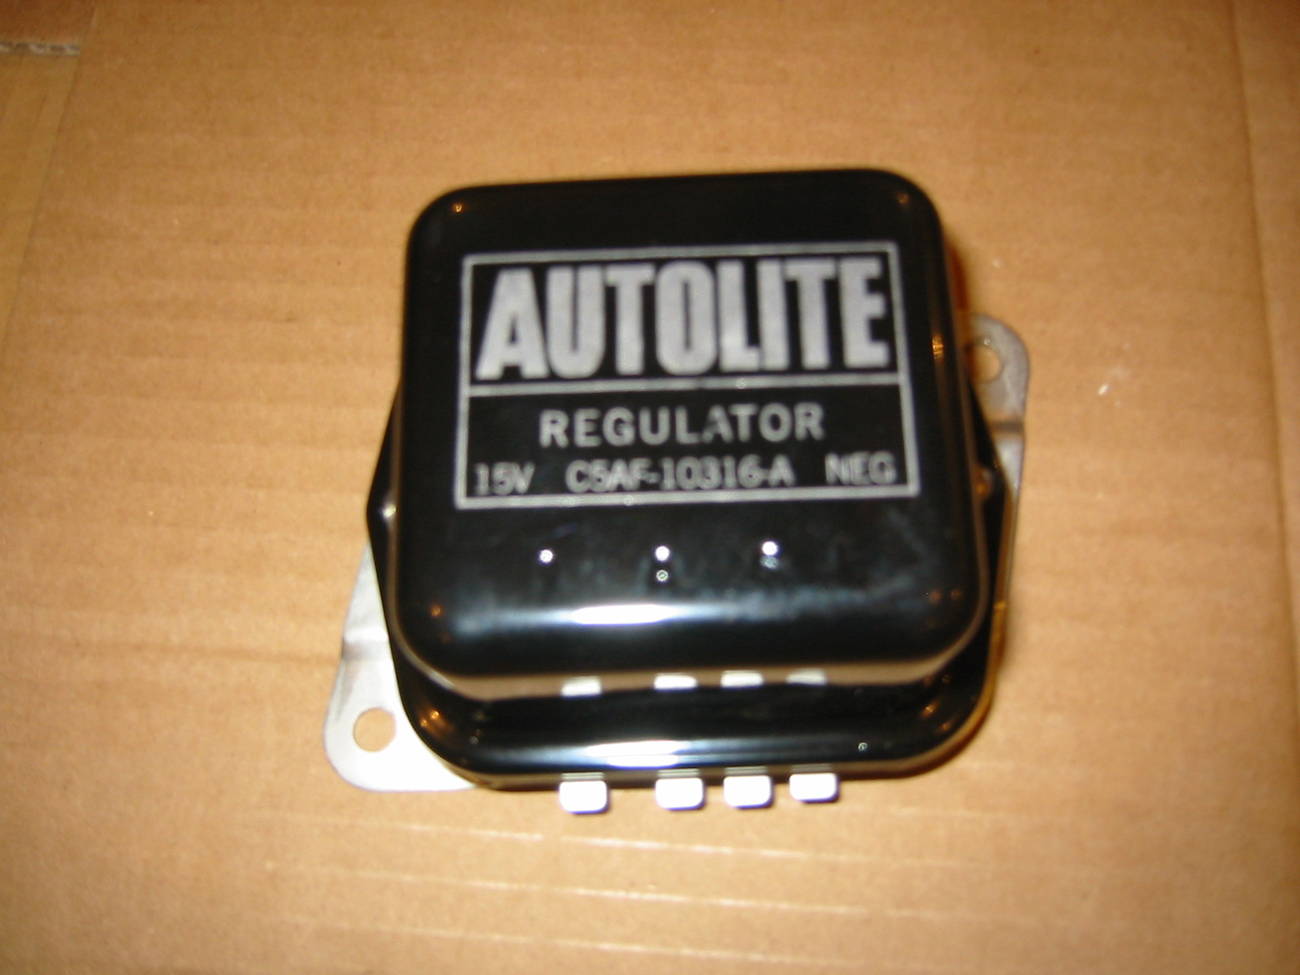
I was able to find a reproduction of a Autolite voltage regulator some time ago on Ebay fairly cheaply. I have a upgrade in my alternator that was done by an old Mom and Pop shop around here that has been around forever. For about $100 they rebuilt my original alternator and upgraded it to 90 amps. Because of this increased output I am reluctant to use a mechanical regulator so I bought a state of the art electronic regulator from Ron Francis, and mounted the Autolite cover on it. Original? No. Proper part number? Unlikely. Look pretty good? I think so!  SHhhhhhh, don't tell anyone! 

One other detail I got done was to install faux tubes coming down behind the dashboard. I drilled and tapped the tops into the cowl hoop, and the bottoms slide through grommets and they end cut off even with the lower surface of the transmission tunnel. They're real solid and weather tight. I thought they came out pretty good. Here's a shot of them with the harness that I just laid on top the transmission tunnel to start wiring. Here I go with the part of the project that scares me most, electrical. The journey of a thousand miles starts with a single step. Here's a shot of step one......
Keep your fingers crossed and think happy thoughts. I have the electrical system well thought out, and this car will have an awesome grounding system. I can promise you that once the bugs are sorted out, this car will have NO electrical bugs. The duplex grounding kit that Ron Francis sells is great, every electrical component on this car will have a dedicated grounding wire going back to a central ground point. There will be no chassis grounds at all, everything will have a dedicated lead going to a grounding post that the negative battery terminal is attached to. In addition there will be a ground strap from this terminal to the cylinder head, and another from this terminal to a starter bolt. It should all work pretty good. Oh, yeah, I almost forgot, but this picture reminded me. I completely disassembled, cleaned, re-lubed and made pretty the wiper motor. I know that no one will see it but I know it's there. You can just see the bottom of it hanging down on the right side of the cowl area. I'll probably never use it, but it hums really smoothly now, and it looks like new. I hope you guys aren't bored silly by this stuff, I have lots of time on my hands now and this build thread gives me something to do.

|
03-21-2009, 08:31 PM
|
|
Senior Club Cobra Member
|
|
|
Join Date: Feb 2005
Cobra Make, Engine: Contemporary, FE, Tremec TKO 600
Posts: 1,990
|
|
Not Ranked
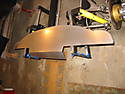
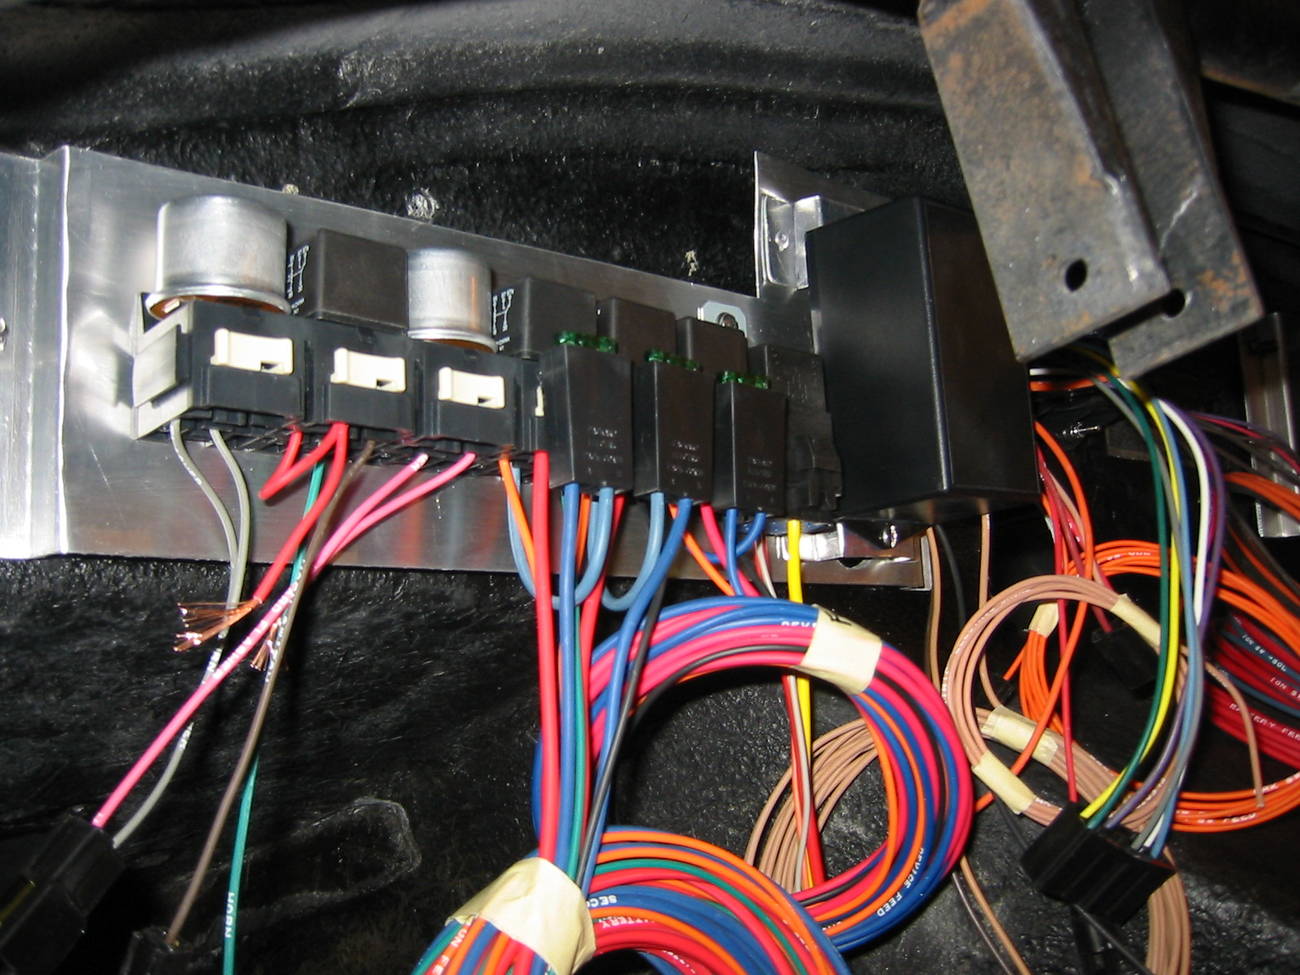
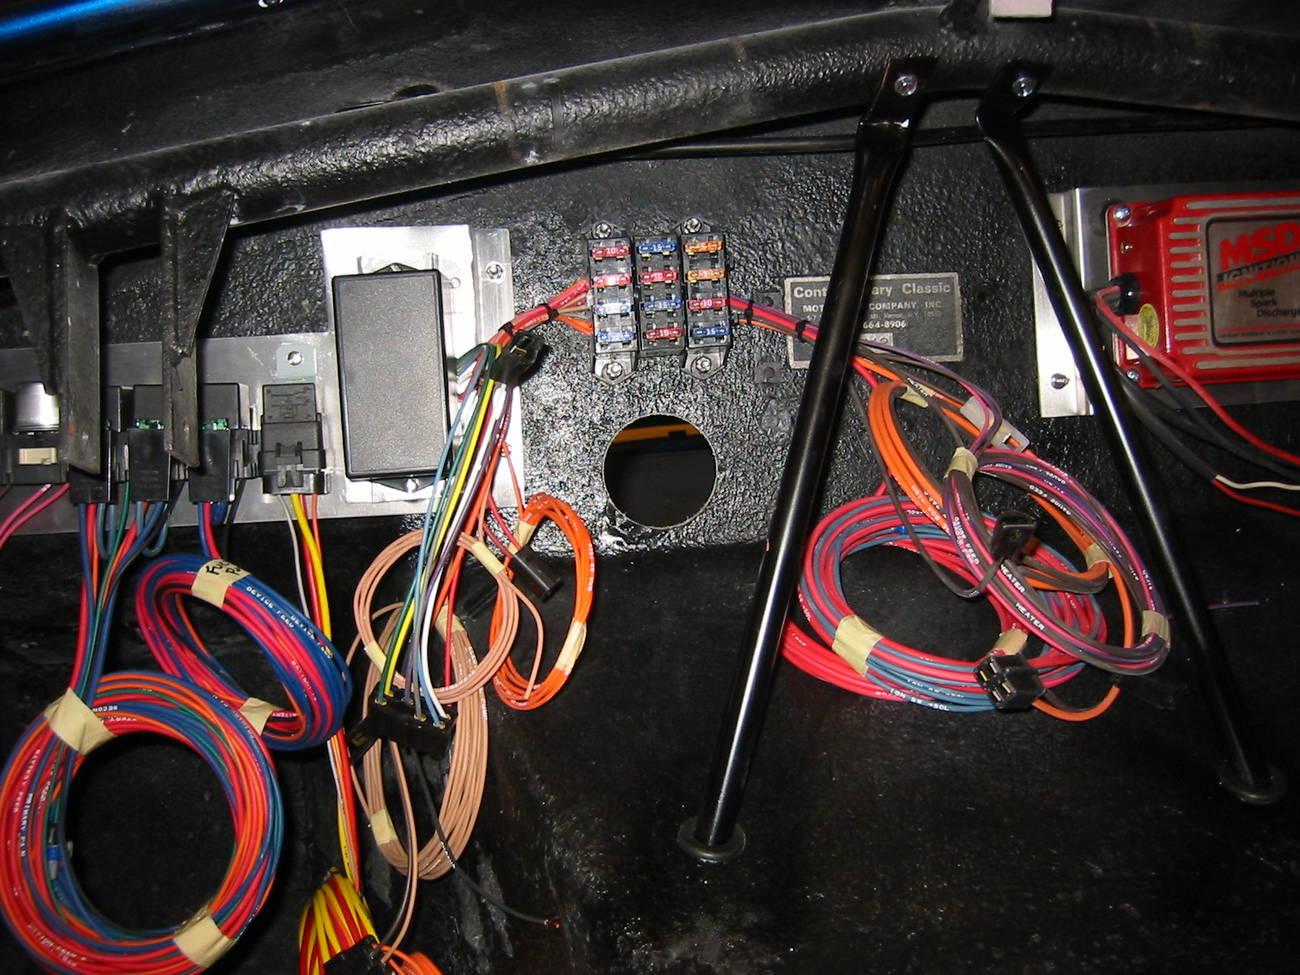
I'm just about ready to route the wires now. I mounted everything under the dash, MSD box included. I wanted everything under there neat and easily serviceable. I hate to look under a dash and see a rats nest of wires. I'm going to do everything I can to make this all neat and organized. To that end I had Nick Acton fabricate a mount for the MSD box. Once I mounted that I realized that I had a large number of auxiliary boxes, relays, etc... to mount. I figured the easiest and neatest way to do it was to fabricate for myself (Ugh, I'm a TERRIBLE fabricator, but it came out functionally fine, cosmetically OK) a mount similar to what Nick made for the MSD box. I had a few scraps of aluminum laying around, and what you see is the result. Like the MSD mount, it is mounted on stainless studs that will be hidden behind the aluminum firewall on the engine side. The screws come in from the engine side of the firewall inward. They're flat head stainless screws with the beveled backside of the head, I drilled and countersunk them into the fiberglass on the engine side of the firewall, and then added flat and lock washers before nutting them tightly against the firewall to hole everything in place. Then I mounted the aluminum plates over the tops of the nuts, and then tightened everything down with lock nuts. It all looks nice and neat and organized, and everything is easily removable for servicing if the need arises in the future.
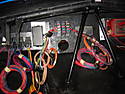
From left to right on the relay/flasher/converter box panel are: Hazard flasher, horn relay, turn signal flasher, pusher fan relay, pusher fan relay, main puller fan relay, and the converter box for using a three wire VW turn signal switch in a six wire system. Next to that is the Ron Francis Retro Series fuse block, and of course the MSD ignition control box. You can see the large holes cut into the fiberglass firewall. The aluminum on the engine side of the firewall, once installed, will cover these holes and the grommets will be set into the aluminum panel, and the grommets will then sit centered within the larger holes in the fiberglass. That's it for now, more to come in the next few days.
Last edited by 767Jockey; 03-21-2009 at 08:34 PM..
|
04-29-2009, 11:04 AM
|
 |
CC Member
|
|
|
Join Date: Apr 2003
Location: Katy,
TX
Cobra Make, Engine: None yet!
Posts: 200
|
|
Not Ranked
Been a while, man. Any updates? Doing ok?
__________________
Alan in Katy, TX
|
04-30-2009, 02:07 PM
|
|
CC Member
|
|
|
Join Date: Jan 2003
Location: Federal way ,Wa,
Posts: 85
|
|
Not Ranked
Doug ,Looks very good you should be very proud.Im on my way to wash mine due to a 777 that lost an engine yesterday and decided to start dumping fuel before my house also got a new camera hope to down load pics finally.
|
04-30-2009, 03:45 PM
|
|
Senior Club Cobra Member
|
|
|
Join Date: Feb 2005
Cobra Make, Engine: Contemporary, FE, Tremec TKO 600
Posts: 1,990
|
|
Not Ranked
Quote:
Originally Posted by Bob Perry
Doug ,Looks very good you should be very proud.Im on my way to wash mine due to a 777 that lost an engine yesterday and decided to start dumping fuel before my house also got a new camera hope to down load pics finally.
|
It seems like what is left is easy Bob, but I know better. It'll be an uphill battle to get this thing done, especially with upcoming surgery and the funding issues that arise with being out of work. It'll get done, I just have to be patient. Sorry to hear about the fuel dumped on your car - I hate those damned pilots - what a mess they make! Get soe pictures of your car up on the net, show everyone just how beautiful a CCX can be. My goal is to make my car half as nice as yours, that'll make it nicer than most! |
05-07-2009, 09:17 PM
|
|
Senior Club Cobra Member
|
|
|
Join Date: Feb 2005
Cobra Make, Engine: Contemporary, FE, Tremec TKO 600
Posts: 1,990
|
|
Not Ranked
Darn, I'm so frustrated I could just quit. I never will, of course, but there is a part of me that's just had it. I have the electrical wires all run and there isn't much more I can do with them until I get the dash in. I need to go out and buy the indicator lights and switches, no big deal.
What IS a big deal is that after sinking $700.00 plus into machining the brand new FE Sideoiler engine block I bought, we find out that the block is no good. It's got casting flaws in it that were only visible after the boring was done. It was line honed and decked, all seemed to be ok, although the block seems harder metalugically (is that a word?) than it should be because the line hone left chatter marks on the saddles. It measures up perfectly, but looks odd. Anyway, after the line hone it was decked. That went fine too. Last up was the boring. What a mess. There are many big black porous marks in the bore now in virtually every cylinder. We are nowhere near the limit on the bore in this thing - there is at least .120" left - we barely scratched the surface on what this block is supposed to accommodate on a bore. The manufacturer has said he will send out a new block once he gets new blocks in stock and once he receives this one back. The problem is twofold - first, this is going to take LOTS of time. I have to get this block back to him. He says he will pay shipping back. I have to have him get new blocks in and have him get that new block to me. He will pay shipping on that too, but there is no telling how long that will take.
The second problem is, I have a $700+ machining bill on a useless, fatally flawed block. He isn't committing on what he'll do with that, he says he has to talk with his partner. The guy who did the machining deserves to be paid - he did the work, he did nothing wrong. I know I am involved here, and perhaps I am blinded by my involvement, but where I sit now I don't see why I should have to pay the machining bill. Believe me, I will make sure the machinist gets paid, he deserves it. However, I really think that the bill should be paid by the block manufacturer. I paid exactly what he asked for the block, I didn't haggle, I did everything I was asked to do. This is the block I was sent and the machining was properly done. The block had a very tiny nick in one of the cylinders (I was out of town while this was going on and was unaware). The machinist called the block manufacturer and informed them about the nick and asked what the manufacturer wanted to do. The manufacturer made the call and said to machine it. So, here I sit, with a $700+ machining bill and a useless block. What do you guys think, what should I do here? Who should pay the machining bill, me or the manufacturer? Am I out to lunch on this by thinking that the manufacturer should pony up the machining costs?
I realize that the manufacturer is small and $700 may be a large chunk of change to lay out. I even offered an alternative to him. This is a cast Iron block, I like aluminum but have no desperate need for aluminum. I told him that I would split the machining cost with him and he can send me an aluminum block instead. Obviously he would make little to no money on the entire transaction, but he wouldn't have to lay out any cash either. I spend money that I really don't want to spend, he makes little to no money on one block. No one wins, no one loses. I am just trying to be cooperative and offer alternatives for him. All things being equal, I'd be just as happy with another cast iron block and he pays the machinist, I am not dying for an aluminum block. I just want the guy to understand that I really am trying to work with him and offer alternatives. Where he takes all this, I have no idea.
Even after all this is over, the time lost is so damaging and discouraging. I was hoping to drive the car this year, something to look forward to after undergoing surgery and treatment. Now, it doesn't look like this is going to happen. This sucks, it really does. I'm bummed out. 
Last edited by 767Jockey; 05-07-2009 at 09:27 PM..
|
04-30-2009, 03:42 PM
|
|
Senior Club Cobra Member
|
|
|
Join Date: Feb 2005
Cobra Make, Engine: Contemporary, FE, Tremec TKO 600
Posts: 1,990
|
|
Not Ranked
Quote:
Originally Posted by aks801
Been a while, man. Any updates? Doing ok?
|
HI, Alan - Doing OK, thanks. Had to take a break for a couple of weeks to go travel to get treatment options. I just got back, I'll be back wrenching on the car this weekend. Right now I have all the wires essentially run to where they need to be, I have to tie everything up nice and neat to keep it all in place and then add the lights, etc. to the end of the proper wires. It'll be Weatherpack connectors to each parking light, headlight and tail light. Once that's all done it's just a matter of a few brackets for trunk and hood props, installing the dash with the switches, etc, and then the wait for the engine to be done. I dump that in, install the custom S/C style fuel tank and 1/2" fuel line, add the Acton Custom/Classic Chambered 3" core white ceramic coated sidepipes and headers, and drop the body on top, and we're done! Sounds easy, huh? |
 Posting Rules
|
You may not post new threads
You may not post replies
You may not post attachments
You may not edit your posts
HTML code is Off
|
|
|
All times are GMT -7. The time now is 07:09 PM.
Links monetized by VigLink
|


 Hybrid Mode

