I've decided to document my build of a new Harrison on here for opinions, advice, and the interest of other members. Plus I figure it'll help stay motivated when progress is slow.
Now, it's only early days yet but I finally have some pics to show! Warwick sent me some photos today of the car sitting at his place in the final stages of construction at his end - very exciting!
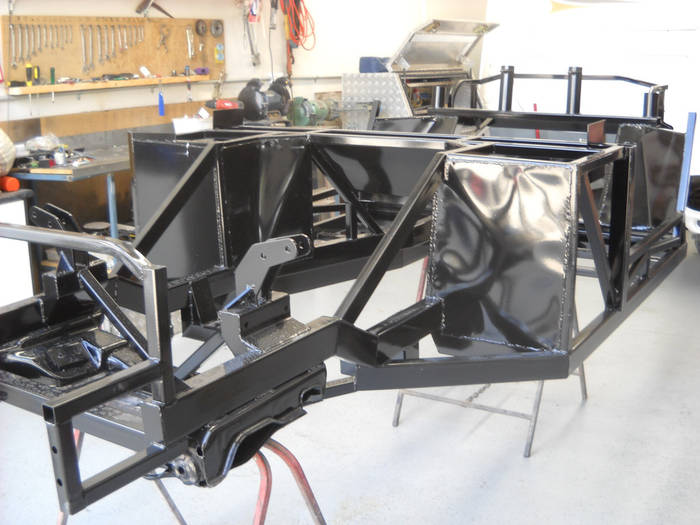
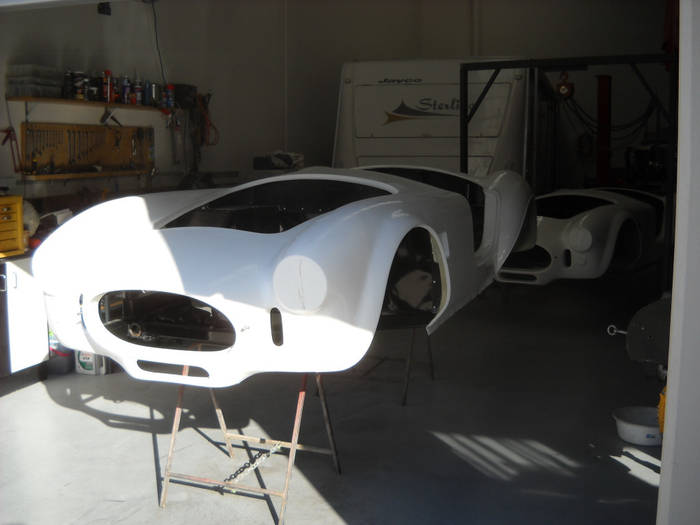
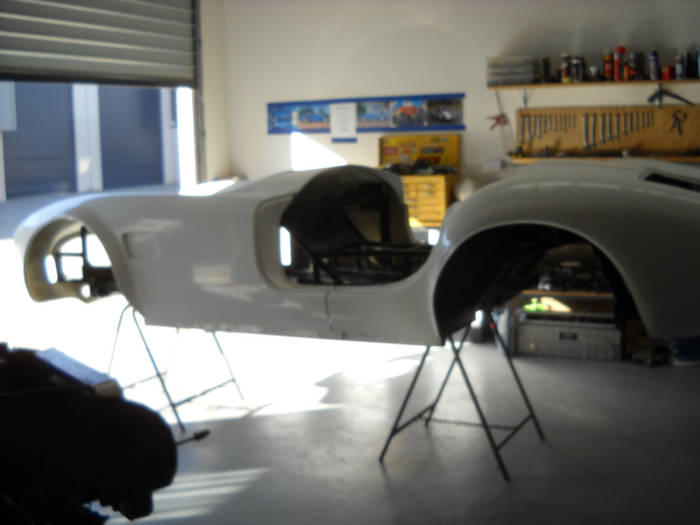
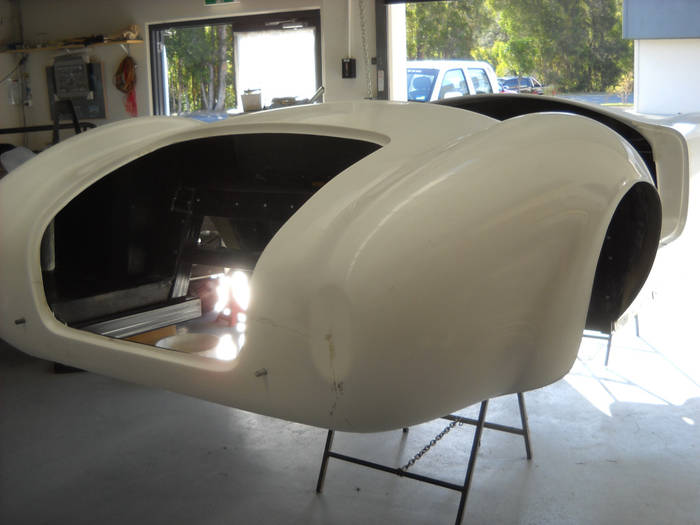
I'm yet to see the car in the flesh, and won't be picking it up for another month. But from the photos, the finish on the fibreglass looks a lot better than I was expecting, and pretty straight too - havent heard a bad thing said about his cars yet though!
Will be getting the windscreen and the front A-arms + shocks and springs with it. Hopefully will be a roller soon after.
So, my goals for the build. I want to build this as a car capable of being a daily driver, I don't care how practical that may or may not be. I spent years using a sportsbike as a daily driver, still do, even doing grocery shopping ect with just a backpack - trust me I'm more than happy to adjust my lifestyle to fit around my passions!
I don't want a show car, but I want it to look really nice and be well built. I'm not particularly interested in making an original looking copy, in fact I mean to add a lot of modern stuff to the car in a tasteful way. I'd like to add various influences from motorcyles into it as well, such as playing around with the idea of making my own carbon fibre side pipes, and a very bright paint colour (though it goes without saying it'll have the traditional stripes!)
Going to be using an LS2 or L98 6L engine and manual gearbox combo to power it, planning on buying a wrecked car in the near future and using whatever I practicaly can from it. Yeah, I know I'm not much of a traditionalist

, but some of you guys on here suggested it and looking into it closely it seems to be a very practical and strong powerplant to use. See? Advice from this site has been very useful already!
Also was planning on using whatever engineer Warwick reccomends, don't know his name yet but should probably talk to him soon.
Lots of other things to figure out along the way, I could plan it now but knowing me the plan will change several times for minor stuff. So I figure I'll wing it along the way!
So. Plan for the next month - pick up the car. Get excited about it, and finally realise exactly how much work I've gotten myself into

After that I reckon celebratory beers may be in order!


 17Likes


 Threaded Mode

