Welcome to Club Cobra! The World's largest
non biased Shelby Cobra related site!
- » Representation from nearly all
Cobra/Daytona/GT40 manufacturers
- » Help from all over the world for your
questions
- » Build logs for you and all members
- » Blogs
- » Image Gallery
- » Many thousands of members and nearly 1
million posts!
YES! I want to register an account for free right now!
p.s.: For registered members this ad will NOT show
 
 Main Menu
|
 Nevada Classics
|
 Advertise at CC
|
 December 2025
|
| S |
M |
T |
W |
T |
F |
S |
| |
1 |
2 |
3 |
4 |
5 |
6 |
| 7 |
8 |
9 |
10 |
11 |
12 |
13 |
| 14 |
15 |
16 |
17 |
18 |
19 |
20 |
| 21 |
22 |
23 |
24 |
25 |
26 |
27 |
| 28 |
29 |
30 |
31 |
|
|
|
|
 CC Advertisers
|
|
 341Likes 341Likes

08-24-2014, 09:46 PM
|
|
CC Member

|
|
|
Join Date: Jul 2012
Location: Melbourne,
Vic
Cobra Make, Engine: Pace 427SC. LSA Supercharged with 6sp TR-6060 trans.
Posts: 463
|
|

 Neutral
 Paintwerks' Absolute Pace 427SC build thread
Hey all,
Thought it about time to start the thread dedicated to the build of my Pace 427SC. I got the car back in December last year and she has sat idle since then while I cobbled together the funds to start buying parts...which I am happy to say that I have now done!
As to the specs:
Pace 427SC standard body with uprated resin
15" Trigo knock-off wheels
IRS with hardened gearset
Brembo brakes
Single roll hoop (satin black)
Dummy side pipes (satin black)
LSA 430kw motor with MG9 TR-6060 6 speed
Colour (undecided): Option 1: Guardsman Blue with Wimbledon white stripes
Option 2: Silver with blackstripes
Option 3: Brittany blue with silver stripes
Interior: All black with 15" wood rimmed steering wheel and bent T shifter
Full street registration
Russell is picking up his Pace 427 from QLD this coming Friday, and has kindly offered to bring all my large parts back with him. So, next week I'll be receiving:
- Drivetrain & Engine Bay (50% of parts - waiting on headers and tailshaft)
- Brake System parts
- Fuel System parts
- Cooling System parts
- Roll bar
- Windscreen
- Seats and sliders
The car is currently a rolling chassis with diff, driveshafts and steering installed. I already have the LSA too. Inbound to me right now from the USA is the Corvette low profile sump kit and the LSA engine controller package. I'll get the TR6060 not long after all the above parts are installed (excl. the motor).
There are four of us building Pace's in Victoria (plus our Tassie member Tony/Tonus) and we're using Enkelmans Engineering. The engineer has been out and inspected the car and is really impressed with what he saw. He doesn't envision any headaches with the compliance and certification.
So, that's it - for now! Going to get cracking as soon as the parts arrive. And yes, I will be posting plenty of pics! Ideally, if it can be done, I'd like to complete the car by the 2015 Melbourne Grand Prix.
Cheers,
Sime
__________________
www.paintwerks.com.au
|
-
Advertising


08-24-2014, 10:22 PM
|
 |
CC Member

|
|
|
Join Date: Aug 2013
Location: redcliffe,
qld
Cobra Make, Engine: Kirkham 427SC 482 Cammer
Posts: 700
|
|

 Not Ranked
 [/url]
Sorry only cause I keep getting told the same thing.
Last edited by damage; 08-24-2014 at 10:27 PM..
|

08-25-2014, 12:21 AM
|
|
CC Member

|
|
|
Join Date: Jul 2012
Location: Melbourne,
Vic
Cobra Make, Engine: Pace 427SC. LSA Supercharged with 6sp TR-6060 trans.
Posts: 463
|
|

 Not Ranked
Quote:
Originally Posted by damage

 [/url]
Sorry only cause I keep getting told the same thing. |
Damage, the only pics of note are when it was delivered last December, but that will all change from next week:
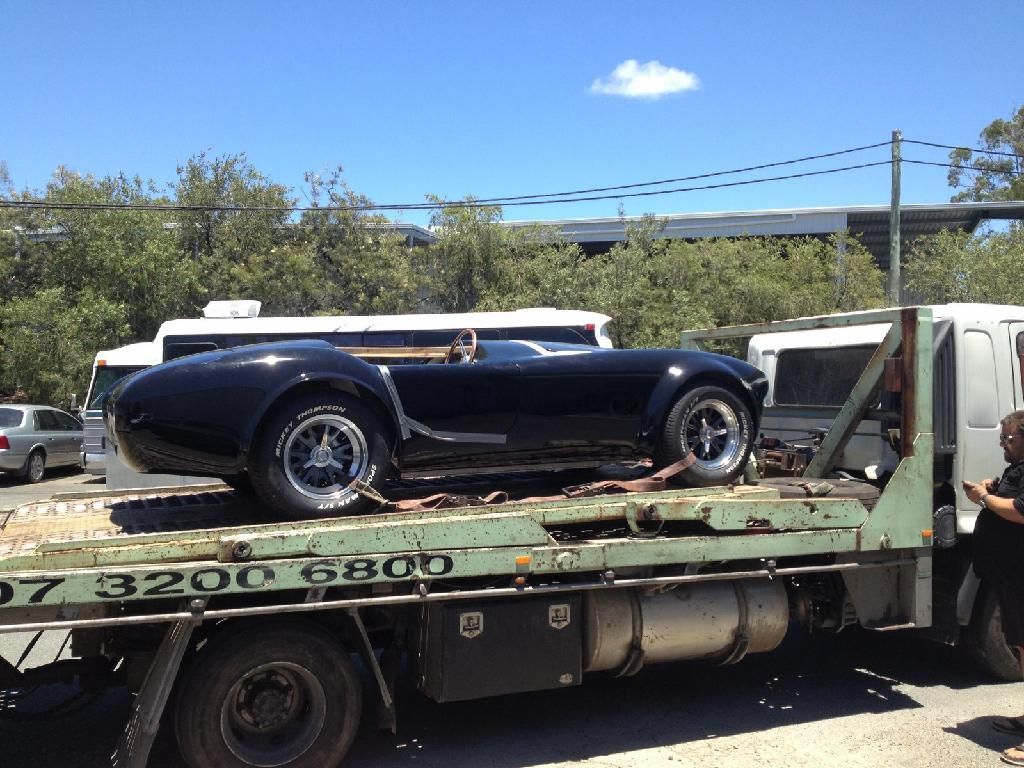
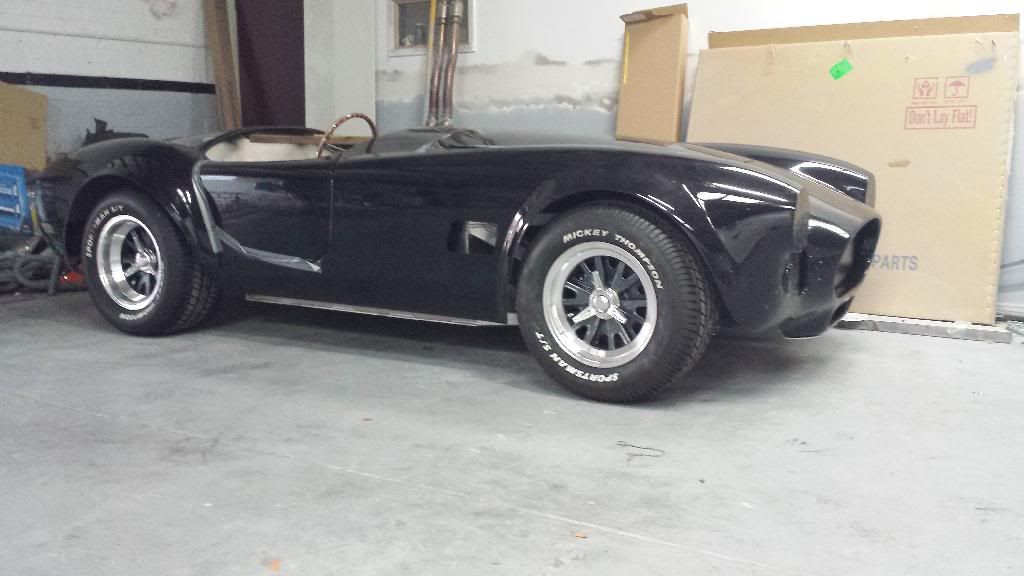
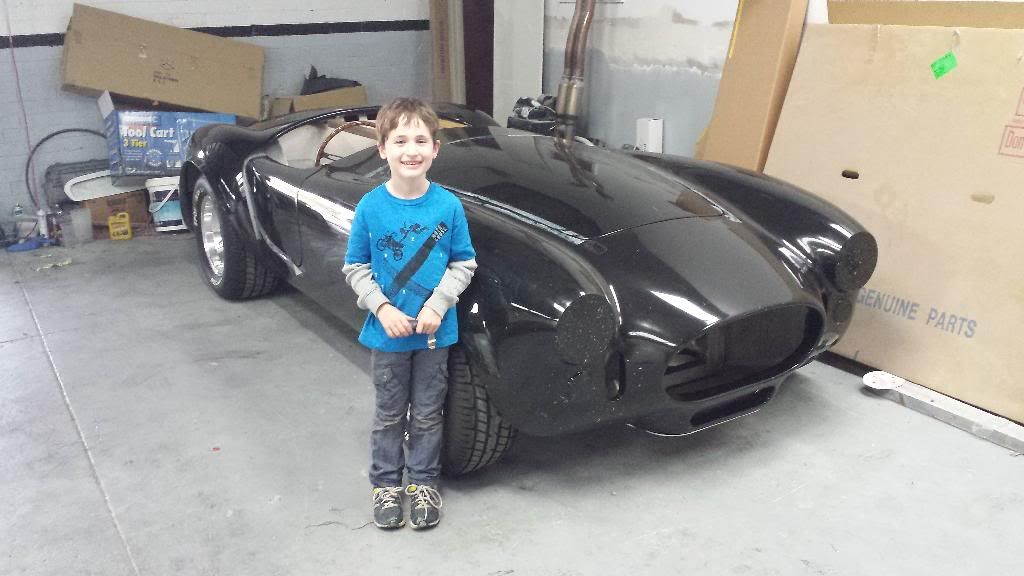
My co-builder and workshop foreman!
__________________
www.paintwerks.com.au
Last edited by Paintwerks; 08-25-2014 at 12:24 AM..
|

08-25-2014, 01:45 AM
|
 |
CC Member

|
|
|
Join Date: Sep 2012
Location: Maribyrnong,
Vic
Cobra Make, Engine: Cobra Replica, 5.0 Supercharged Coyote
Posts: 385
|
|

 Not Ranked
Sime, great news.
The other thing about the four Vic Pace builds.
Four different engines.
|

08-25-2014, 03:20 AM
|
 |
CC Member

|
|
|
Join Date: Nov 1999
Location: Brisbane, Australia,
Q
Cobra Make, Engine: Contemporary CCX3117 427FE
Posts: 4,381
|
|

 Not Ranked
Yep - pics are good. Any time you're just standing there pondering things, take a pic. When you install something, take a pic. When you fire up the motor, take a video! Etc etc... 
Option 1 on the colour combo is pretty hard to beat.
__________________
Craig
|

08-25-2014, 04:22 AM
|
 |
CC Member

|
|
|
Join Date: Aug 2013
Location: redcliffe,
qld
Cobra Make, Engine: Kirkham 427SC 482 Cammer
Posts: 700
|
|

 Not Ranked
Picture tells a thousand words a video tells a miiiiiiiillliioonnnn
|

08-25-2014, 05:41 PM
|
 |
CC Member

|
|
|
Join Date: Jan 2002
Location: Melbourne, Australia,
VIC
Cobra Make, Engine: AP Pace427 (AP4033) GM L77 6.0L TR6060
Posts: 838
|
|

 Not Ranked
Trigos? I thought we get Vintage wheels?
__________________
Guy
Cobra Progress guye-cobra.blogspot.com
|

08-25-2014, 07:33 PM
|
 |
CC Member

|
|
|
Join Date: Mar 2010
Location: Gold Coast,
QLD
Cobra Make, Engine: Arntz, TKO600, 460
Posts: 818
|
|

 Not Ranked
A build thread, hooray, these never get old.
Pics look great and it will be good to follow.
As mentioned above, more pics, more pics.... some of us who do not have a build live through you guys, so don't let us down.
|

08-25-2014, 07:51 PM
|
|
CC Member

|
|
|
Join Date: Jul 2012
Location: Melbourne,
Vic
Cobra Make, Engine: Pace 427SC. LSA Supercharged with 6sp TR-6060 trans.
Posts: 463
|
|

 Not Ranked
Quote:
Originally Posted by guye

Trigos? I thought we get Vintage wheels?
|
That's what Craig told me if I'm not mistaken Guy.
__________________
www.paintwerks.com.au
|

08-25-2014, 10:06 PM
|
|
CC Member

|
|
|
Join Date: Jun 2001
Location: munno para west,
sa
Cobra Make, Engine: absolute pace chassis #50 L98 & 6 speed auto
Posts: 1,141
|
|

 Not Ranked
Quote:
Originally Posted by leroy17

A build thread, hooray, these never get old.
Pics look great and it will be good to follow.
As mentioned above, more pics, more pics.... some of us who do not have a build live through you guys, so don't let us down.
|
I reckon there will be a lot of build pics on these particular cars . how many have been sold now ?. I am with the others pics and vids please .
would almost be good to have a sub section on the forum just for pace owners build threads there everything could be in the one spot :-) |

08-26-2014, 05:27 AM
|
 |
CC Member

|
|
|
Join Date: Jan 2004
Location: Gold Coast,
AUS
Cobra Make, Engine: Wish I had my own PACE 427
Posts: 2,145
|
|

 Not Ranked
Simon, got a whole heap of parts for you here as well. 
Quote:
Originally Posted by guye

Trigos? I thought we get Vintage wheels?
|
Halibrand: Trigo's for the 15" wheels, Vintage(American Racing) 17's & 18's.
BRM: Vintage 15's & 17's.
Quote:
Originally Posted by deano59

how many have been sold now ?
|
Just sold Chassis #46 yesterday on PACE 427. PACE GT is gathering momentum as well.
Last edited by 400TT; 08-26-2014 at 05:30 AM..
|

08-26-2014, 05:53 AM
|
|
CC Member

|
|
|
Join Date: Jun 2001
Location: munno para west,
sa
Cobra Make, Engine: absolute pace chassis #50 L98 & 6 speed auto
Posts: 1,141
|
|

 Not Ranked
mmm would be nice to have number 50 :-)
|

08-26-2014, 06:22 AM
|
 |
CC Member

|
|
|
Join Date: Apr 2008
Location: Melbourne,
Vic
Cobra Make, Engine: Some polish thing... With some old engine
Posts: 2,286
|
|

 Not Ranked
Quote:
Originally Posted by deano59

mmm would be nice to have number 50 :-)
|
Would be nicer if chassis 40 was reserved for a GT...
Just sayin' that would be cool. |

08-26-2014, 06:43 AM
|
 |
CC Member

|
|
|
Join Date: Jan 2004
Location: Gold Coast,
AUS
Cobra Make, Engine: Wish I had my own PACE 427
Posts: 2,145
|
|

 Not Ranked
GT chassis number 40 is still available, just saying...
|

08-26-2014, 06:47 AM
|
 |
CC Member

|
|
|
Join Date: Nov 2009
Location: Cheltenham,
Vic
Cobra Make, Engine: Classic Revival CR3516, LS3, Aussie Mike'd T-56, 3.70 LSD, AP brakes, Penske shocks
Posts: 1,616
|
|

 Not Ranked
Craig what is the status of your Pace GT? I assume you are building 001, where is it up to?
__________________
BUILD-BLOG: http://cobrablog.holnet.net
Ben in AU
|

08-26-2014, 06:58 AM
|
 |
CC Member

|
|
|
Join Date: Jan 2004
Location: Gold Coast,
AUS
Cobra Make, Engine: Wish I had my own PACE 427
Posts: 2,145
|
|

 Not Ranked
Quote:
Originally Posted by Modena

Craig what is the status of your Pace GT? I assume you are building 001, where is it up to?
|
They are already into production as Starter Kits.
Will have one at the Nationals on static display.
Most of the parts have been developed for it, just some finishing parts and options left to develop.
We've taken the technology, engineering and design used in the PACE 427 and gone one step further.
Will release photos soon.  |

08-26-2014, 07:17 AM
|
 |
CC Member

|
|
|
Join Date: Jan 2002
Location: Melbourne, Australia,
VIC
Cobra Make, Engine: AP Pace427 (AP4033) GM L77 6.0L TR6060
Posts: 838
|
|

 Not Ranked
Quote:
Originally Posted by Paintwerks

That's what Craig told me if I'm not mistaken Guy.
|
From the current picking list: " 15" Vintage Halibrand Style Wheels with Functional Pin Drive Centres". But yours may be different.
__________________
Guy
Cobra Progress guye-cobra.blogspot.com
Last edited by guye; 08-26-2014 at 07:21 AM..
|

08-26-2014, 07:22 AM
|
 |
CC Member

|
|
|
Join Date: Jan 2002
Location: Melbourne, Australia,
VIC
Cobra Make, Engine: AP Pace427 (AP4033) GM L77 6.0L TR6060
Posts: 838
|
|

 Not Ranked
Oh. Just saw Craig's (400TT) earlier post. Please refer to the manufacturer/supplier - good chance he knows best! :-)
__________________
Guy
Cobra Progress guye-cobra.blogspot.com
|

09-27-2014, 06:34 AM
|
|
CC Member

|
|
|
Join Date: Jul 2012
Location: Melbourne,
Vic
Cobra Make, Engine: Pace 427SC. LSA Supercharged with 6sp TR-6060 trans.
Posts: 463
|
|

 Not Ranked

Today, myself, Darryl and Russell commenced the build on my Pace 427SC.
But last night, I cut out the insulation panels (sorry...that's my wife's crappy photography!):
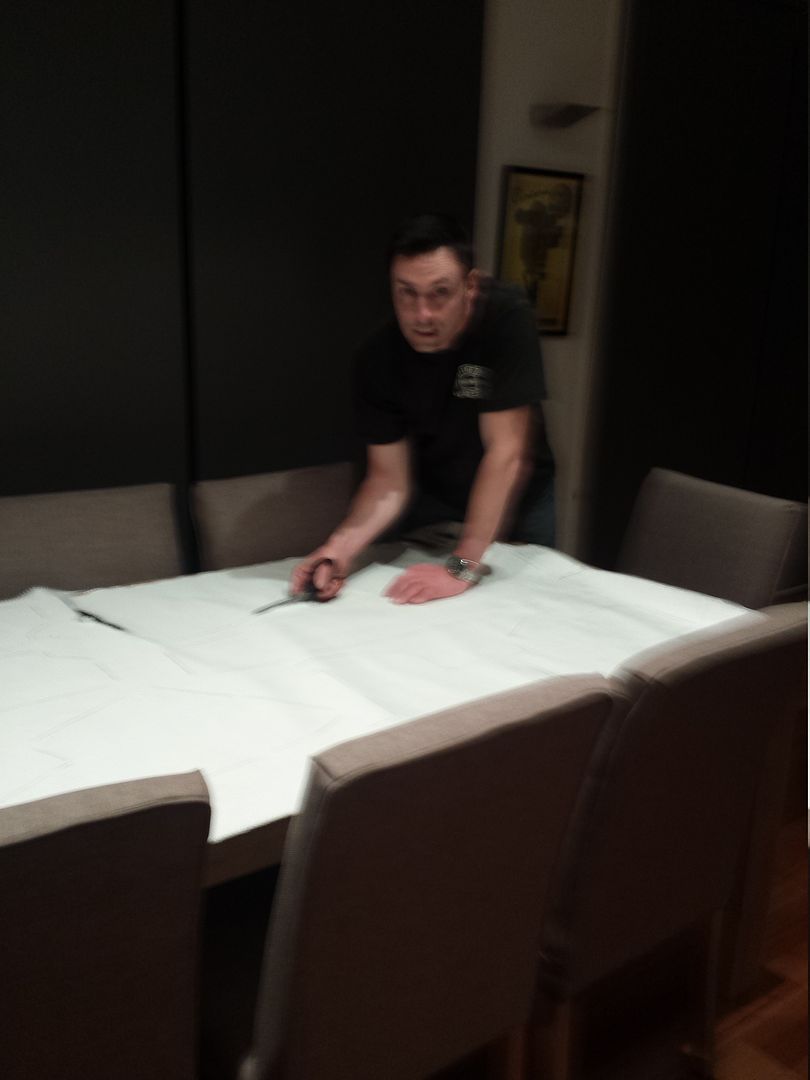
Firstly, we removed the boot, bonnet and doors. With the doors, I drilled two small holes into the door side of the hinges (one in the middle, one to the outside). The reason is that when you refit the doors, you insert two drill bits through the holes and it orients the door perfectly so it bolts up in exactly the same place as when it was removed.
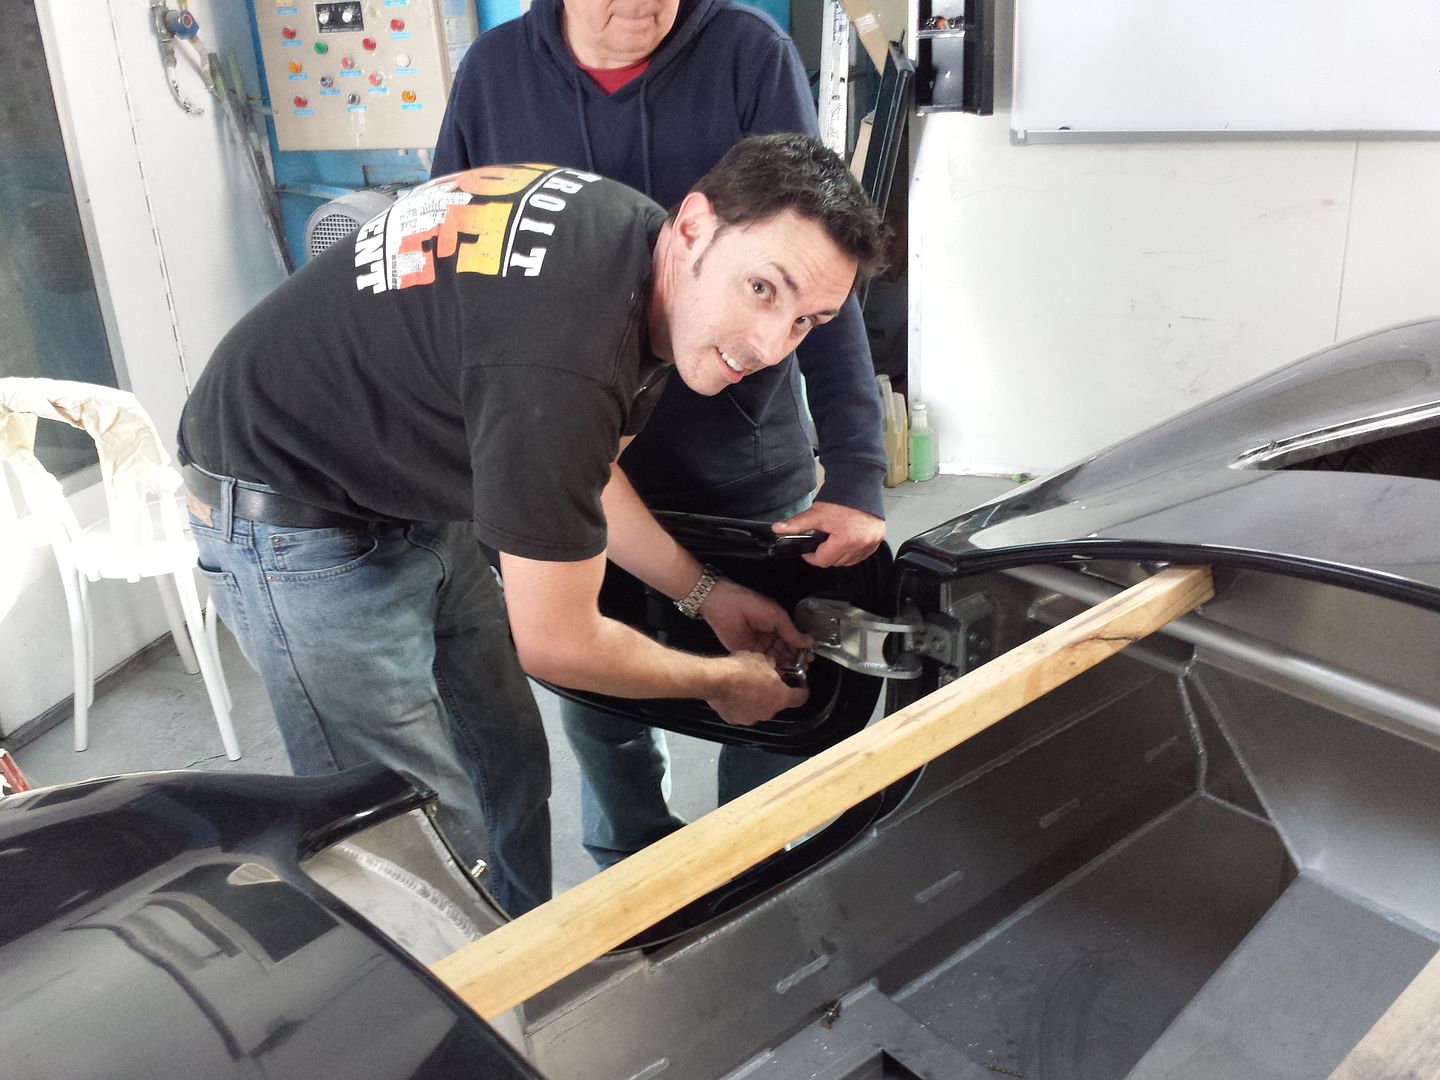
Next, we removed the body. It was really easy to do, and although the manual suggests 4 people are required if the door hinges are left on, we successfully managed to do it with the 3 of us.
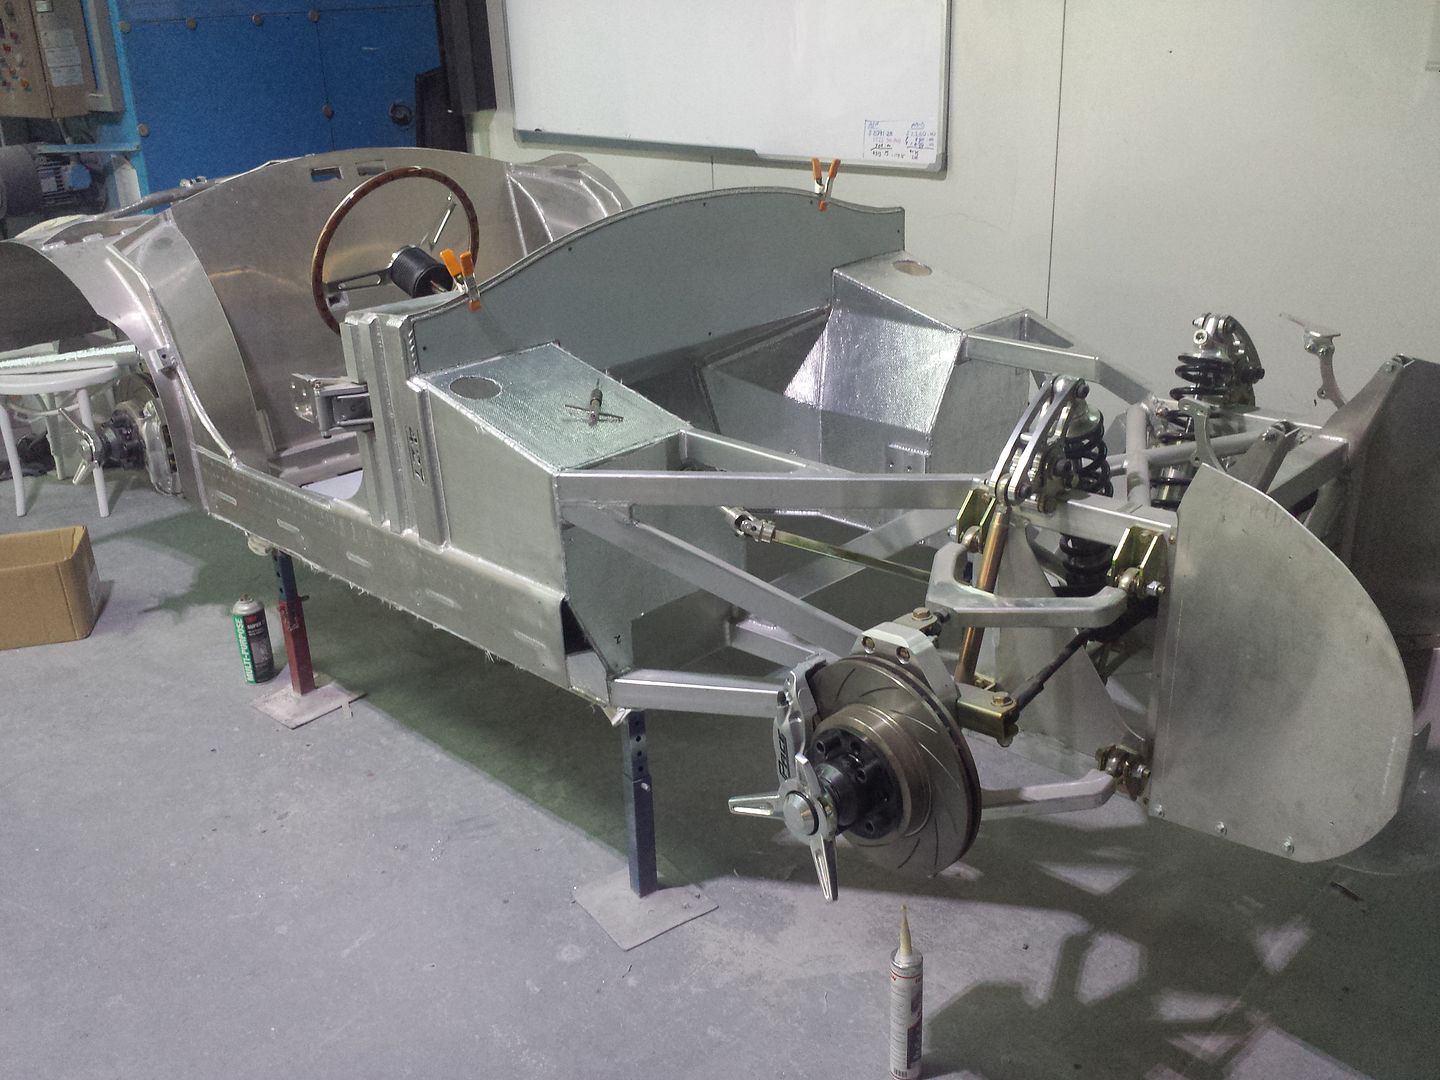
Then we moved the Cobra to it's build spot, and set it up on jack stands. We then laid out the aluminised insulation panels in preparation for installation. In my haste to cut them out, I neglected to write the part number on each piece, so we simply used the plan to identify what part was what:
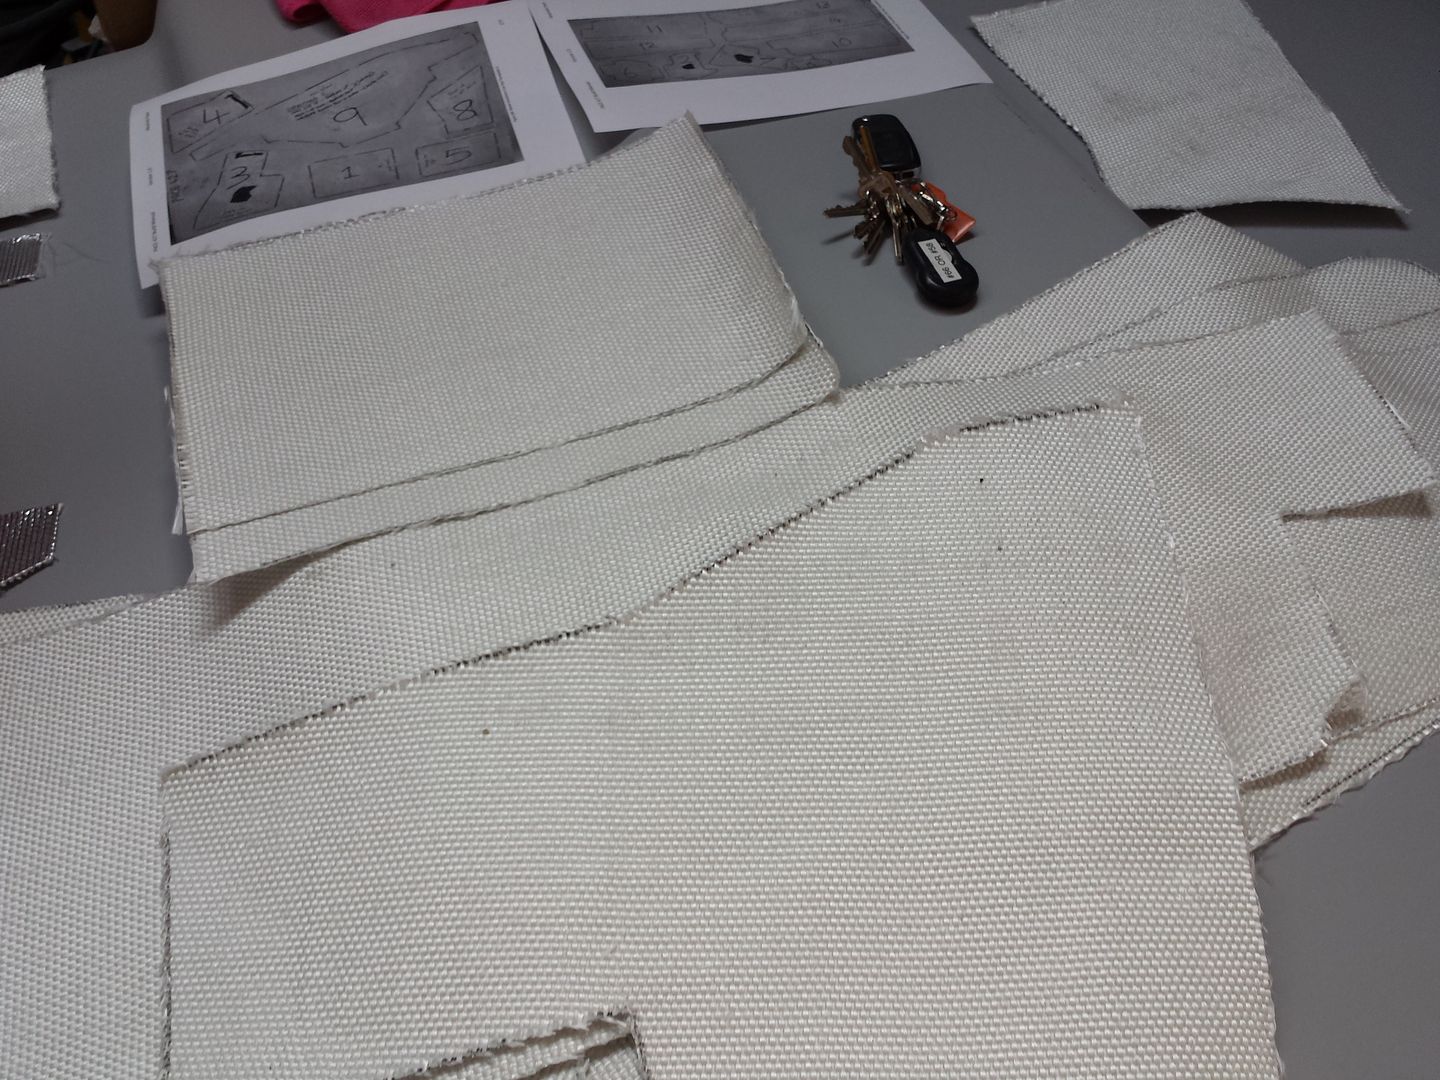
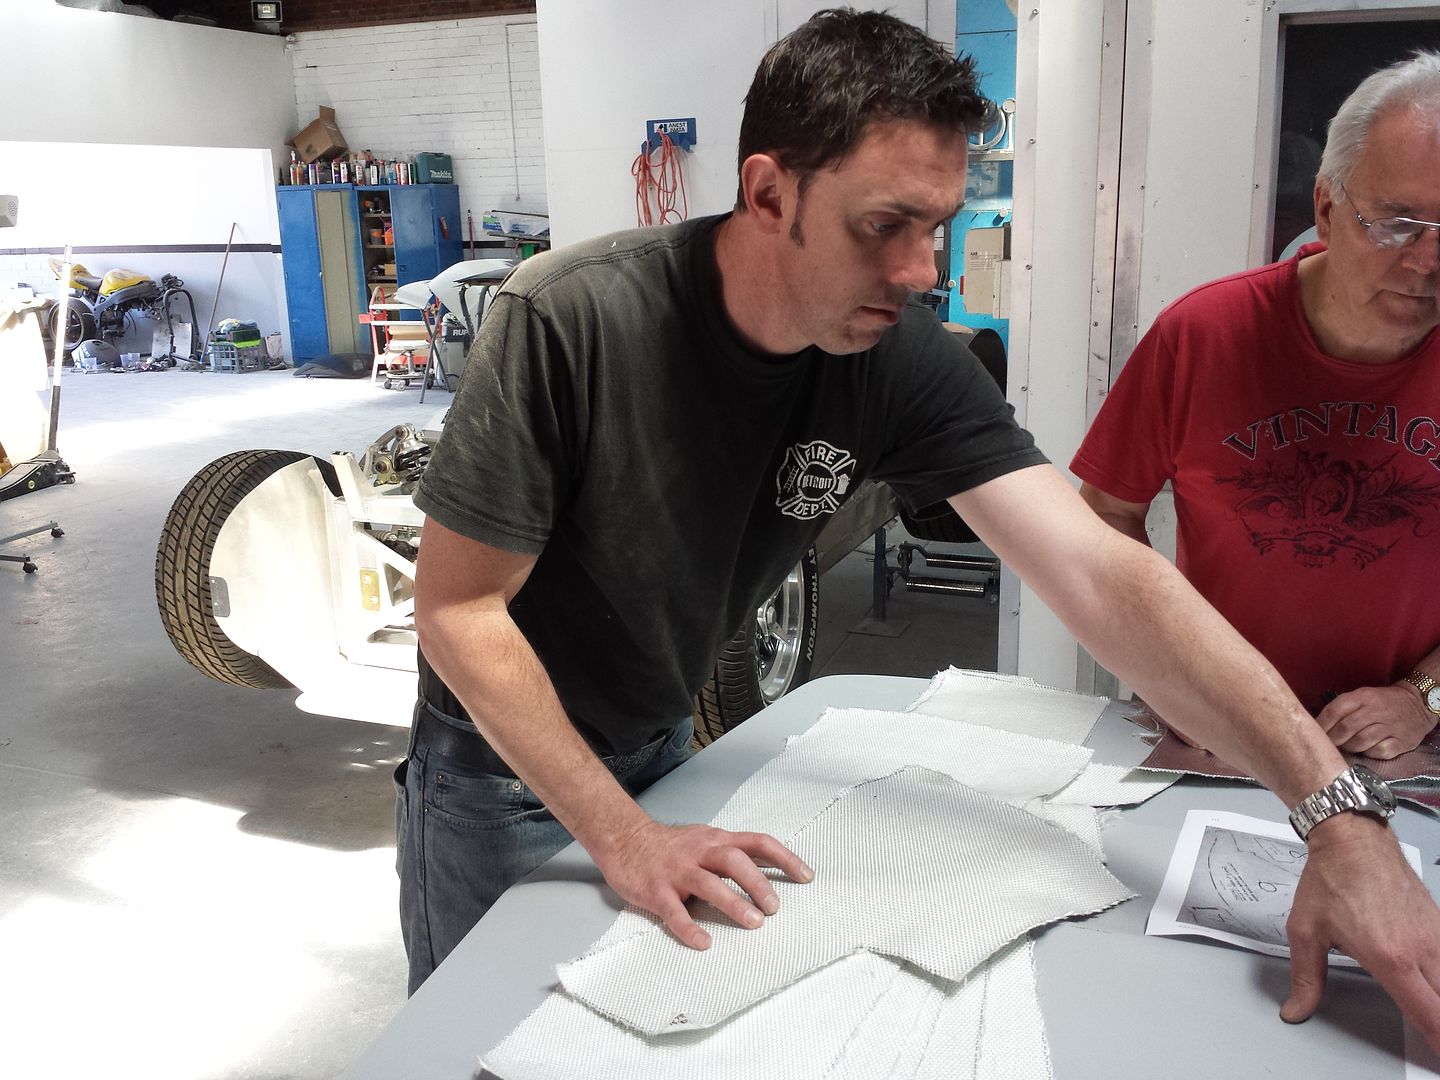
We used the recommended Selleys high temp silicone to attach the insulation and that went on a treat, although we needed 3.5 tubes instead of the recommended 3. Some of the templates weren't perfect (as marked...they were cut properly) so we simply cut some extra pieces to fill in the gaps. As a whole, the pieces fit great.
Next up, we got the polished mirror engine bay panels ready to fit, test placing them first to ensure they worked..which they did. By this time, Russel had left so Darryl and I kept at it. I left the aluminised insulation a little larger, so we decided to deviate from the instructions in the manual that say to cut the cloth panels 5-10mm shorter before installation so they sit under/inside the mirror panels (so you can't see them). We decided to temporarily fit the cover panels in position first, drill the mounting holes, then mark around that outline of the cover panels onto the aluminised cloth, then trim that 5-10mm in from that with a razor blade. Finally, the edges can be sealed with the Parfix grey roof and gutter silicone. I think this will make for a cleaner fitment.
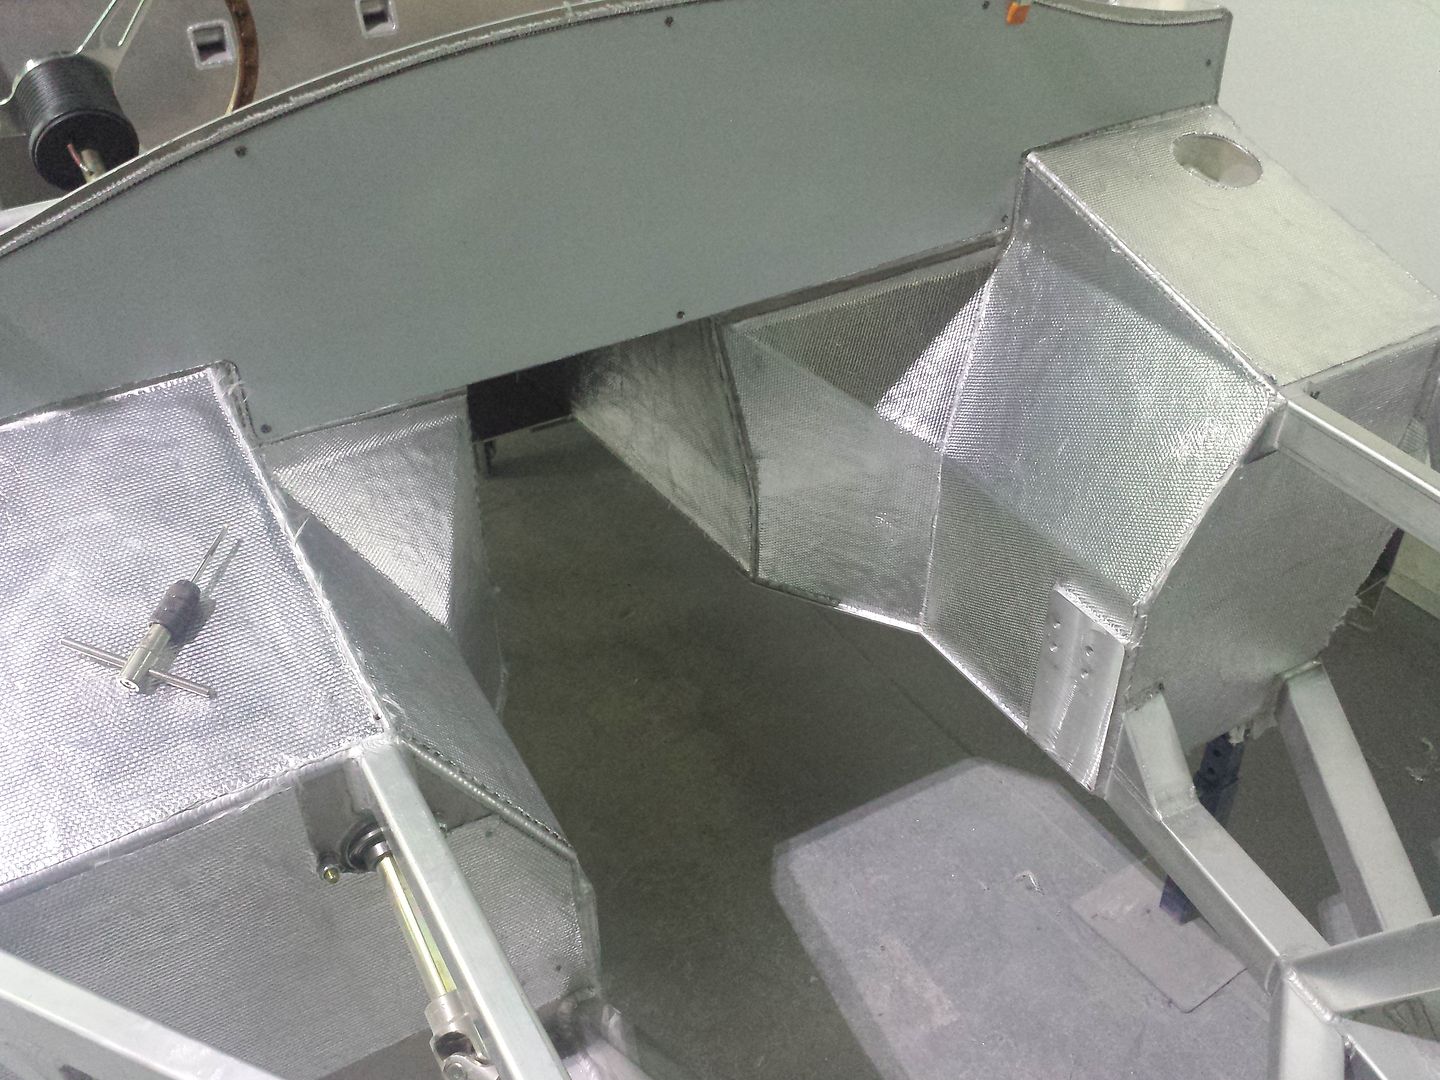
The manual calls for a 10/24 tap. Let me tell you these are not easy to find. So we had a tap very similar on hand and used that which worked a treat. We decided to tap the body for most of the fitting bolts (with Loctite 243), only using nuts on the backside as required.
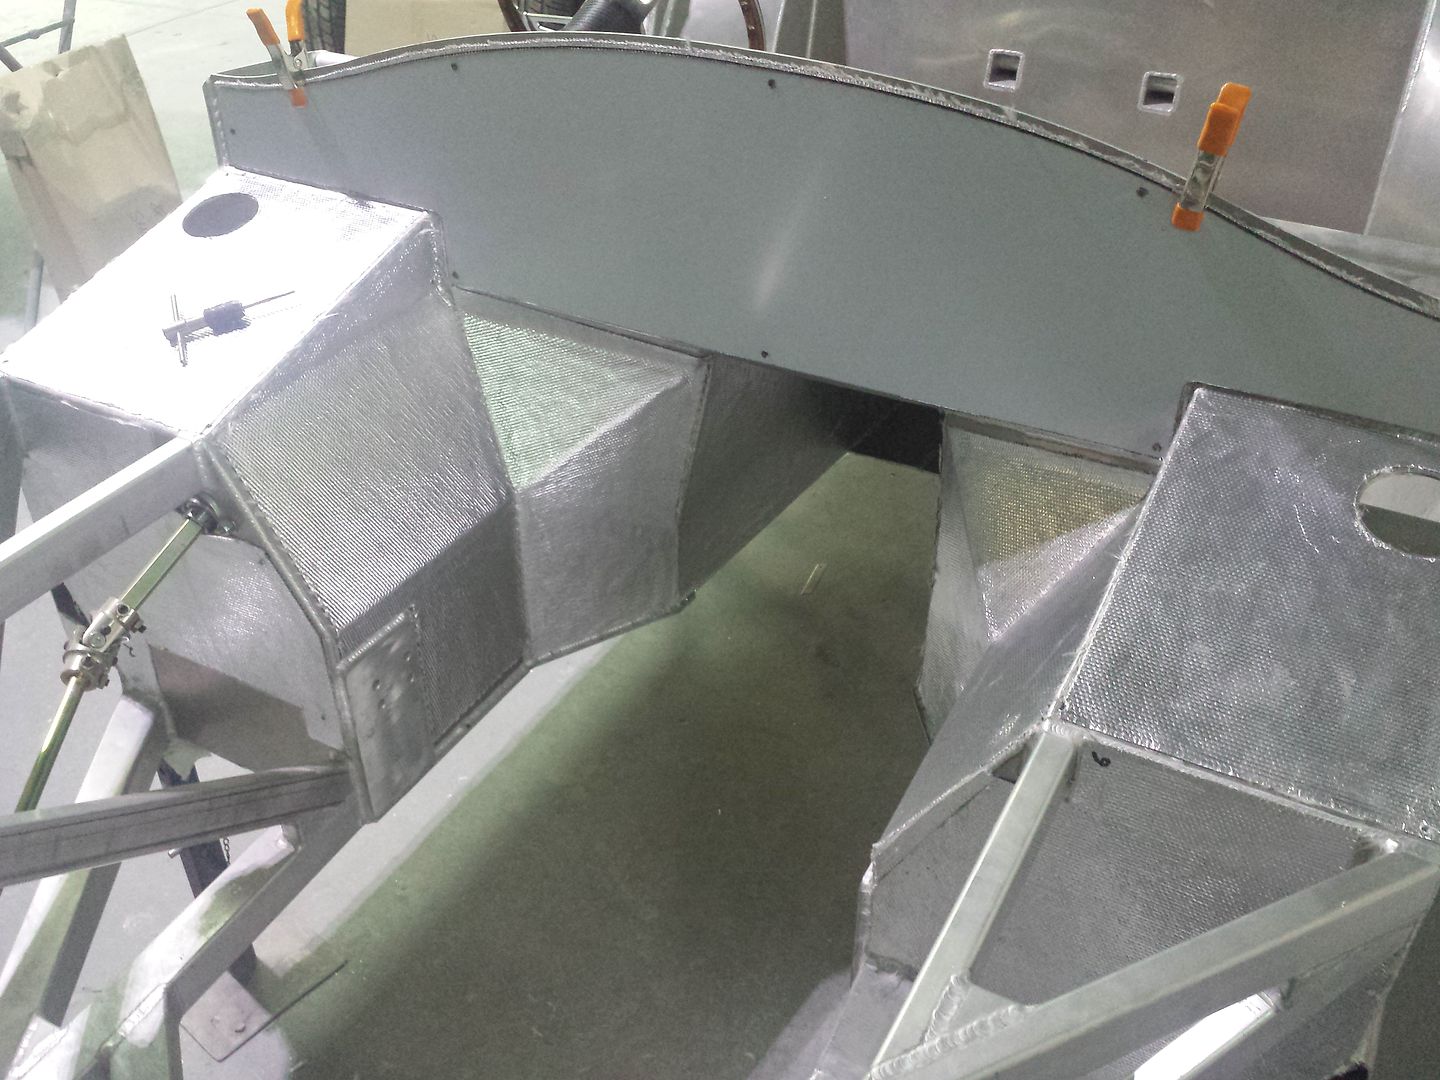
One important point to note which isn't in the manual. When you fit the cover plates, you have to place a 3mm nut to act as a spacer between the cover plate and the aluminised material. You need to tape a couple of these nuts to the vertical sections of the cover plates so that when you fit the plates for marking the mounting holes, the washer 'moves' the cover plate over 3mm. If you didn't put the washer in and just marked the plate, you'd be skewed 3mm over. Remember, measure twice, cut once!
So, this is where we left it for the day. This week, I'm going to finish fitting the cover plates and then I will commence fitment of the brake lines, pedal box, master cylinders, fuel tank, fuel pumps and fuel line and charcoal line. After that, the car should be ready to receive the engine and transmission.
__________________
www.paintwerks.com.au
|

09-27-2014, 07:47 AM
|
 |
CC Member

|
|
|
Join Date: Nov 1999
Location: Brisbane, Australia,
Q
Cobra Make, Engine: Contemporary CCX3117 427FE
Posts: 4,381
|
|

 Not Ranked
Great details! This is going to be an excellent build thread.
__________________
Craig
|
 Posting Rules
|
You may not post new threads
You may not post replies
You may not post attachments
You may not edit your posts
HTML code is Off
|
|
|
All times are GMT -7. The time now is 04:35 AM.
|
|


 341Likes


 [/url]


 Linear Mode


