
04-04-2009, 03:18 PM
|
 |
Stolen Avitar

|
|
|
Join Date: Oct 2004
Location: Brunswick,
GA
Cobra Make, Engine: BDR 1311 428PI
Posts: 3,044
|
|

 Not Ranked
 Build thread for BDR687's FE462
Hi all, I'm just now starting to get my photos loaded so that I can put this thread all the way together so please be patient. However I just came across something that's odd even for my "2 steps up and 1 step back" build and thought you guys would like to laugh with/at me. At this point I just got to bolting the intake down after having it on then off about 15 times checking and clearancing things. Then of course the pushrods and rockers get bolted down and I go to put my cool looking H/M VCs on just to keep dust out and this is what I found:
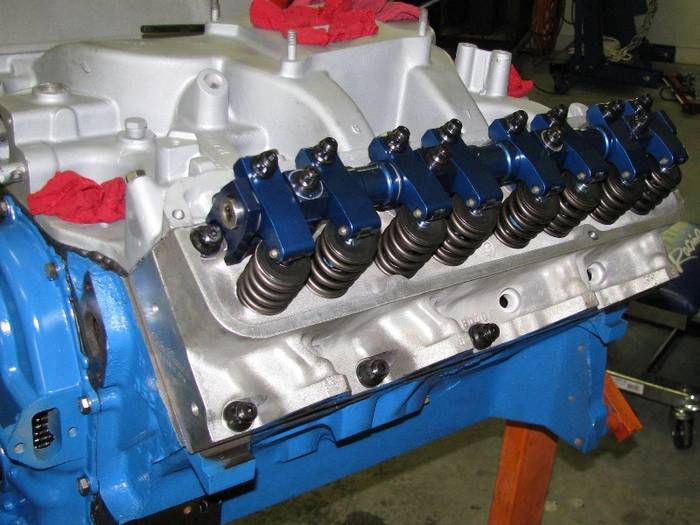
Notice anything missing? 
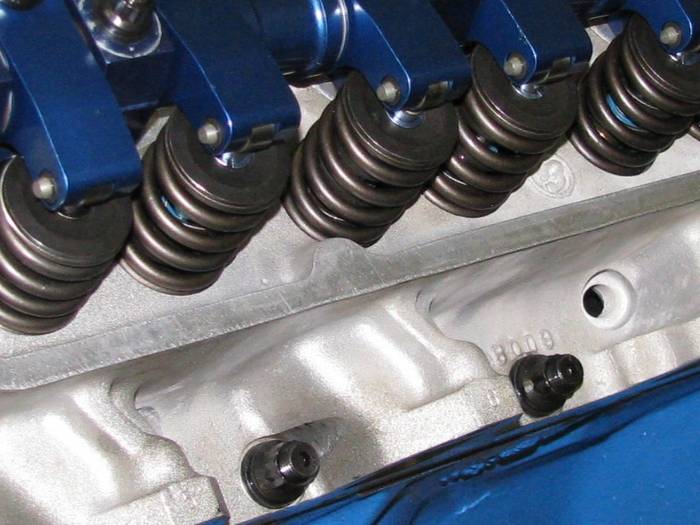
Seriously, WTF!? I can't believe that I now have to drill and tap for a VC bolt hole at this point. Why hadn't I noticed this before? Duh! WTF is with it not being there anyway?! 
More to follow................................ 
Steve
BTW, anyone have a dipstick and tube they want to get rid of for a reasonable price? How about a WP pully? 
Last edited by lovehamr; 04-04-2009 at 03:22 PM..
|


 Threaded Mode

